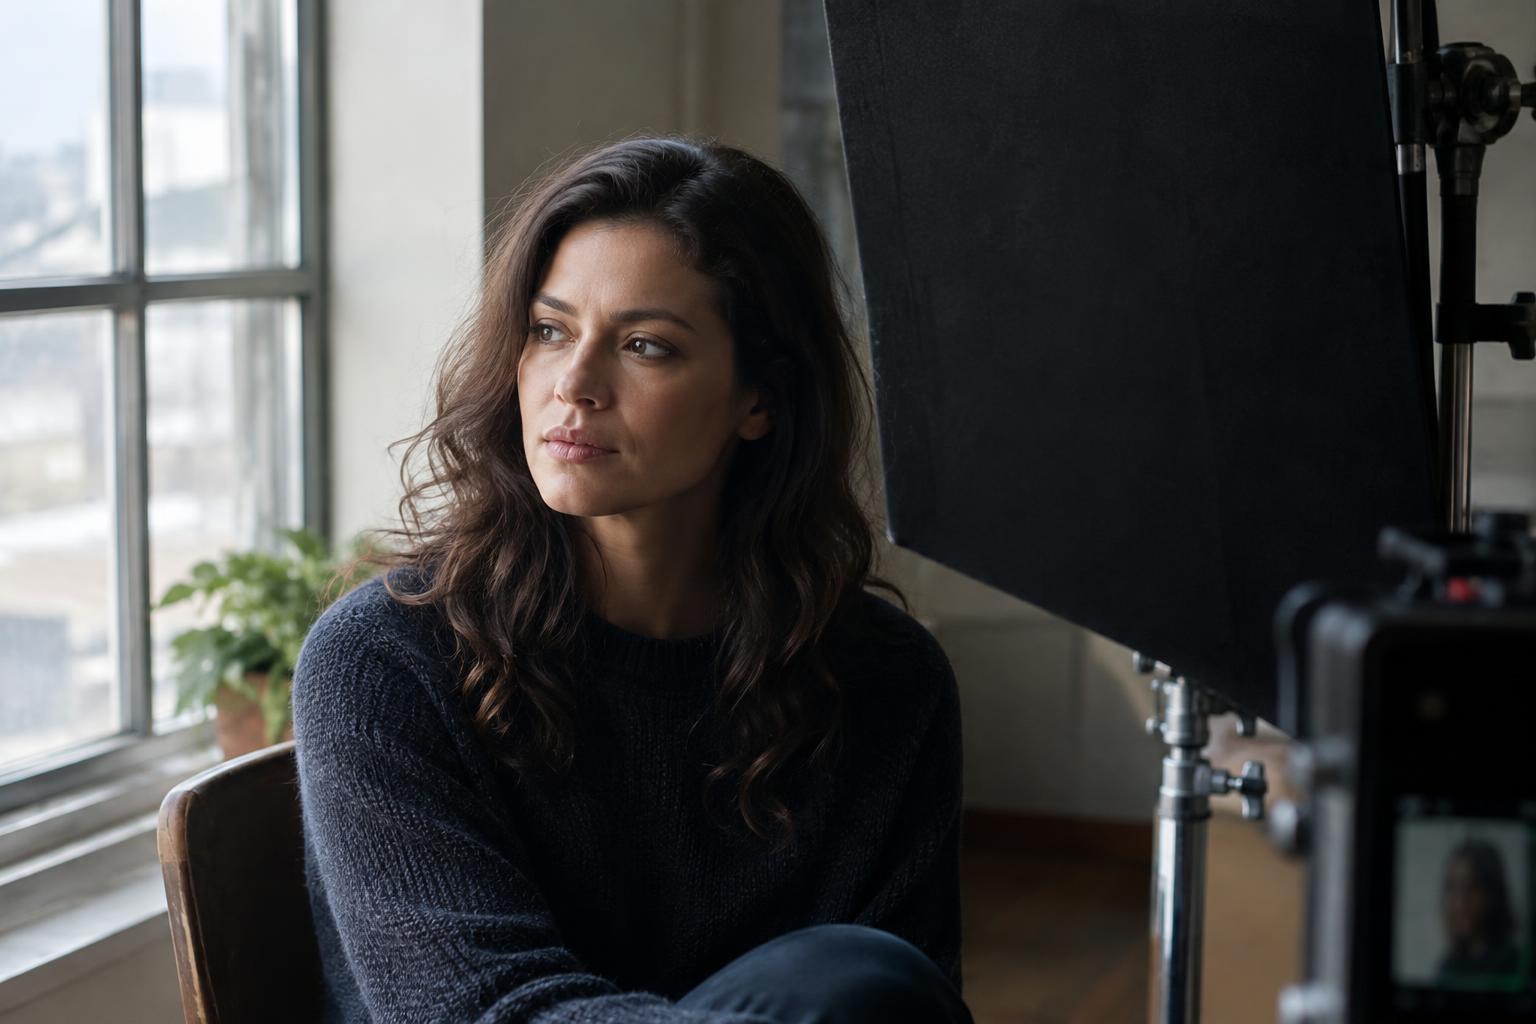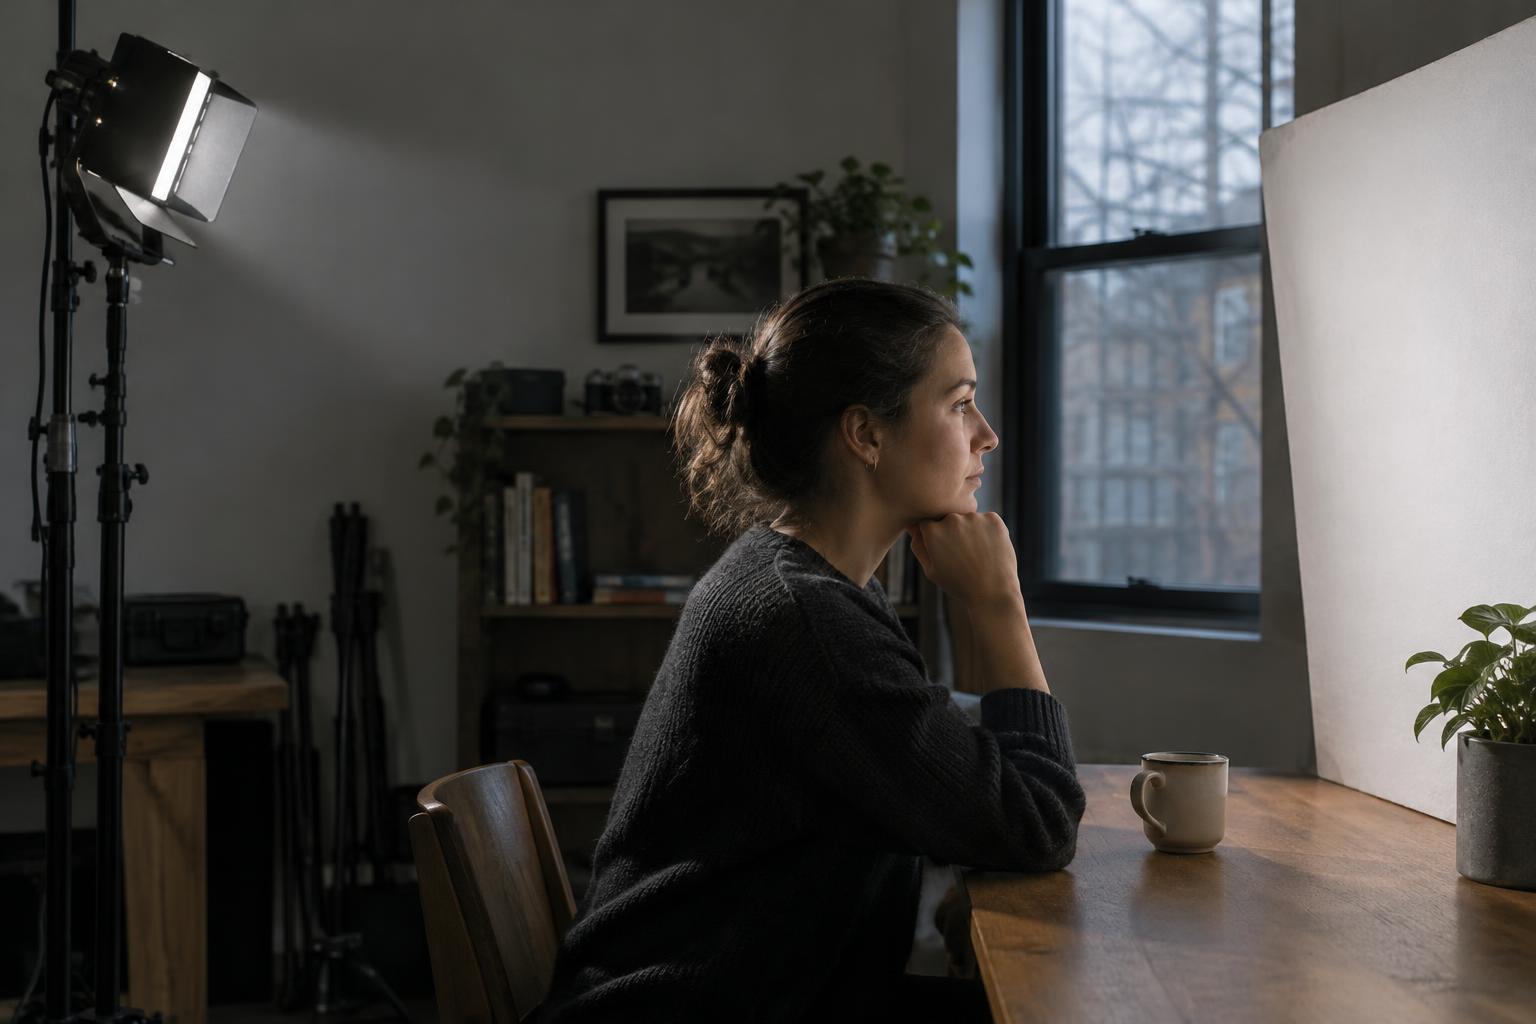
Decide What the Lamp Needs to Do
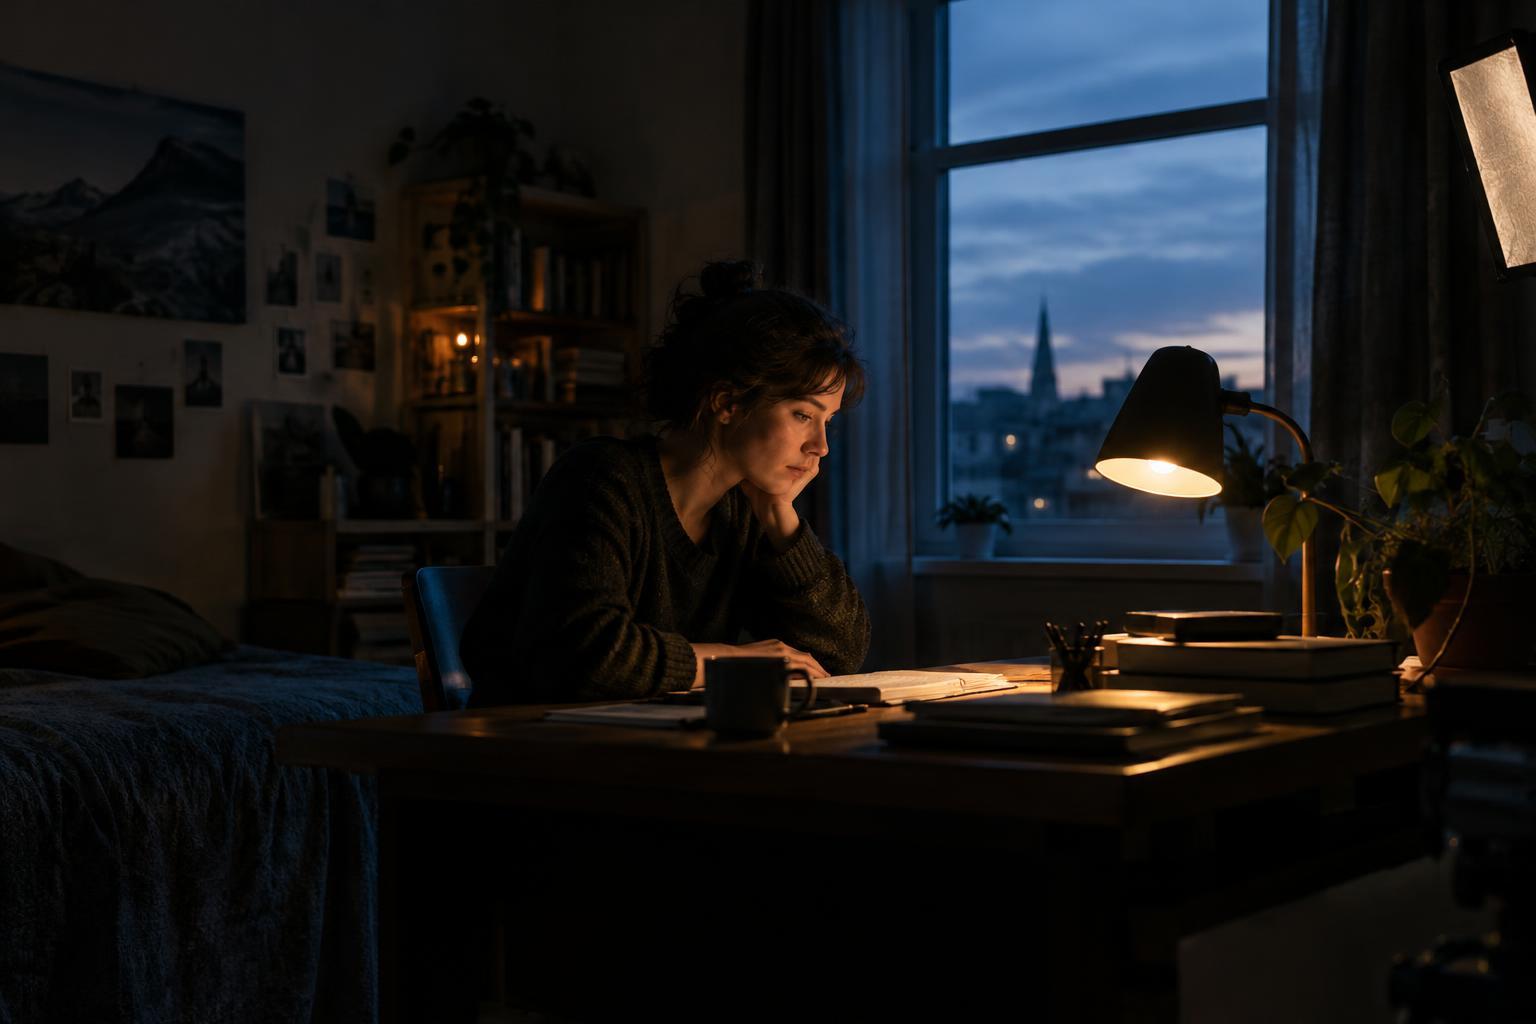
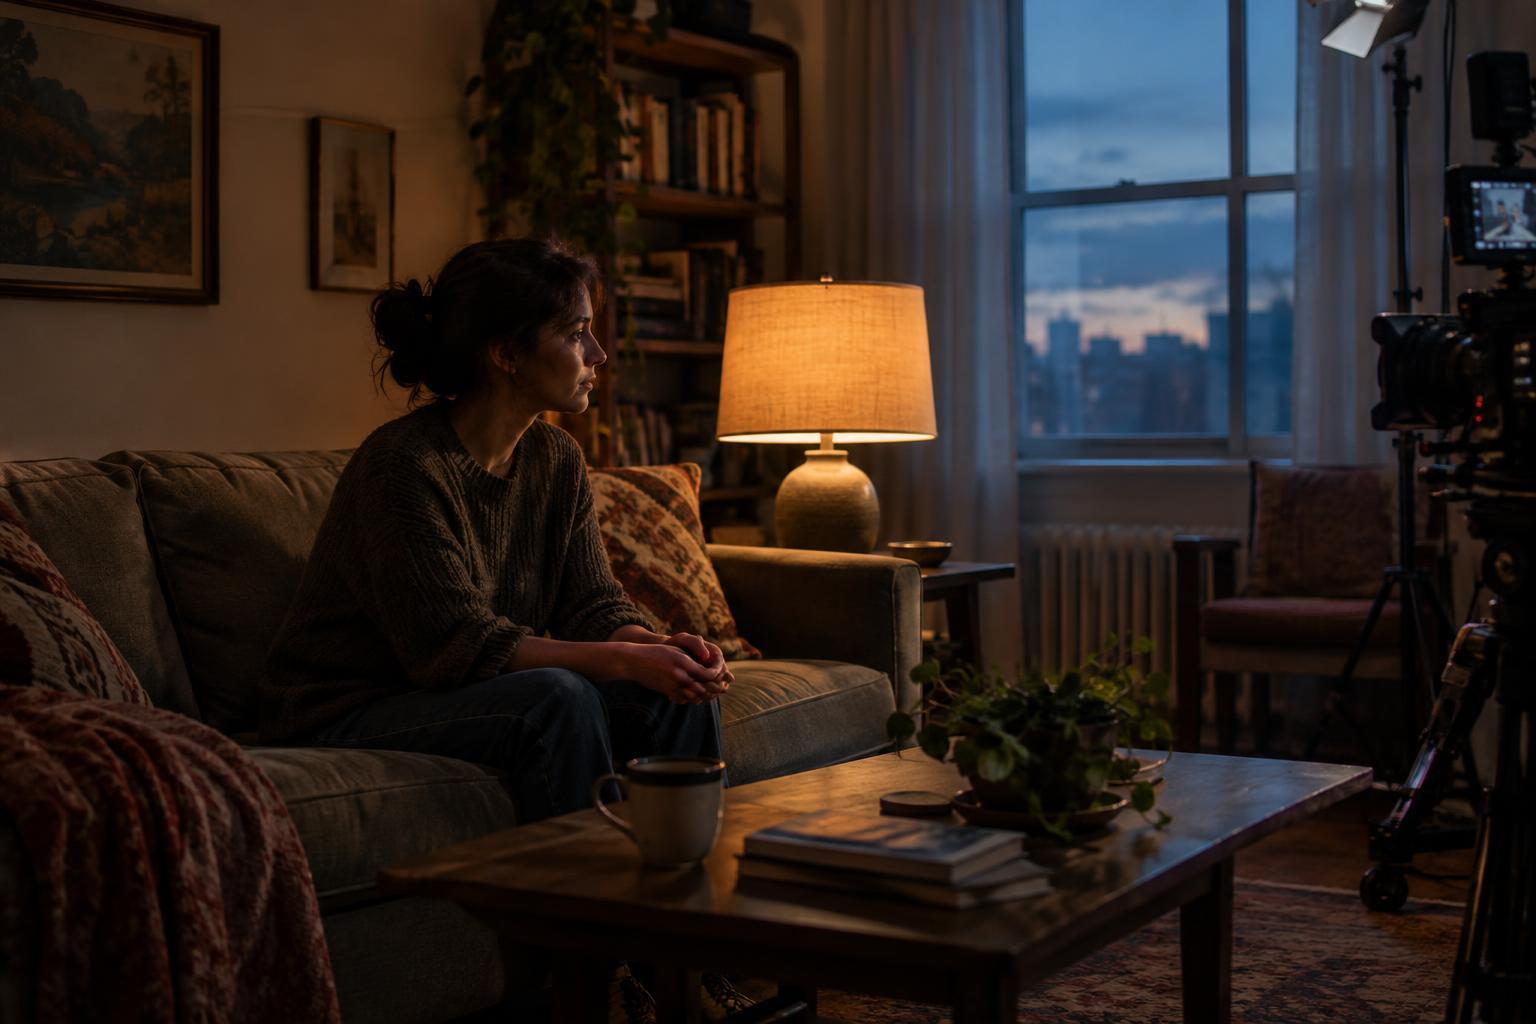
A practical lamp is a light fixture visible in the shot: a table lamp beside a character, a desk light over a notebook or a floor lamp at the edge of a room. It can help explain where the scene’s light comes from, add depth to the frame and draw attention to a part of the set. It does not have to provide enough light to expose the entire scene.
Before adjusting the camera, decide what matters about the lamp. Do you need to see the texture of its shade, read the shape of its bulb or simply recognize it as a warm glow? A small bright spot inside a lamp may be acceptable, while a large blank shade can become distracting. That distinction gives you a clearer target than trying to prevent every bright pixel from clipping.
Set Exposure for the Scene, Then Check the Practical
Start with an exposure that serves the subject and the room. If a face is the focus, judge its brightness first, then inspect the lamp in the camera image. A waveform monitor, false color display or zebras can help identify areas losing detail, but the image itself still matters: a narrow highlight may feel natural even when a tool marks it as clipped.
Check the footage using the monitoring setup you intend to work with. A flat recording image and a contrasty viewing transform can make the same lamp look very different. If possible, record a short test and review it on a dependable display rather than trusting the camera’s small screen alone. Watch for a shade that turns uniformly white, harsh edges around the fixture or colored bulbs that lose their color as they brighten.
Lowering overall exposure can recover lamp detail, but it may leave faces and walls too dark. When that happens, treat the practical and the subject as separate lighting problems. Reduce the lamp’s output or adjust its position, then add controllable light to the subject as needed.
Control the Bulb Before Rebuilding the Room
Changing the bulb is often the simplest fix. A lower-output bulb may preserve the shade’s texture without altering the camera settings. If the lamp is dimmable, bring it down gradually while watching both the fixture and the pool of light it casts. Some bulbs shift color when dimmed, and some LED bulbs may flicker or band on camera, so test the exact combination of bulb, dimmer and camera settings before committing to a setup.
The fixture itself matters. An opaque shade can keep a bare bulb out of view while directing light onto nearby surfaces; a pale translucent shade may glow across its entire area and become difficult to expose. Turning the lamp slightly away from camera, changing its height or placing it farther from a light-colored wall can reduce an oversized bright patch without making the room feel unlit.
Keep heat and electrical safety in mind. Use bulbs and dimmers suited to the fixture, and do not drape fabric or improvised diffusion over a hot lamp. If a particular fixture cannot give you the look safely, choosing another fixture is a better solution than forcing it.
Let Other Lights Carry the Subject
A lamp can appear to light an actor even when another source does most of the work. Place a soft, controllable light outside the frame in roughly the same direction as the practical. Matching its apparent direction and keeping its color reasonably compatible helps the added light feel motivated by the lamp. The source need not imitate the fixture perfectly; it needs to support the scene without calling attention to itself.
Consider the contrast around the practical as well. A lamp surrounded by near-black walls may seem more glaring than the same lamp in a room with some visible detail. A gentle lift on a wall or background object can make its brightness feel less isolated. Conversely, flags or careful repositioning can keep the added light off the shade so that brightening the actor does not also brighten the lamp.
Test the Shot as It Will Be Played
A balanced still frame can change once an actor moves. Have the performer take their marks, turn toward the lamp and cross any areas where the shade may sit behind a face. Check that the practical does not merge awkwardly with someone’s head or pull attention away from an important expression. A small change in camera angle or lamp placement may solve more than another exposure adjustment.
For a repeatable setup, note the bulb, dimmer position, camera exposure and lamp placement after the test. Then review a brief recording with the intended grade or viewing contrast in mind. The aim is not to make every lamp perfectly detailed. It is to choose where brightness belongs, preserve the detail that helps the image and let the practical glow without taking over the scene.