Decide Where the Audience Is Listening From
Sound perspective is the sense of distance and location created by what we hear. A person speaking beside the listener tends to sound more present than someone calling from across a hall, even when both voices remain intelligible. Film adds a complication: the camera changes position, but the microphone recording, the character’s position and the audience’s imagined listening position may not change together.
Before adjusting a scene, decide what each shot asks the audience to experience. A wide shot may invite us to hear the whole room; a close-up may bring us nearer to a character’s breath and quiet speech. Neither choice is automatic. A film can hold the sound at one distance across several cuts to keep a conversation flowing, or change it sharply to make a cut feel intimate. The goal is a perspective that supports the scene rather than a rule that every camera move must produce a matching volume change.
Build Distance With More Than Volume
Turning a sound down can suggest distance, but level alone rarely tells the whole story. Nearby sounds often contain clearer consonants and small details, such as clothing movement or the start of a breath. As a source moves farther away, those details may become less distinct while reflections from walls and other surfaces become more noticeable. The balance between direct sound and room sound is therefore as important as loudness.
Try a simple comparison while editing: play a line against a quiet room tone, then add a subtle room reflection or reverb and lower the direct voice slightly. Listen for the point where the speaker seems to move away without becoming hard to understand. Avoid treating reverb as a generic “distance” preset. A small furnished room, a stairwell and an open exterior call for different choices. Outdoors, distance may be better conveyed through level, reduced detail and surrounding ambience than through a long reverberant tail.
Give Every Space an Audible Identity
Room tone is more than filler between lines. Ventilation, distant traffic, wind or a faint electrical hum can help establish where a scene takes place. Used consistently, those sounds make cuts between camera angles feel as though they belong to one location. If the background disappears whenever dialogue begins, the space may seem to collapse around the speaker.
Effects can reinforce that identity. Footsteps on a hard floor should relate to the room heard around the voices; a door closing down a corridor should feel different from one closing beside the camera. Start with the sound’s position and apparent distance, then consider its reflections and how much of it is covered by the ambience. Leave room for variation: a surface, doorway or change in orientation can alter a sound even when the source has moved only a little.
Use Camera Cuts as Cues, Not Commands
An immediate shift from a distant voice to a dry, close recording on every cut can draw attention to the edit. For dialogue, it is often smoother to keep the main voice reasonably consistent while making smaller changes in presence or room balance. A move into a close-up may reveal a softer breath or bring a whispered phrase forward; a return to the wide shot can restore more of the shared space.
Stronger changes work when they express a point of view. If a character turns toward a sound behind a wall, muffling and room separation may matter more than the camera’s distance from that wall. If a scene cuts to someone isolated across a crowded room, keeping the crowd prominent can preserve the emotional distance. Think about whose attention guides the moment, and let the audio follow that attention when a literal camera-based perspective would be less useful.
Plan for Perspective From Recording to Final Mix
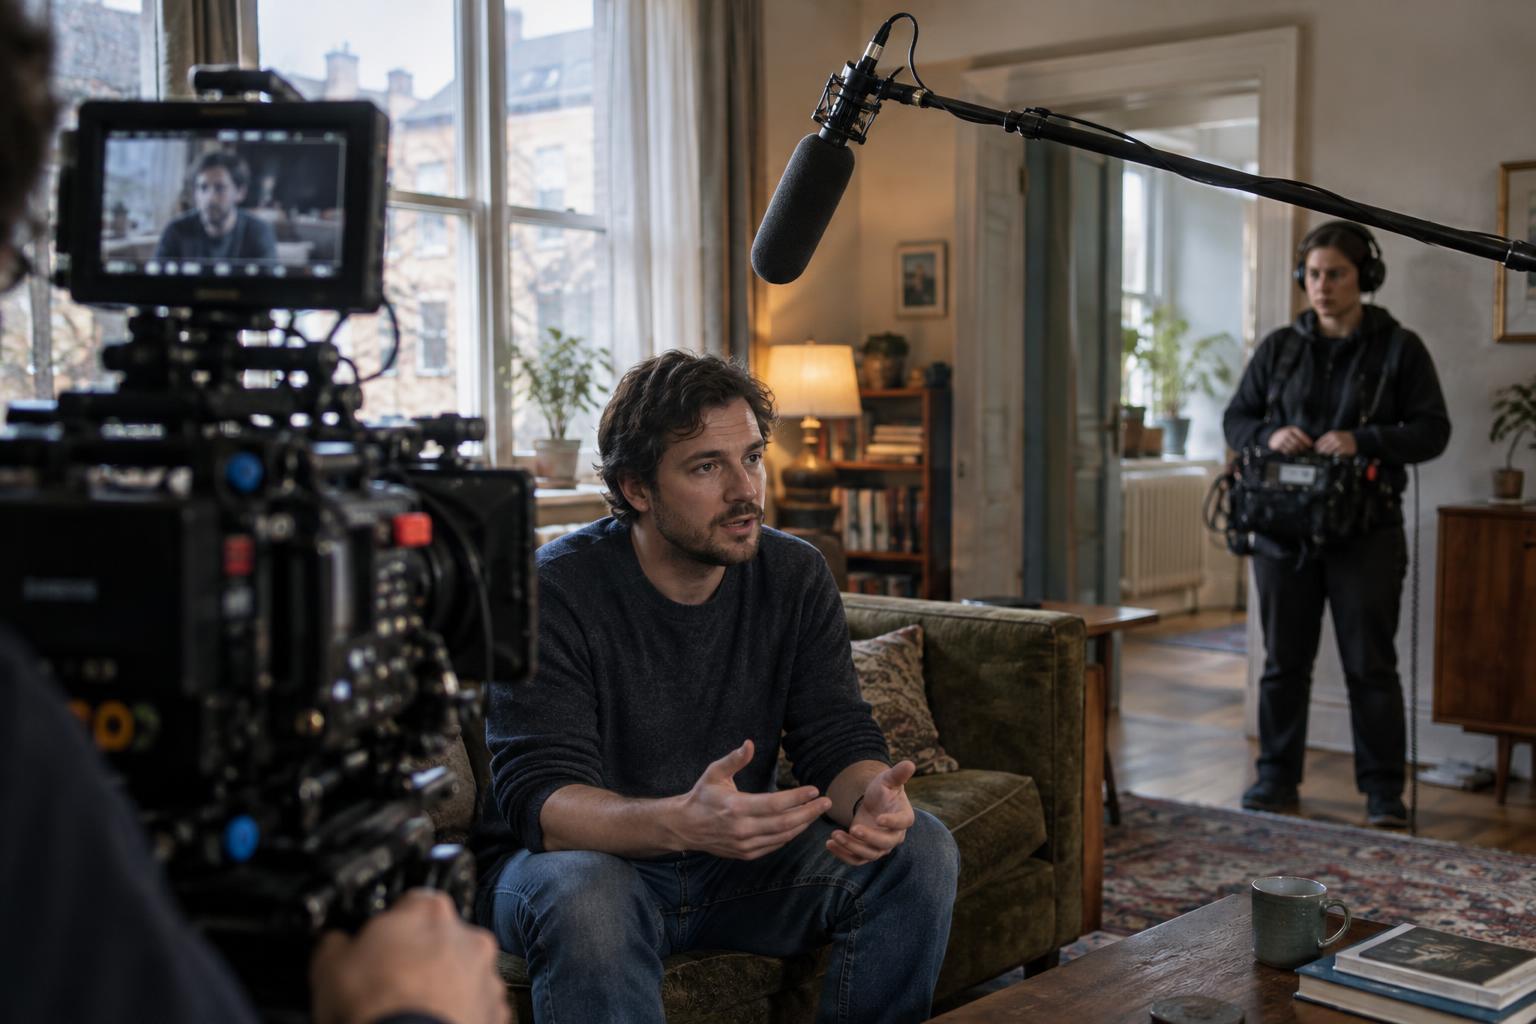
On set, clean dialogue gives an editor flexibility, but it helps to capture the character of each location too. Record a stretch of steady ambience when possible, and note sounds that may interrupt continuity. If a wide shot and close-up are recorded under different conditions, those differences may need gentle matching later. Keep useful production sound, room tone and effects available as separate elements so one adjustment does not unintentionally change the entire scene.
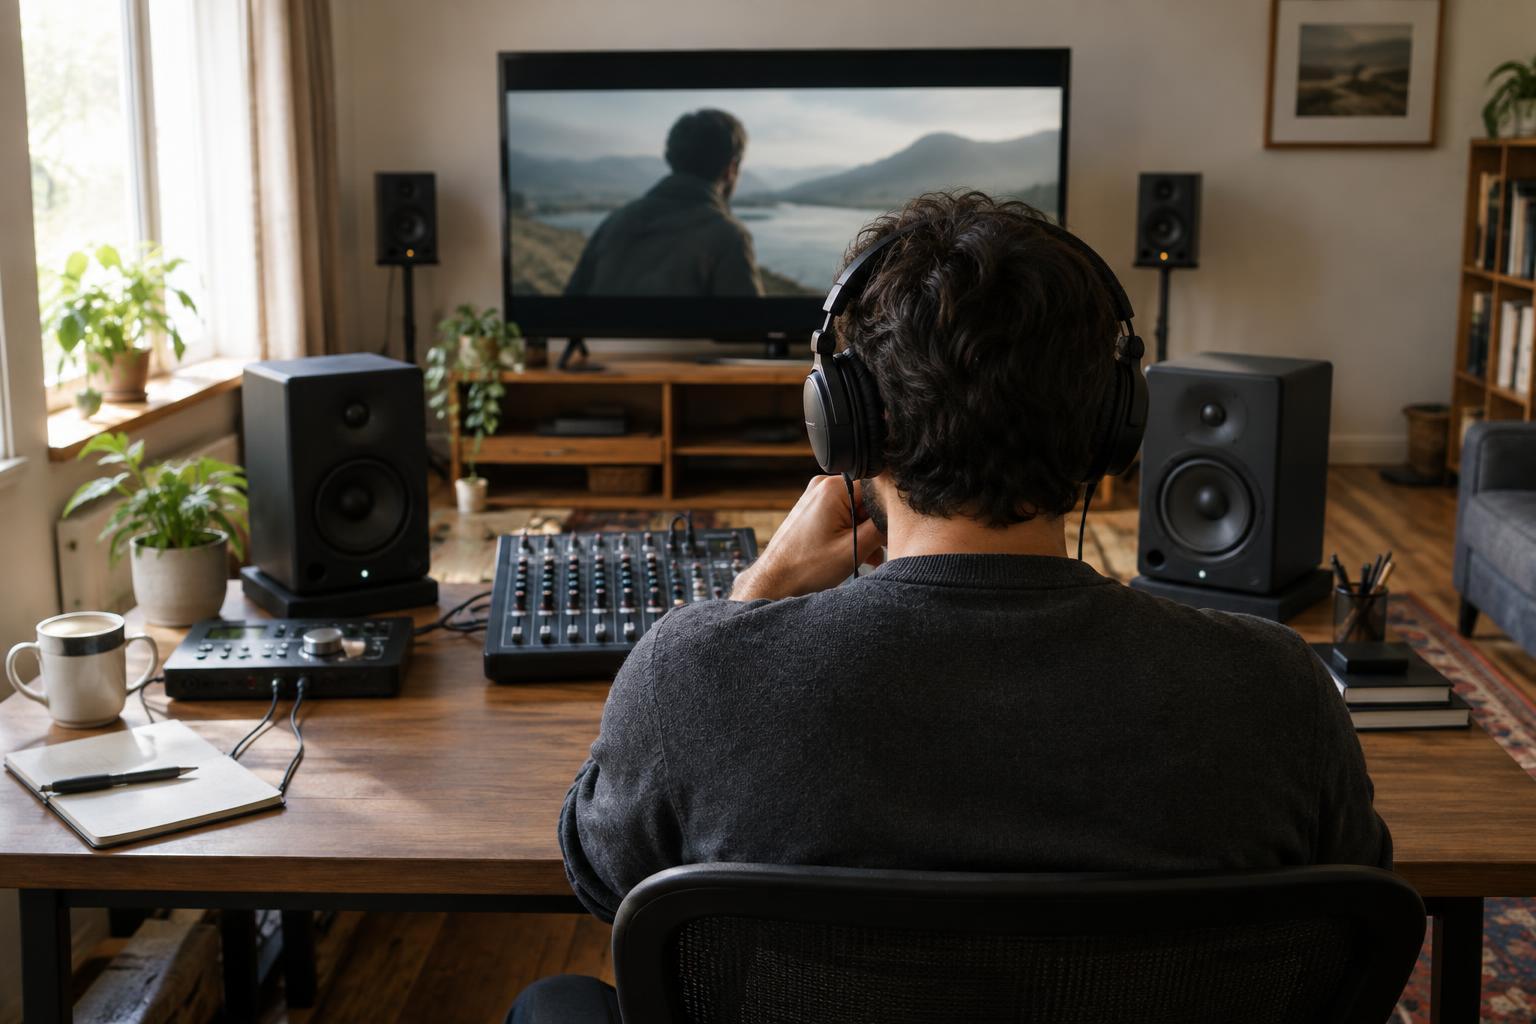
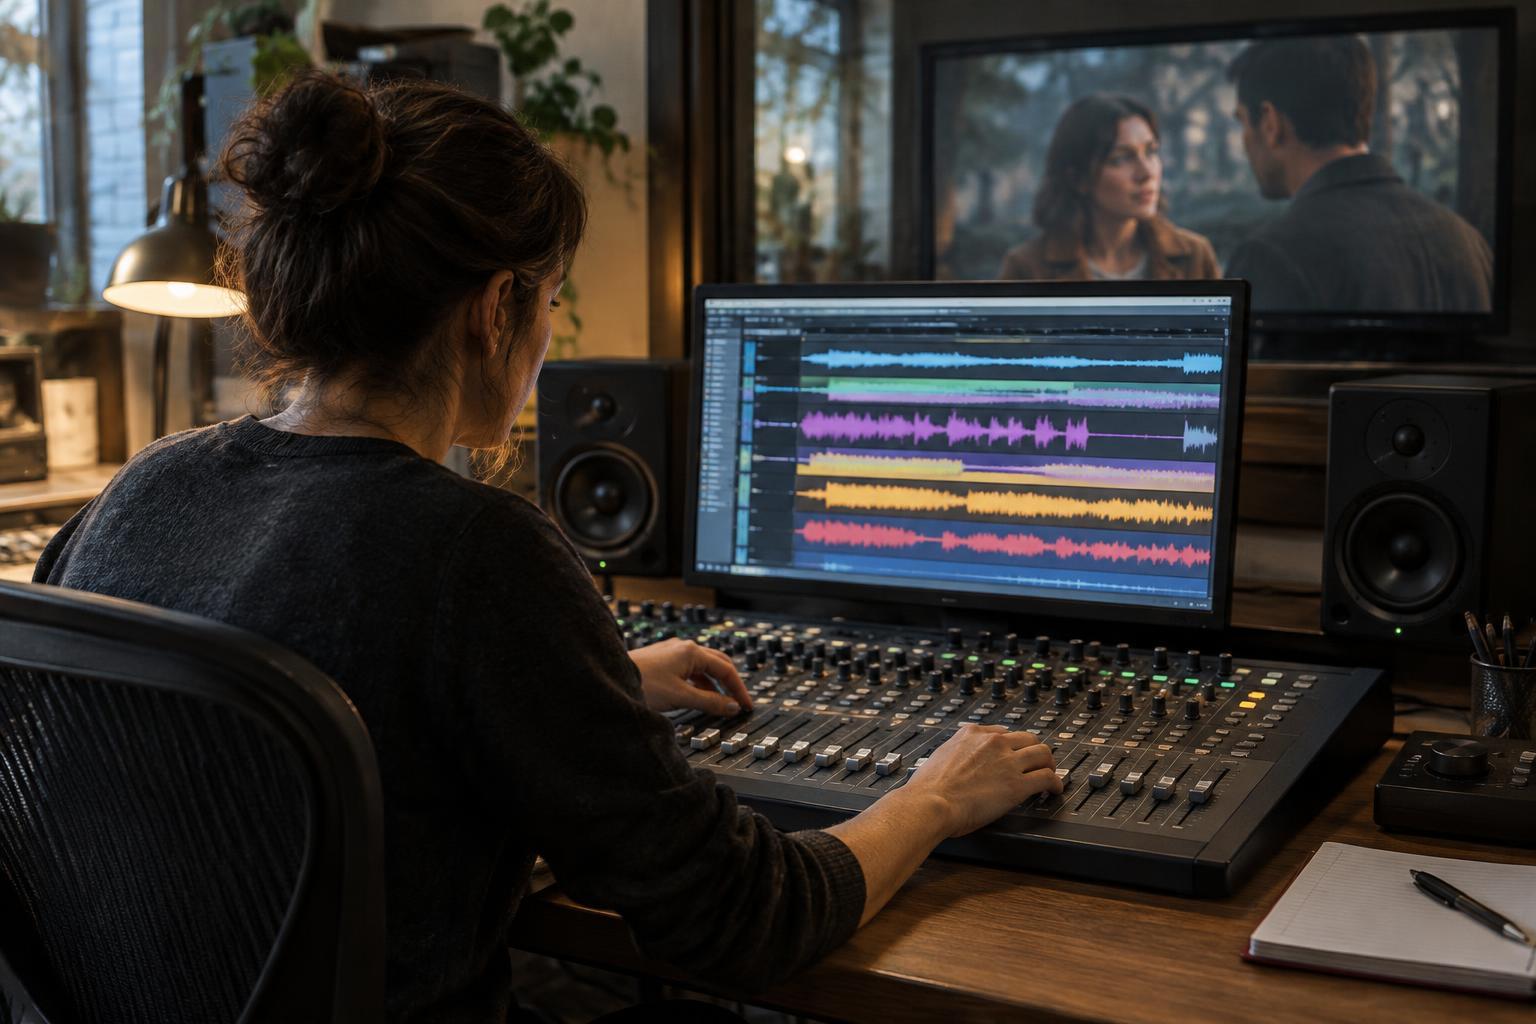
In the edit, begin with a basic listening map: where is each source, how large does the space feel, and does that impression change at a cut? Match obvious level and tonal jumps first. Then adjust ambience, reflections and details while checking the scene at a comfortable playback level. Finally, listen without watching. If the sound suggests a sensible space on its own, watch again to see whether the image and audio work together—or whether a deliberate mismatch tells the story better.