Start with what the viewer needs to see
Shot size describes how much of a subject appears in the frame. A wide shot shows the subject within a larger space, a medium shot brings the subject and nearby action forward, and a close shot concentrates on a face or detail. These labels are flexible rather than exact measurements. A shot that feels close in one scene may feel relatively open in another.
The useful question is not “Which size looks most cinematic?” but “What does the viewer need to understand right now?” A scene may need to establish where a character is, show what they are doing, or let us notice a small change in expression. Shot size directs attention to that information. It also affects what remains outside the frame, so every choice involves a trade-off.
Use wide shots to explain space and relationships
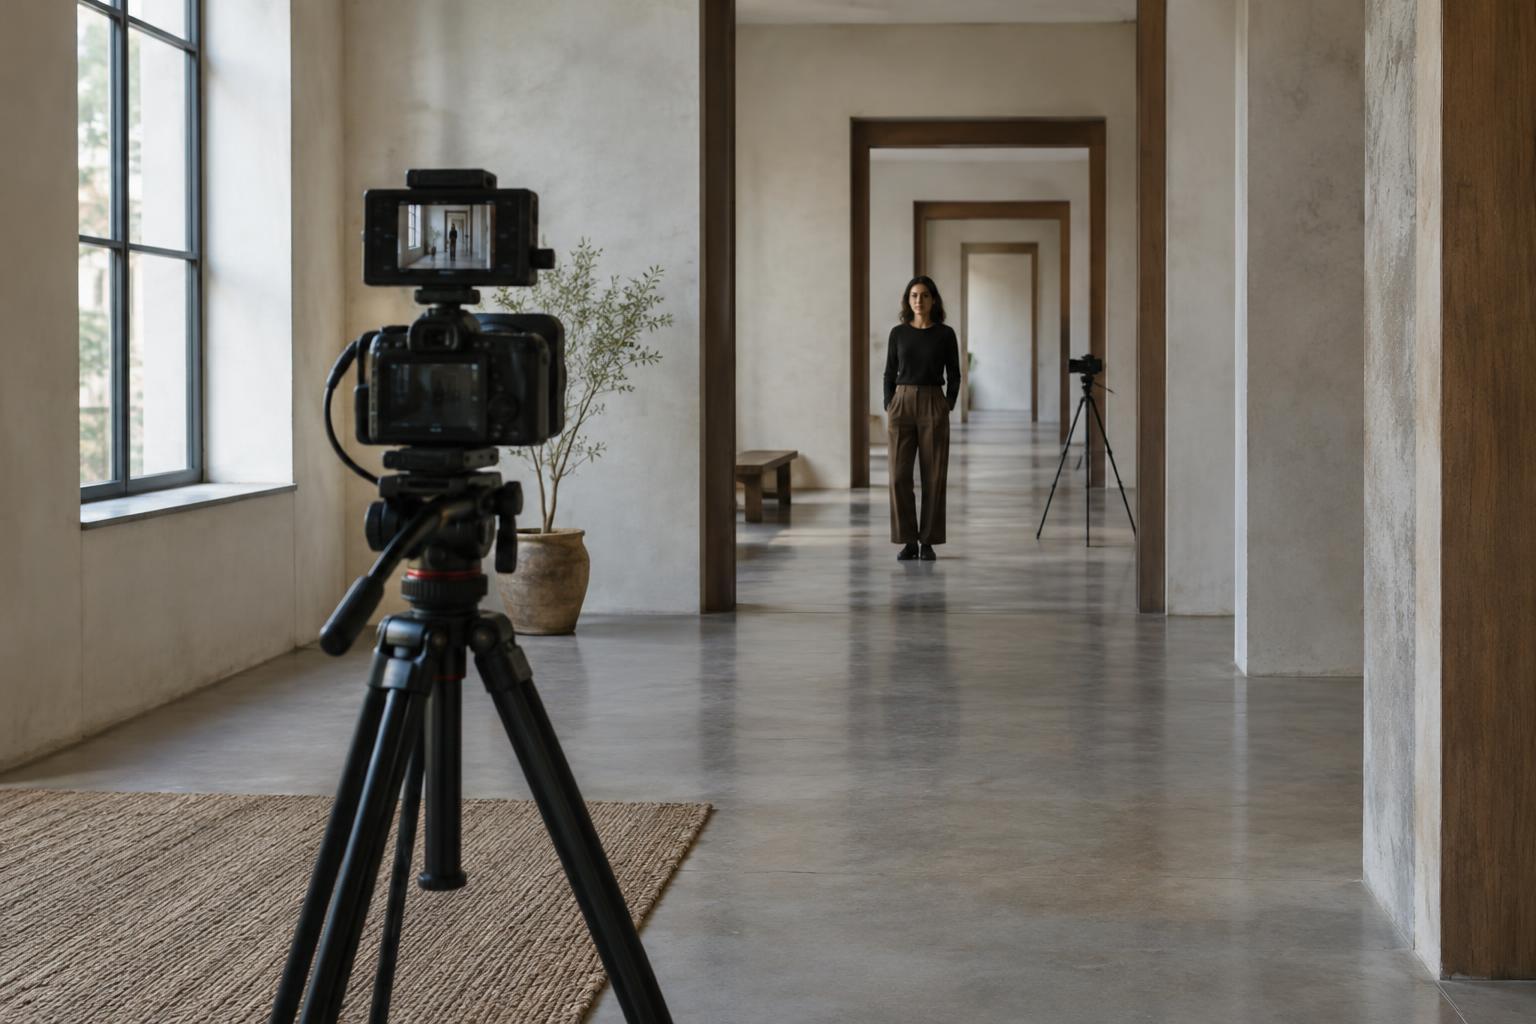
A wide shot gives the setting room to matter. It can show where people stand in relation to one another, how far someone must travel, or what obstacles occupy a location. At the start of a scene, a wide view can orient the viewer before the camera moves closer. Later, returning to a wide shot can reveal that a relationship has changed: two characters who began together may now stand at opposite ends of a room.
Wide does not have to mean distant or emotionally neutral. A solitary figure surrounded by empty space can suggest isolation; a figure dwarfed by a doorway can make an entrance feel imposing. Look at the entire frame when composing it. Background movement, bright areas, and strong lines can compete with the subject unless they support the intended focus.
The main limitation is detail. If a gesture is essential to the story, viewers may miss it in a wide frame. A wide shot can prepare them for the action, but a tighter view may be needed when that action occurs.
Use medium shots for behavior and exchange
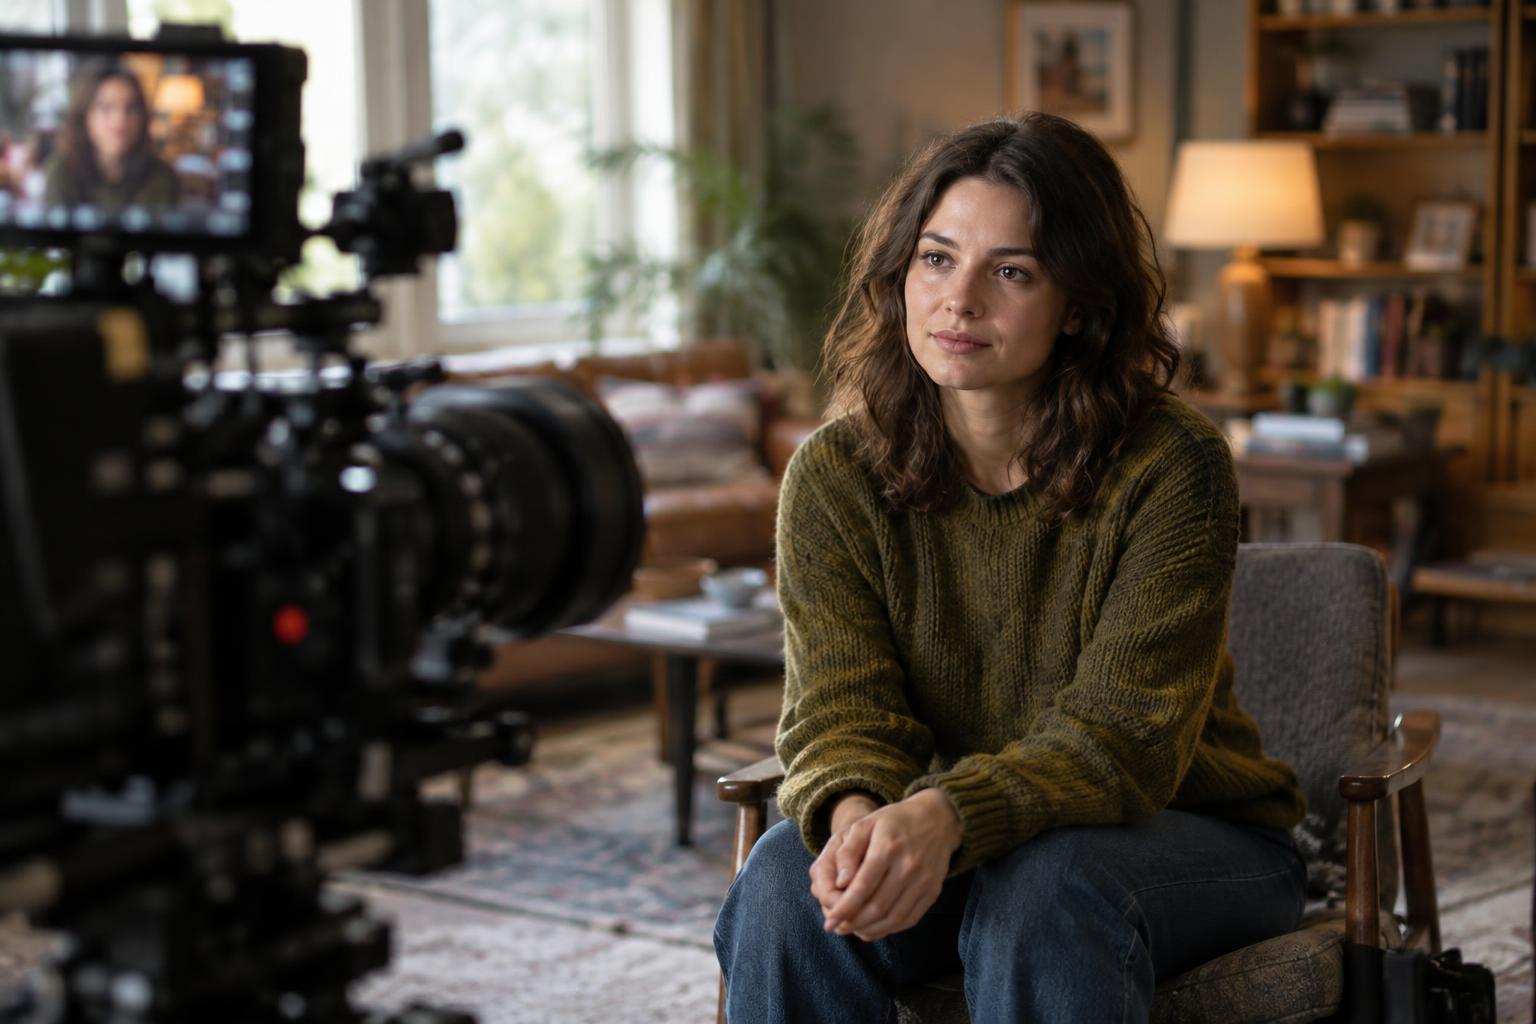
A medium shot often balances a person with enough surroundings to give their actions context. Framing someone around the waist or chest, for example, can let viewers read facial expression while still seeing a hand movement or a second person nearby. This makes medium shots useful for conversations, tasks, and moments in which body language matters as much as words.
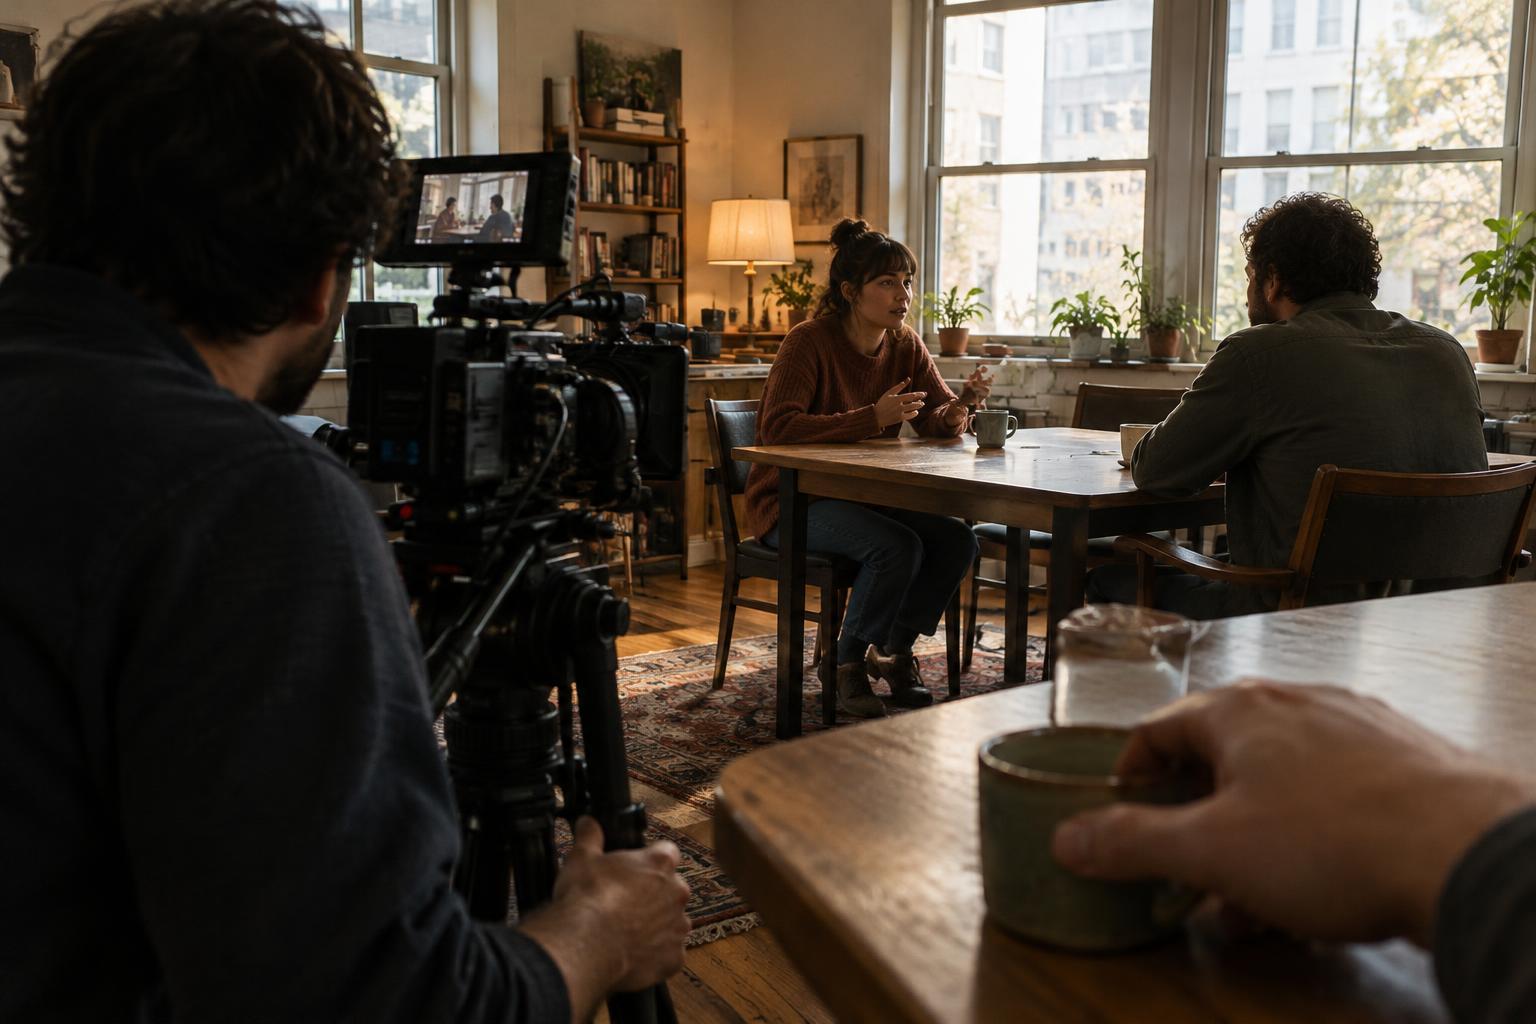
They are also helpful when blocking changes. If a character reaches across a table, turns away, or shifts toward another person, a medium frame can preserve the movement without requiring an immediate cut. For dialogue, a two-person medium shot may reveal how the speakers respond to each other in real time; separate medium shots can give each person a clearer point of view.
Because medium shots are versatile, it is easy to rely on them for an entire scene. Before settling on that approach, check whether the viewer has seen enough of the space to understand the action and whether an important detail deserves closer attention.
Use close shots to make a detail count
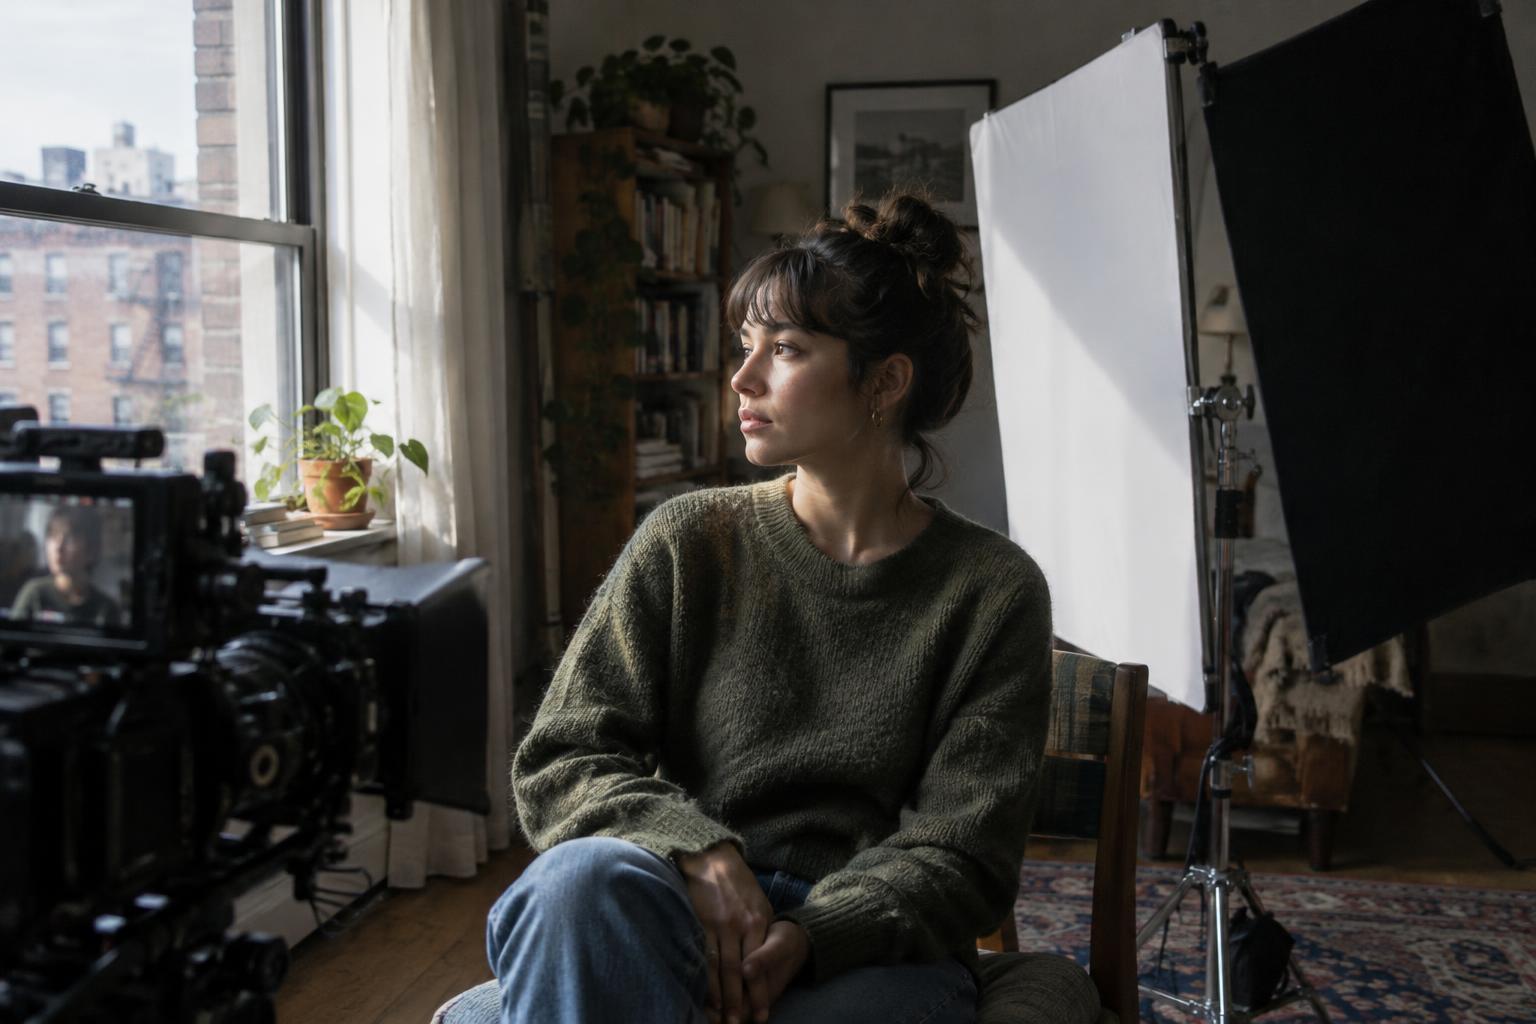
A close shot narrows attention. On a face, it can invite the viewer to notice a restrained reaction rather than a large gesture. On an object, it can make an action legible: a key turning, a note being folded, or a finger hovering over a switch. A close-up works best when the detail has a clear reason to matter in the scene.
Tighter framing removes context. That can create tension or intimacy, but it can also leave viewers uncertain about where an object is or who is looking at whom. Establishing the relationship in a wider or medium shot first often gives the close shot more meaning. If every reaction receives a close-up, none may feel especially significant.
Close shots also make small visual changes more noticeable. Focus, eye direction, lighting on a face, and the position of a hand across cuts all deserve attention. These are not reasons to avoid close-ups; they are reasons to plan them.
Build a sequence, not a checklist
A simple scene might begin wide to locate two people at a kitchen table, move to a medium view as they talk, and cut close when one quietly slides a letter away. That progression leads the viewer from place to behavior to a meaningful detail. It is not a rule that every scene must follow. Beginning on the letter could instead create a question that a later wide shot answers.
When planning coverage, identify the scene’s turning point and decide which shot size makes it easiest to read. Then consider the shots needed before and after it. Keep track of where people and objects sit in the space so cuts remain understandable. The strongest choice is often the simplest frame that shows the necessary information at the moment it matters.