What room tone is for
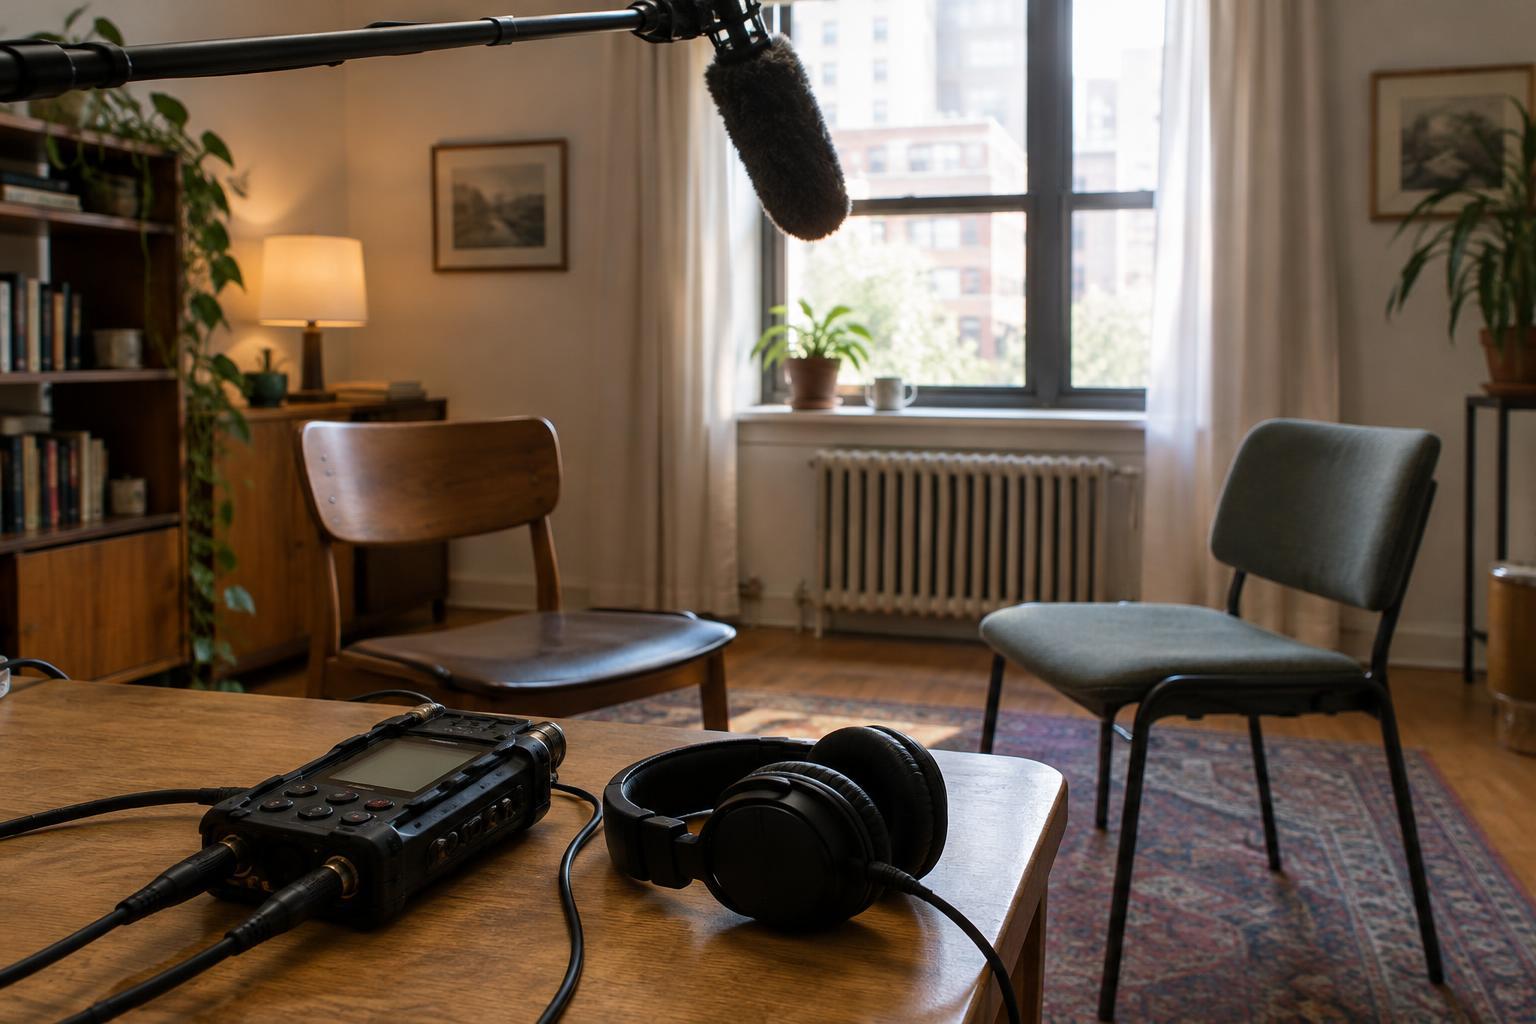
A room is rarely silent. Air systems, distant traffic, electrical hum and the natural sound of a space remain audible beneath dialogue. Room tone is a recording of that background sound without speech or deliberate action. Despite the name, it matters outdoors too: a quiet street, garden or parking lot has its own acoustic texture.
In an edit, cutting out a pause or replacing a line can leave a gap where the background suddenly vanishes. An editor can use room tone to fill that gap and help the surrounding recordings sit together. It is not a substitute for clean dialogue, and it cannot repair distortion or remove a loud interruption. Think of it as useful matching material, not a recording of perfect silence.
When and where to record it
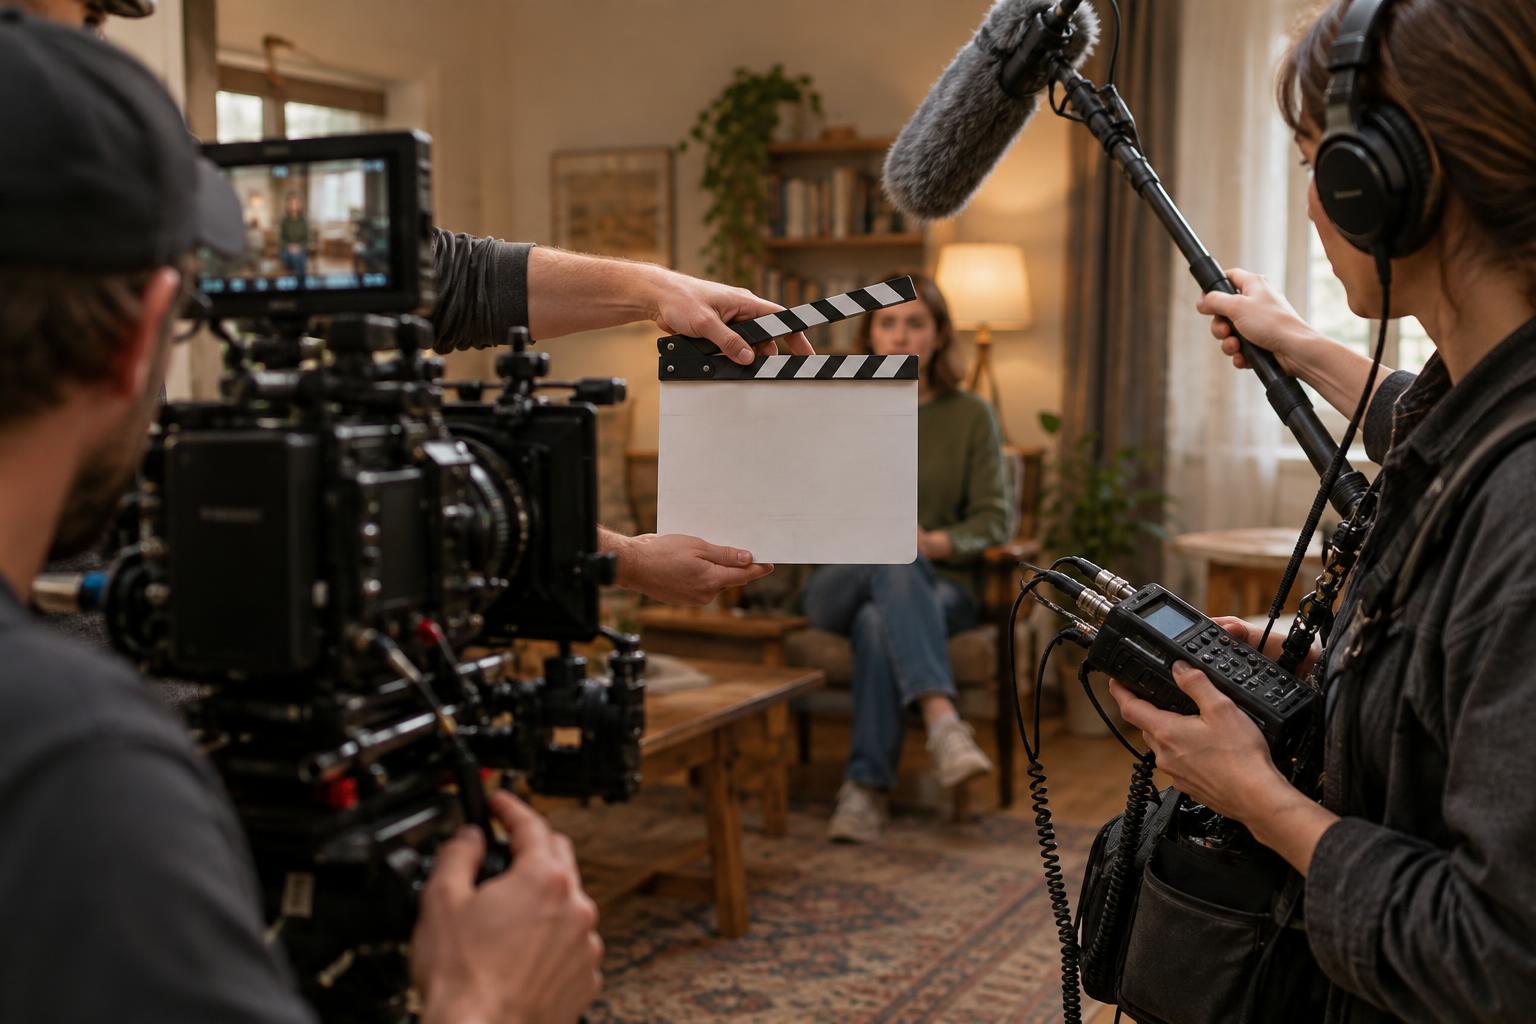
Capture room tone at each location where dialogue is recorded, preferably while the sound setup is still in place. A practical moment is just after finishing a scene: the microphone, furniture and environmental sounds are likely to be close to how they were during the takes. Ask everyone to stay in position and remain quiet rather than clearing the room first. A room full of people can sound different from an empty one.
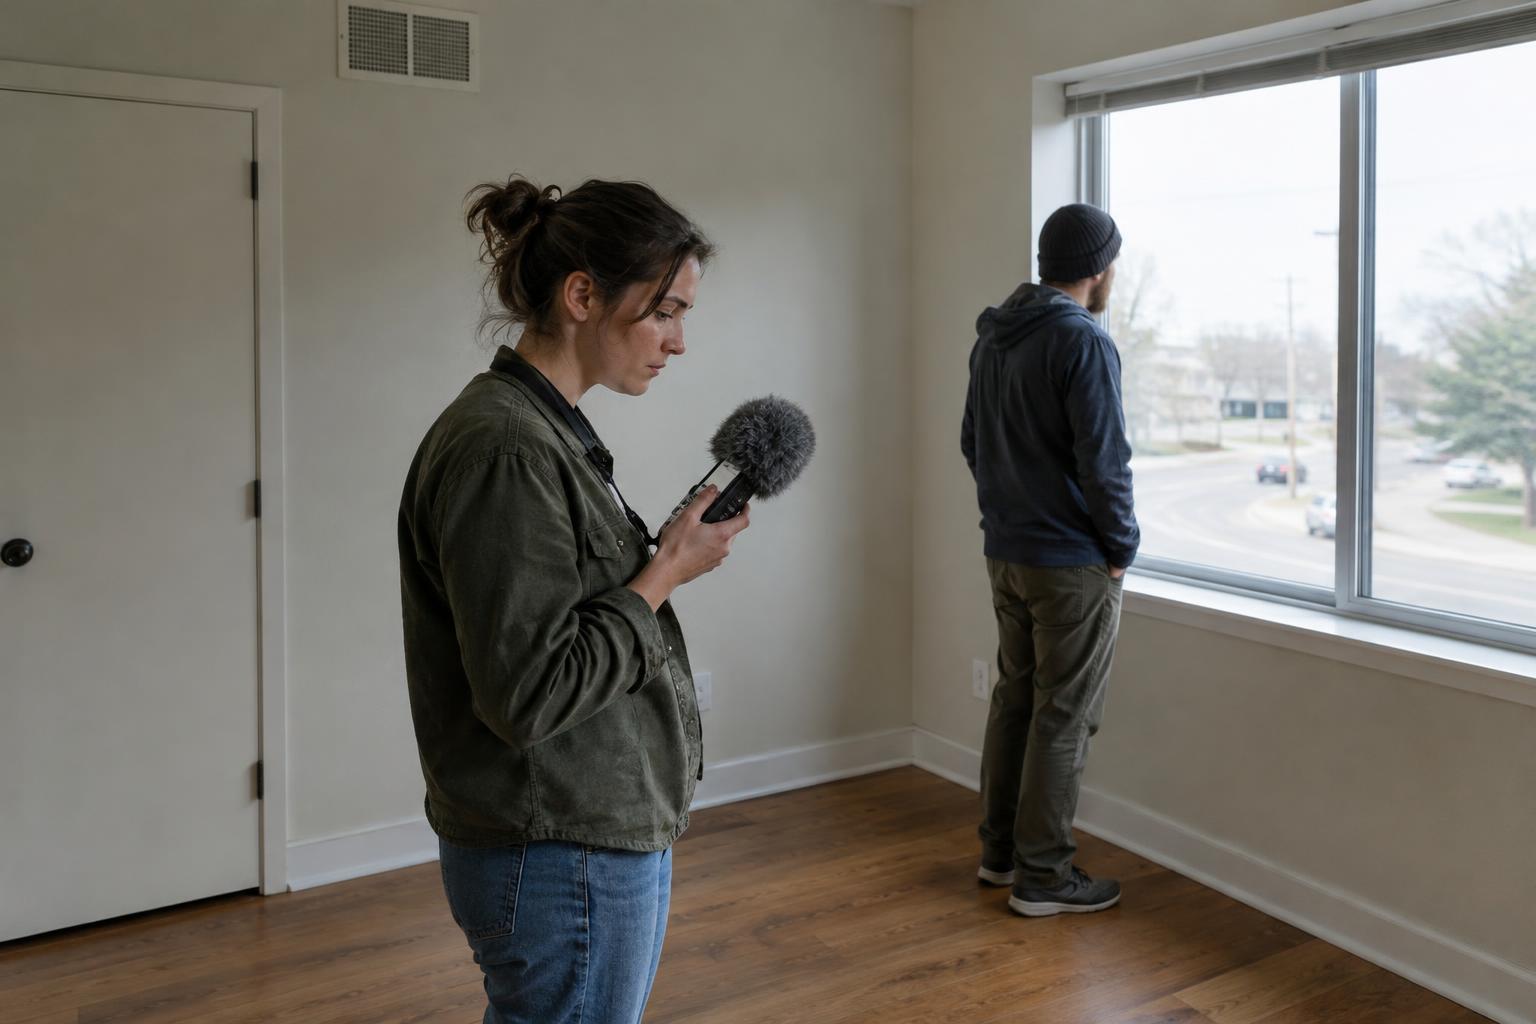
Record a new sample when something significant changes. Moving from a wide shot to a close-up may change the boom microphone’s position and the balance between voice and background. Opening a door, switching an air system on or off, or moving to another part of a building can also create a noticeably different sound. On an exterior, shifting wind or traffic may make separate samples useful. You do not need to stop after every take; aim to cover the distinct conditions an editor may need to match.
How to make a useful recording
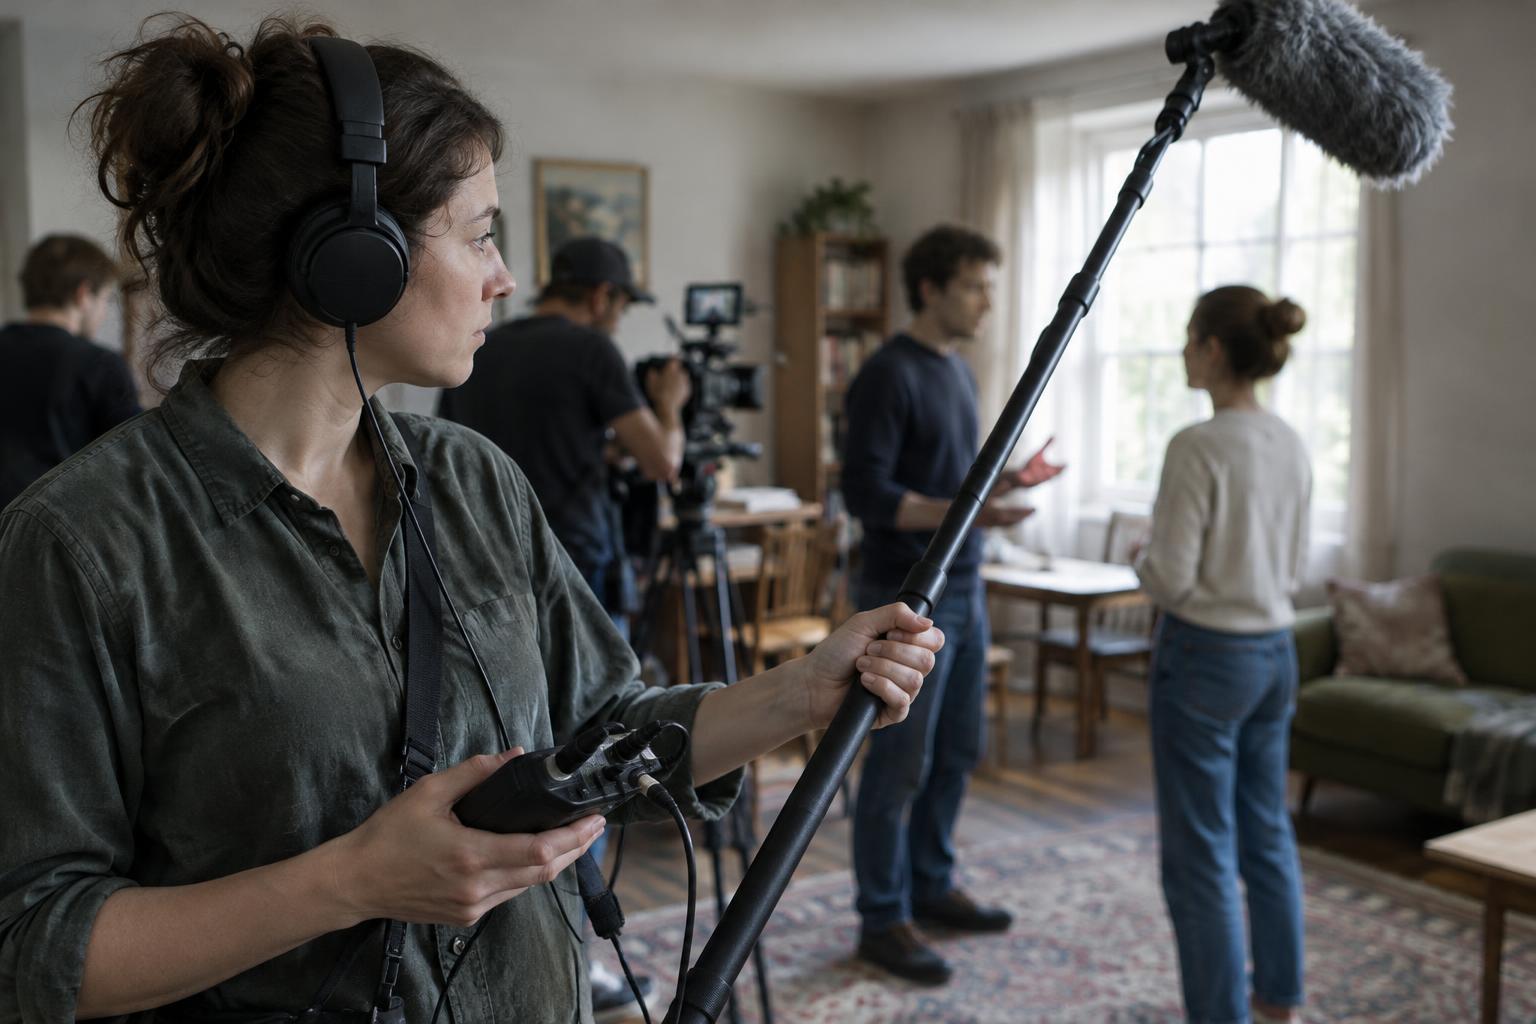
Use the same recorder, microphone, placement and settings used for the dialogue whenever practical. For a boom recording, hold the microphone at the approximate position and angle used in the scene, rather than setting it on a table. If dialogue was also captured on lavalier microphones, record quiet material from those tracks too. Keep the recording level consistent with the dialogue setup; raising the gain dramatically changes the character of the noise.
Call for quiet, let any movement settle, then record a continuous stretch. Crew should avoid whispering, walking, handling equipment or putting phones away during the take. Actors can stay where they were, but should avoid clothing rustle and heavy movement. Listen on headphones: a chair squeak, passing vehicle or changing appliance may make a sample less useful. If the soundscape changes during the recording, keep rolling or capture another clean stretch rather than assuming the whole take is unusable.
Give the file an identifiable label or spoken slate before the quiet portion begins. A scene, location or setup note can save time later, especially when several rooms sound similar. Keep notes about unusual conditions, such as an air conditioner being turned off for dialogue. If possible, record both the condition used for the take and any alternate ambience the scene might need.
How much is enough?
There is no universal duration, but about 30 to 60 seconds of uninterrupted sound per distinct setup is a workable target for many small productions. A longer take can be valuable when the background has a slow pattern, such as traffic rising and fading or an appliance cycling. The goal is not to collect minutes of arbitrary silence; it is to give the editor enough clean material to choose from without repeating a short, recognizable sound.
If time is tight, prioritize one clean take that matches the main dialogue setup. Do not sacrifice the take by rushing into conversation after only a few seconds. Conversely, if a location is especially unpredictable, allow extra time and listen for a representative stretch. Record separate wild tracks for specific sounds the scene needs—a refrigerator motor, a hallway crowd or a door closing—rather than relying on room tone to provide those effects.
Using room tone in the edit
Lay room tone beneath dialogue edits where the background drops away, and use short fades to blend it with the production sound on either side. Listen for changes in hum, hiss or outdoor ambience, not just for whether the splice is visible on a timeline. A steady bed can make a sequence feel continuous, but repeating a brief fragment may create an audible rhythm; draw from different parts of a longer recording when needed.
The best room tone belongs to the same acoustic world as the dialogue. That is why recording it on set, under matching conditions, is worth a small pause in the schedule. A clear label and a usable stretch of quiet can give an editor more freedom to shape a scene without calling attention to the cuts.