What negative fill does
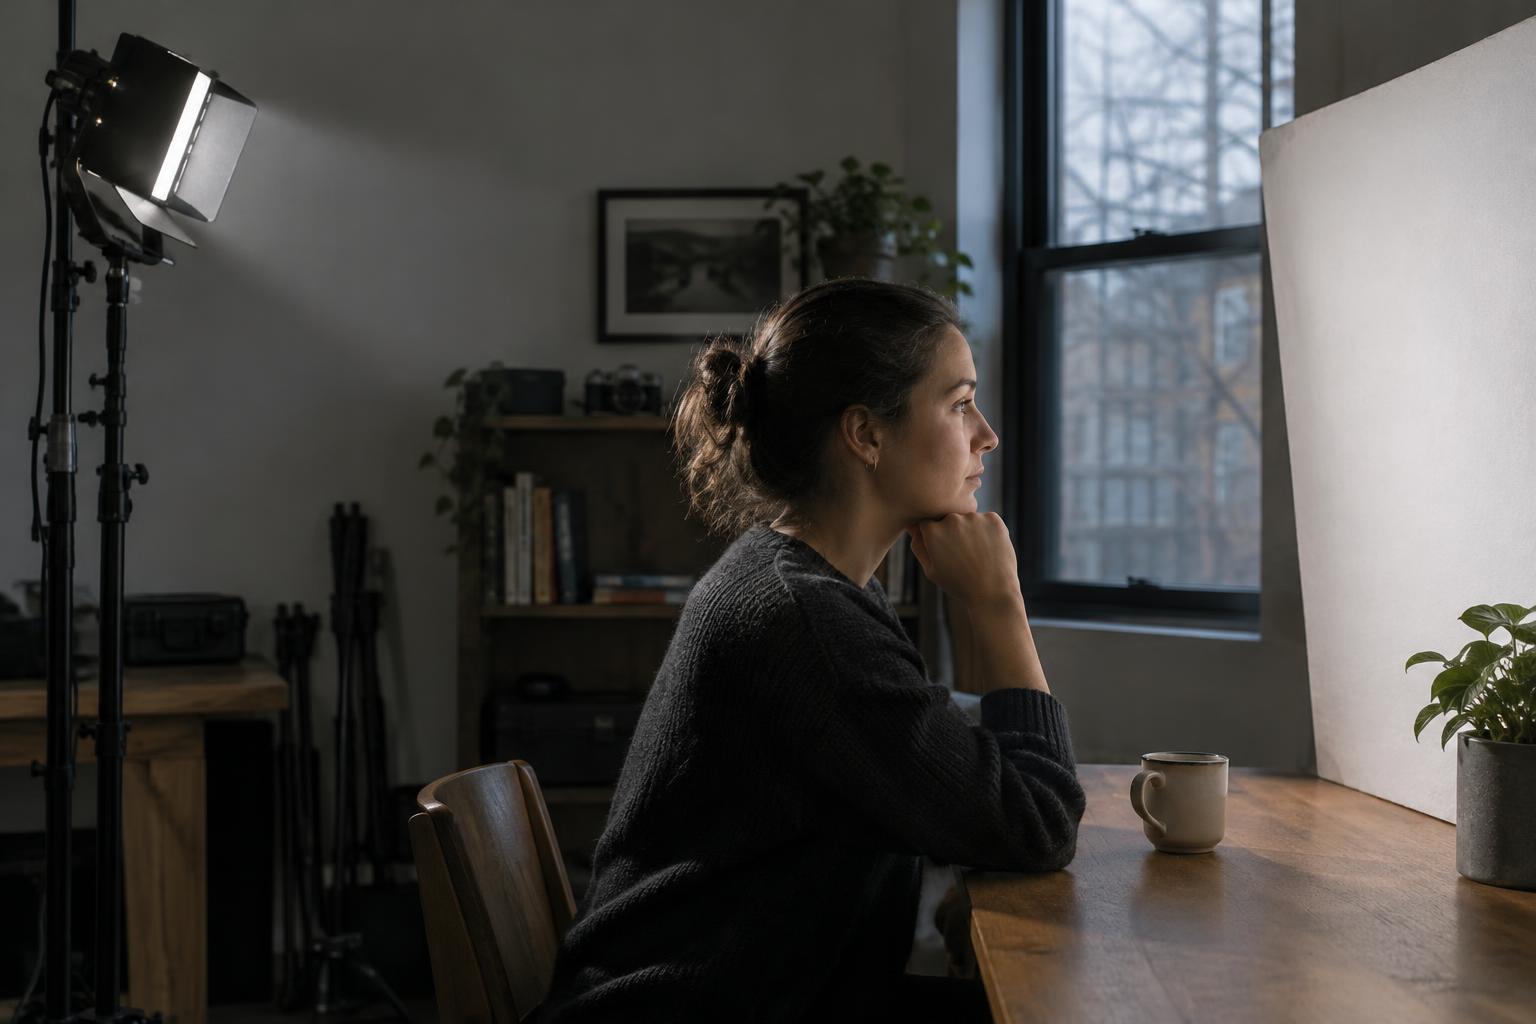
Light rarely travels only from a lamp or window to an actor. It also bounces off walls, ceilings, floors and nearby objects. Those reflections can brighten the side of a face that was meant to remain in shadow. Negative fill is the practice of placing a dark, nonreflective surface near that side to absorb some of the bounce. Rather than casting a hard shadow like a flag blocking a direct beam, it reduces the ambient light that would otherwise soften the face.
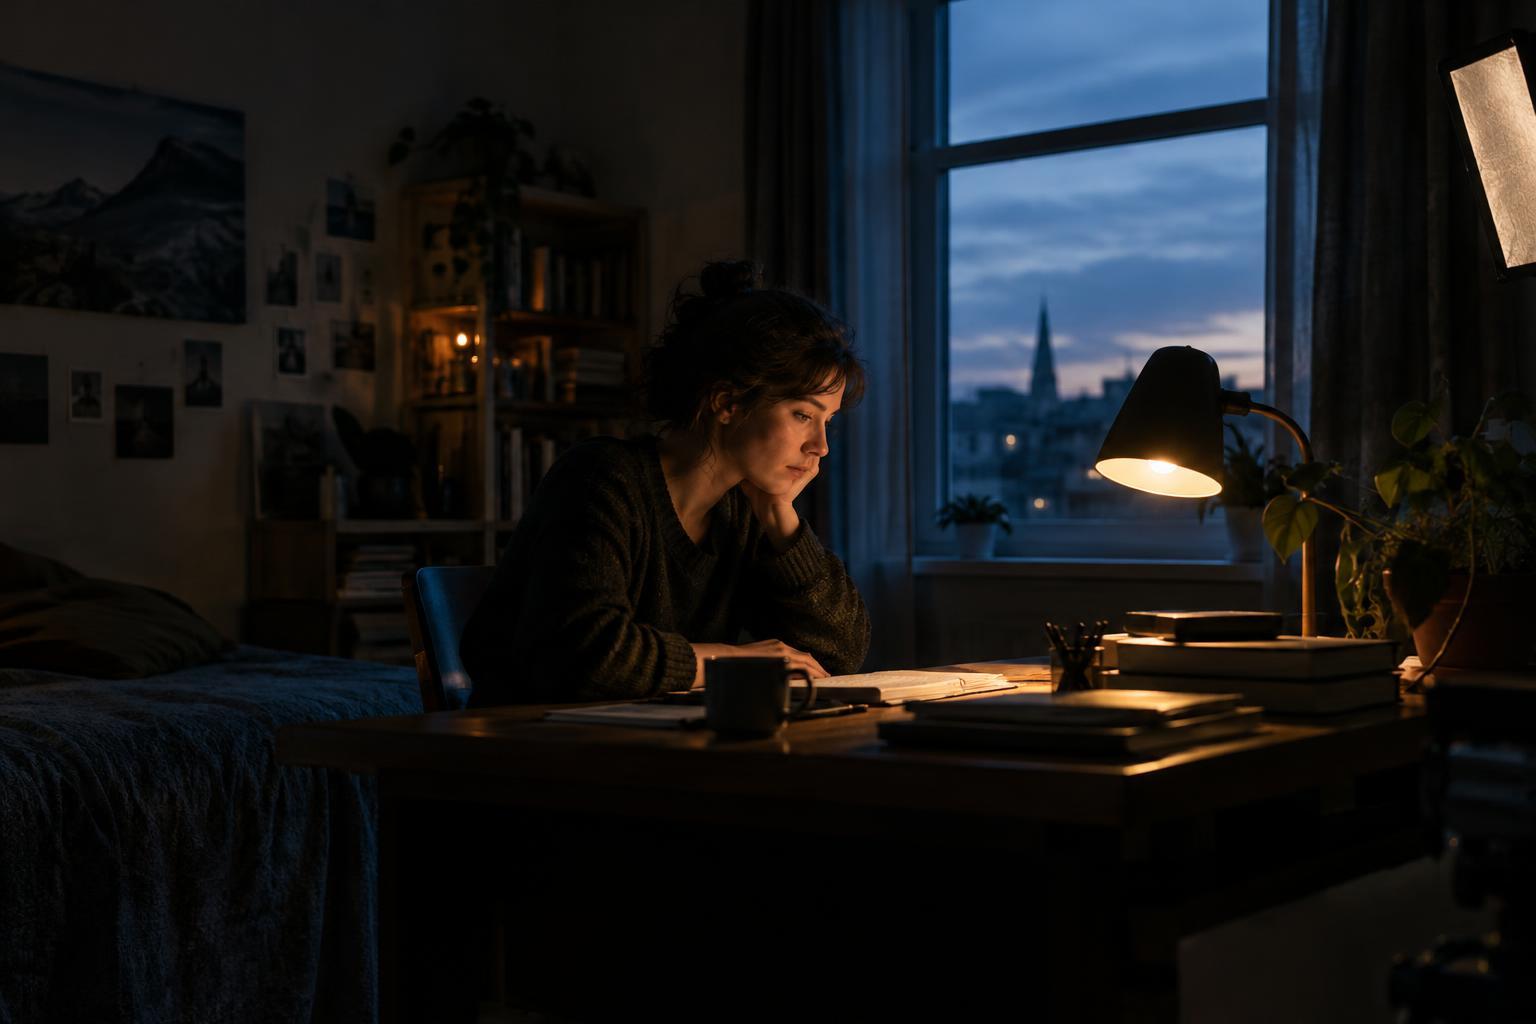
The result can be subtle or dramatic. A small reduction in fill may make a cheekbone more visible; a larger one may separate the lit and unlit sides of the face for a more graphic portrait. Neither is automatically more cinematic. The useful question is whether the contrast supports the scene and leaves the expression readable.
Start with the light you already have
Before adding negative fill, identify the main direction of light. It might be a window, a softbox or a practical lamp supported by another source. Watch the face while the actor stands or sits in position. If both sides appear evenly bright despite a clear key light, look for pale surfaces sending light back: a white wall beside the camera, a low ceiling or a light-colored shirt just outside the frame.
Try a simple test with a piece of black fabric, a black foam board or a purpose-made black flag. Hold it beside the shadow side of the face, outside the camera frame, and compare the image with and without it. This quick comparison shows whether bounce is the problem. If nothing changes, the dark surface may be too far away, too small, or positioned where it cannot intercept the relevant reflections.
Place it for control, not maximum darkness
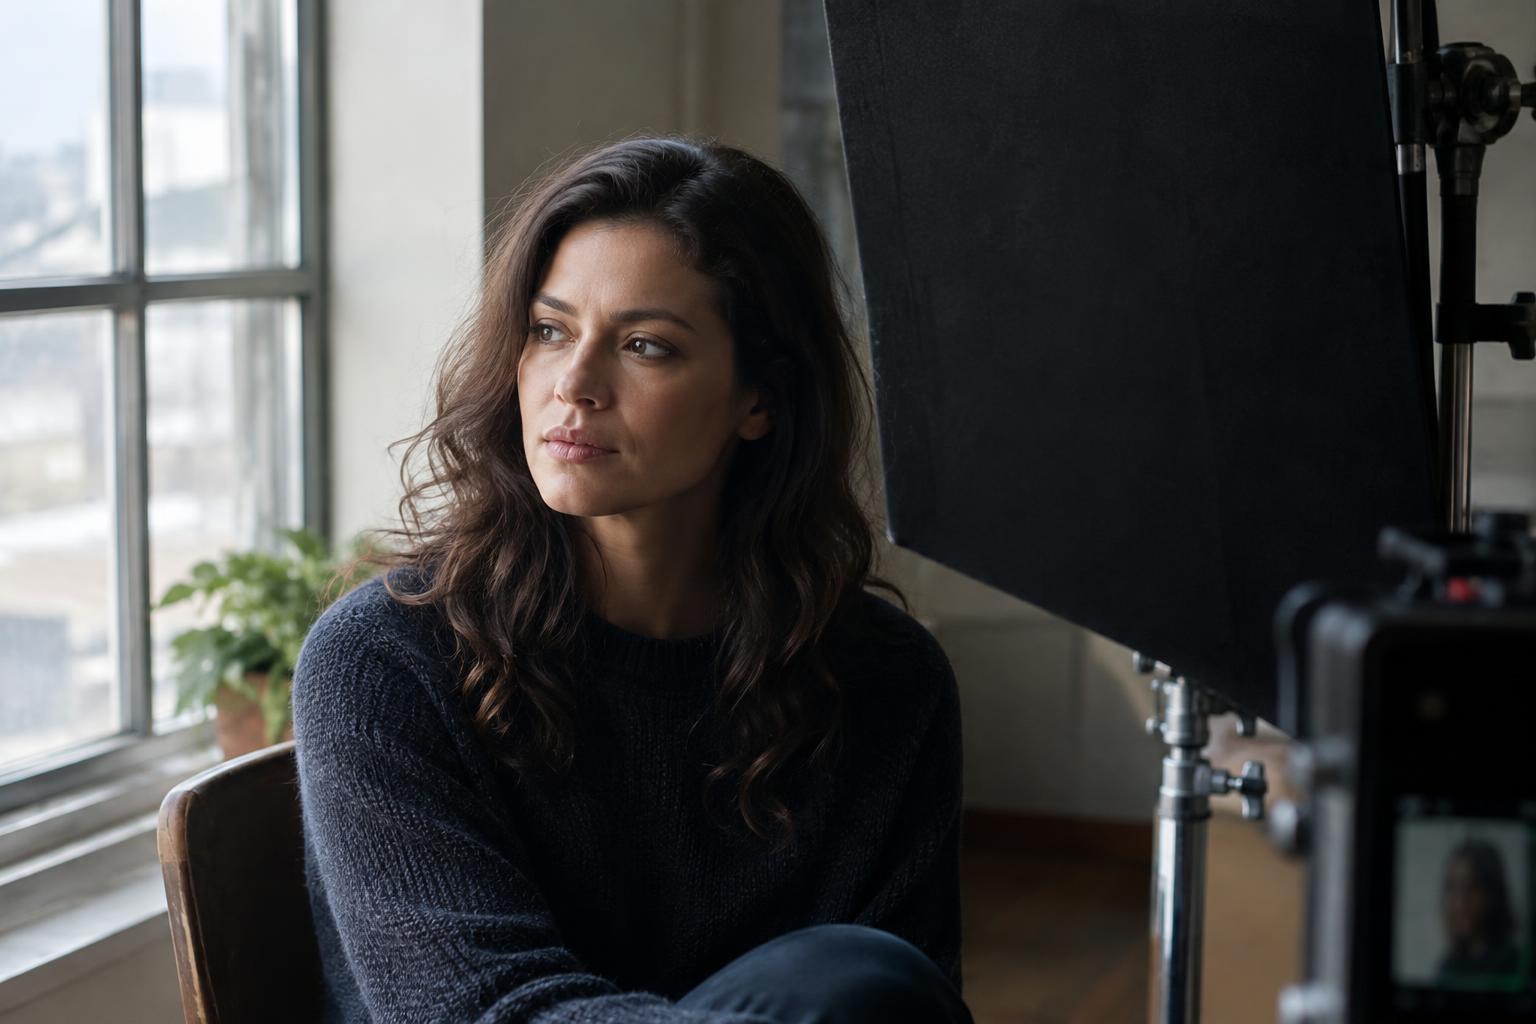
A common starting point is a dark panel near the actor on the side opposite the key light. Move it closer to deepen the shadow, then pull it back until the face has the amount of shape you want. A larger panel covers more of the actor’s surroundings and can have a stronger effect than a small card. Angle and height matter too: a panel beside the cheek changes the face differently from one that also blocks bounce reaching under the chin.
Keep an eye on the eyes. Darkening one side of the face may also remove the light that gives an eye definition. If the eye disappears more than the scene calls for, ease the panel away, change its angle or retain a little controlled fill. Negative fill need not be an all-or-nothing choice. It is one control among several, alongside key-light position, background brightness and the actor’s orientation.
Secure stands and panels so they cannot tip toward performers or crew, and allow room for movement. A perfectly placed panel that blocks an actor’s mark or appears in a wider shot is not yet a workable setup.
Judge the effect through the camera
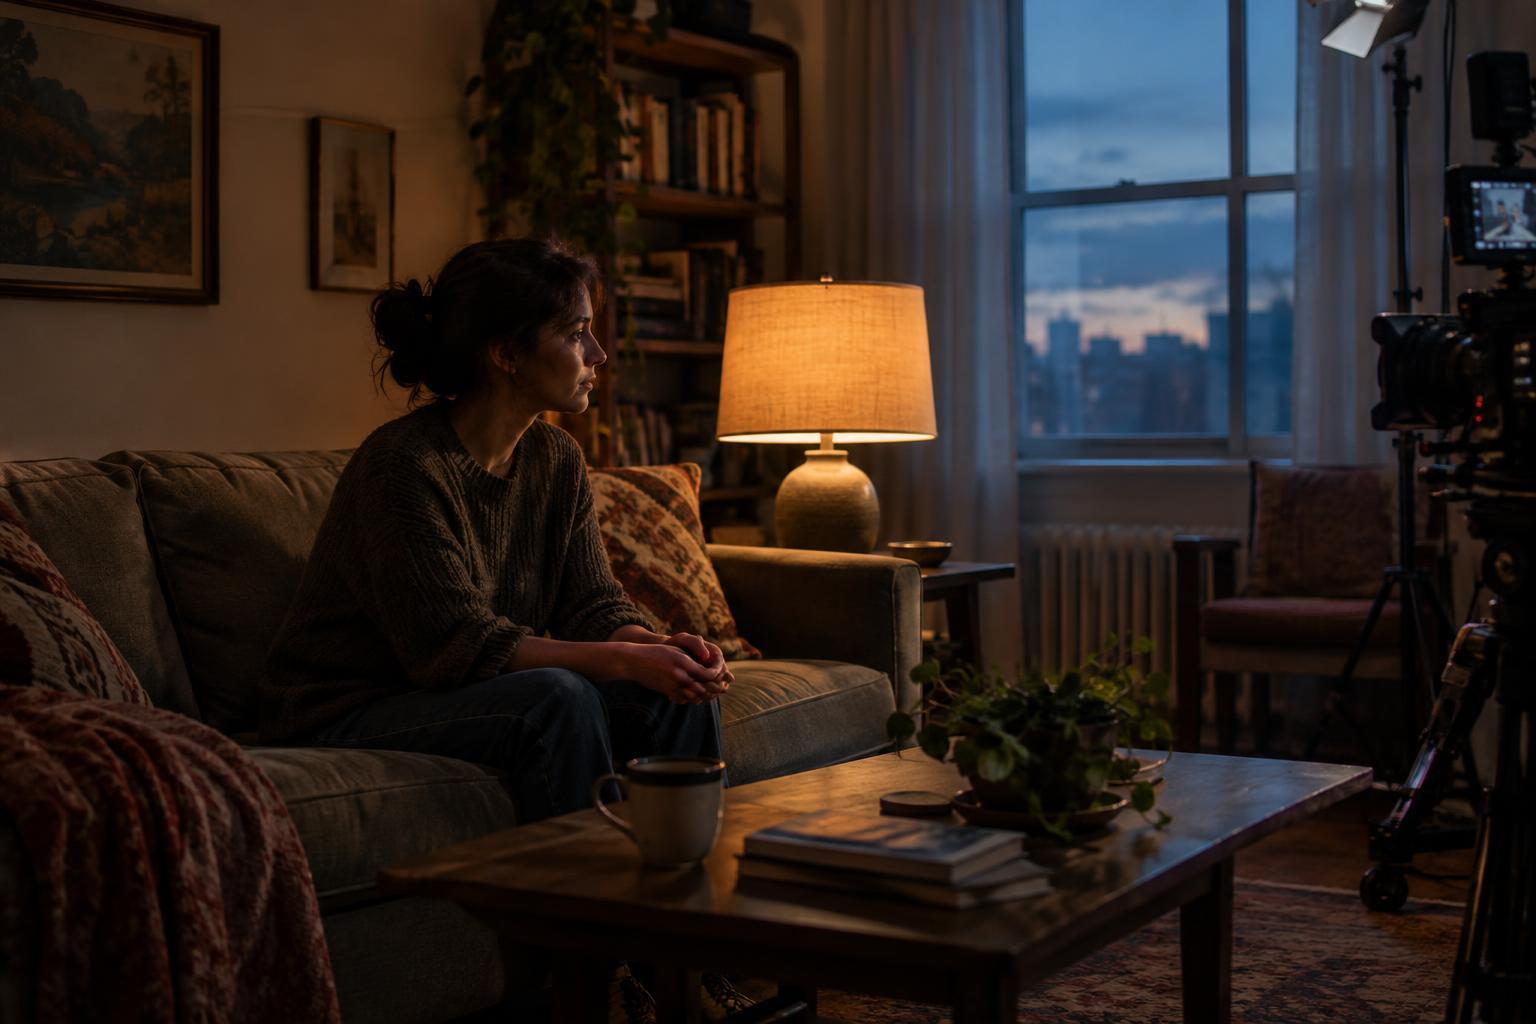
Your eyes adapt to a dark room more readily than a camera image may suggest. Check the shot on a monitor rather than judging the setup only while standing beside the actor. Compare the lit side, the shadow side and the background at the exposure you intend to use. If you raise exposure to rescue a shadow that has become too deep, you may also brighten the key side and undo the balance you liked.
Test the effect at the framing you will actually shoot. In a close-up, a small change beside the face can be obvious; in a wide shot, the same panel may affect only a small part of the image or enter the frame. Hair, wardrobe and skin tone can also change how the contrast reads. Adjust for the person and scene in front of the lens rather than relying on a fixed panel position.
Keep the shape consistent across the scene
When coverage moves from a wide shot to close-ups, negative fill can quietly change the apparent direction and mood of the light. Note which side of the actor was dark, how close the panel sat, and whether the actor turned into or away from it. A simple phone photo of the setup can help you restore it after moving the camera, provided you also check the result on the monitor.
For dialogue, consider how the contrast relates to both characters. They do not need identical lighting, but an unexplained jump in shadow depth may draw attention during an edit. Treat darkness as something you place deliberately, not merely the absence of another fixture. When it helps direct attention to a face and suits the emotional tone, even a modest piece of black material can do meaningful work.