What makes lighting feel motivated?
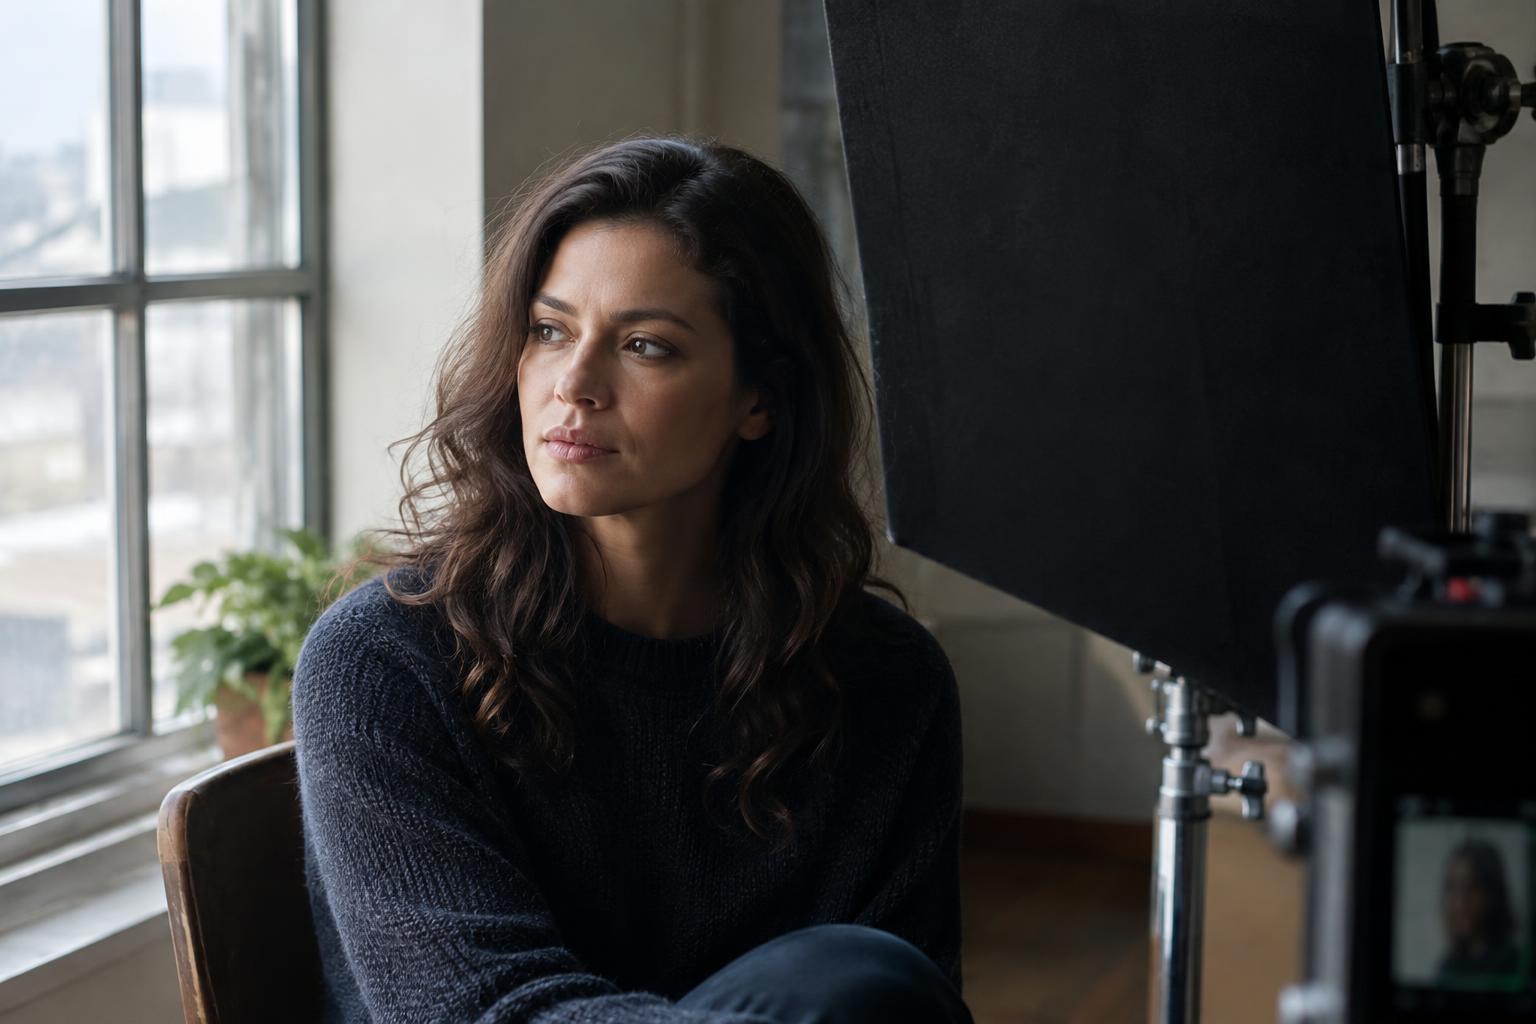
Motivated lighting gives the audience a plausible reason for the light they see. A character sits beside a window, so daylight shapes their face. A kitchen pendant suggests why the table is bright while the corners fall dark. The visible source does not have to provide all the light on camera. It simply establishes a logic that the rest of the lighting can follow.
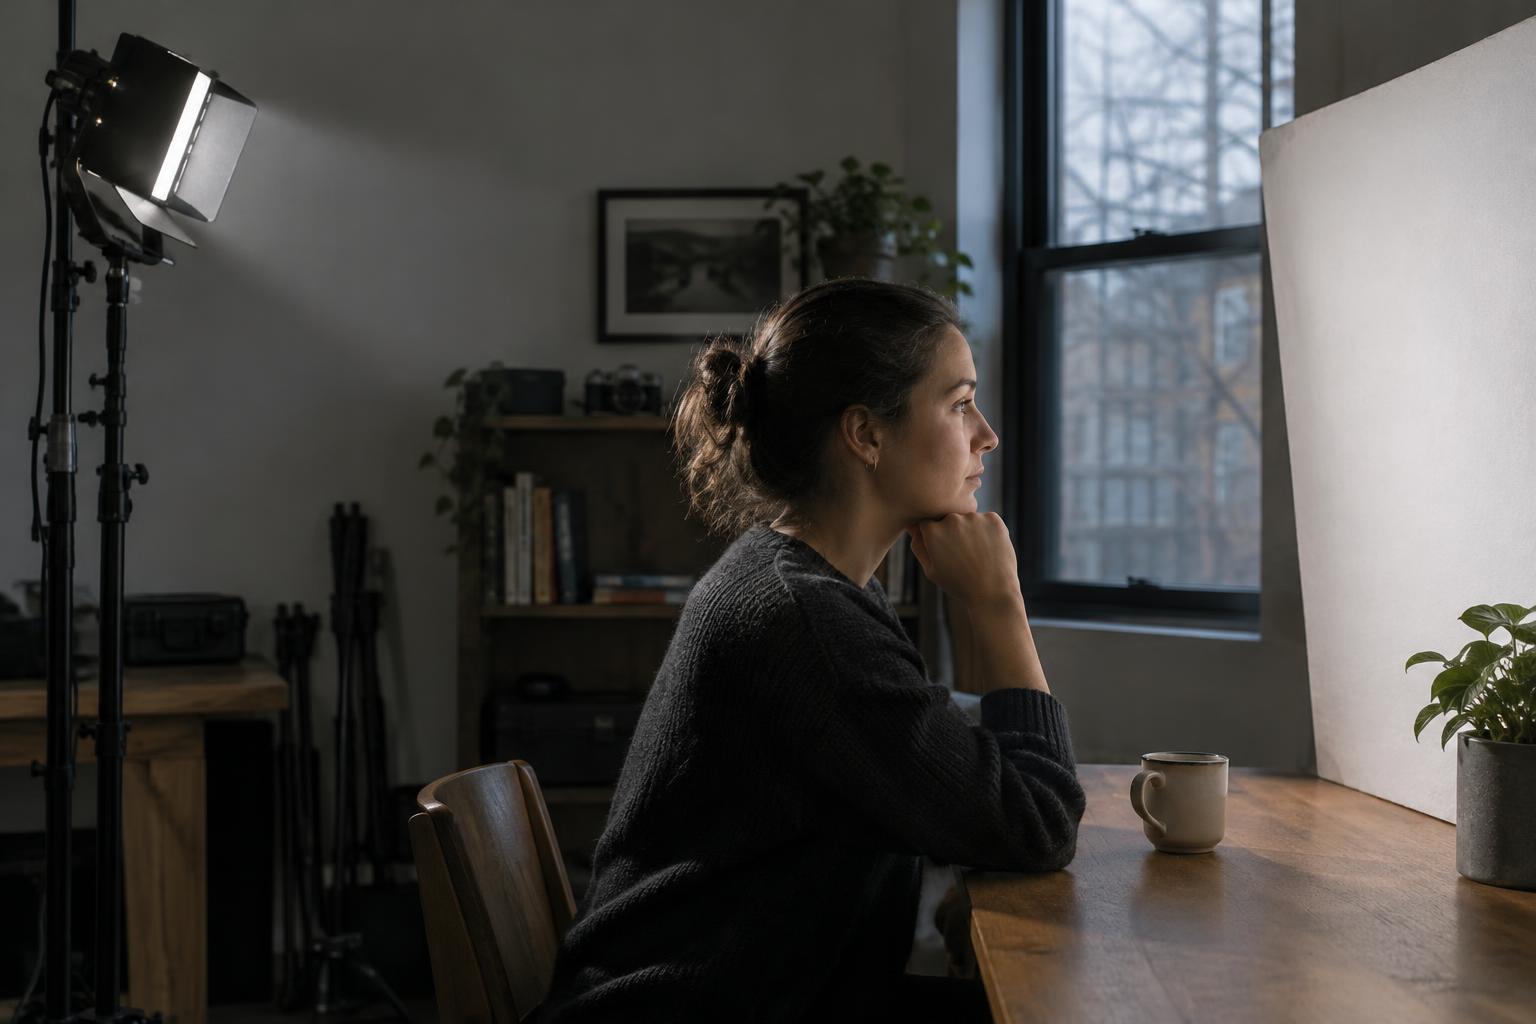
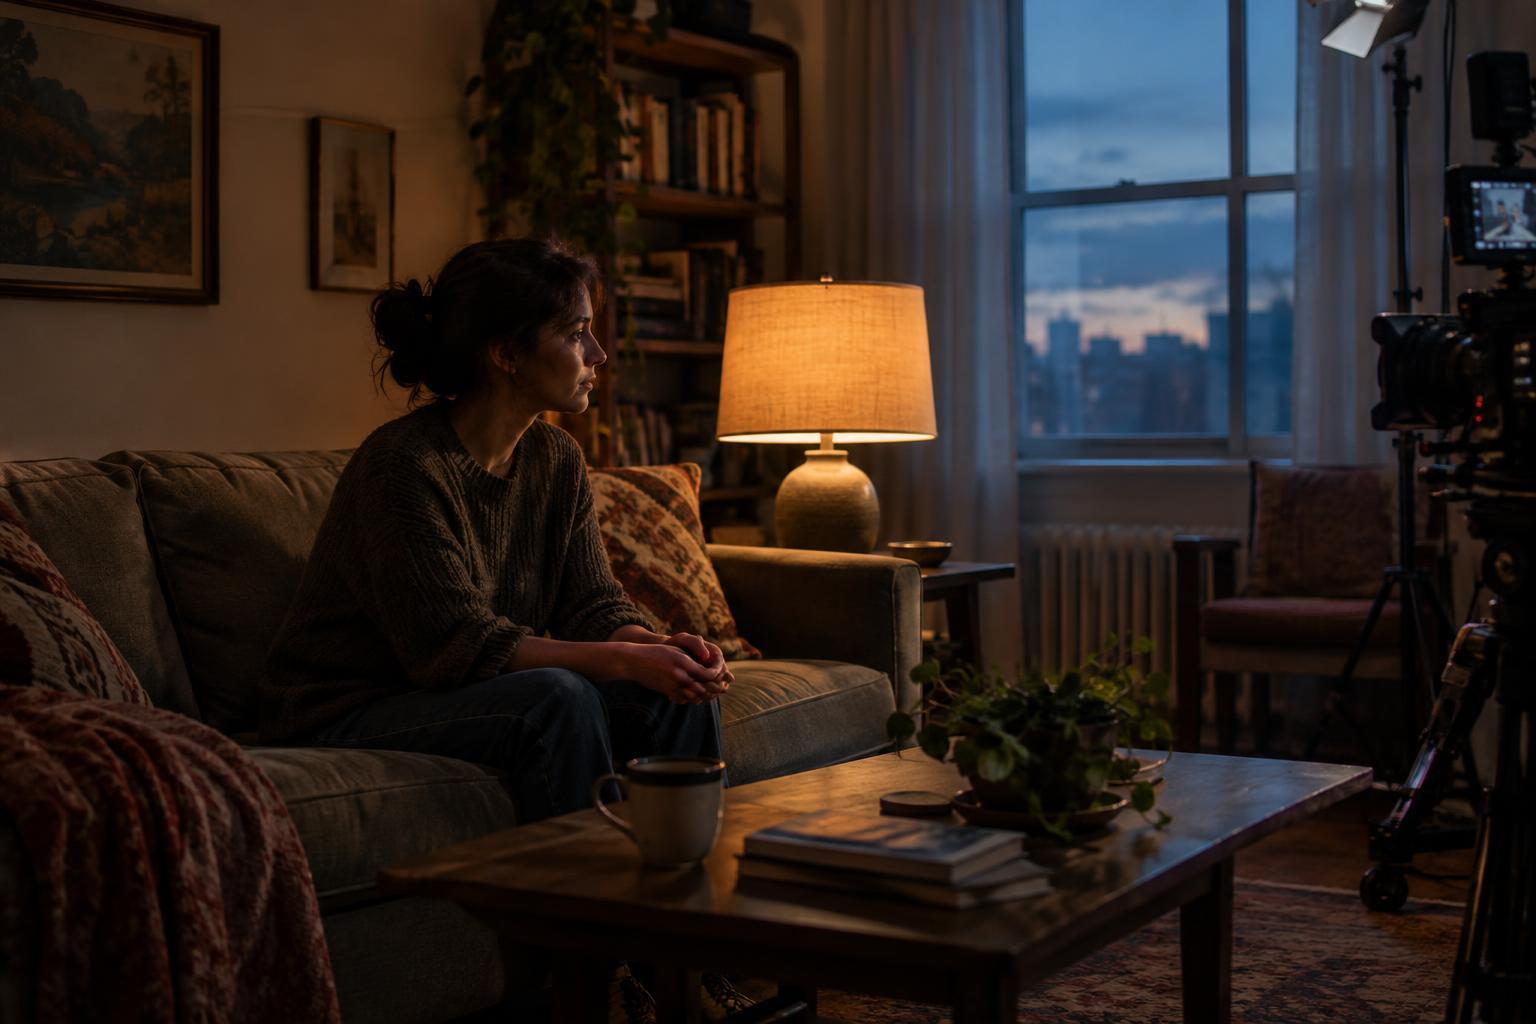
That distinction gives filmmakers room to work. A practical lamp in the frame may be too dim to illuminate an actor, or it may appear harsh when exposed for the face. Another fixture outside the frame can extend the lamp’s effect. If its direction, color and shadow pattern agree with the lamp, the audience is likely to read the result as one coherent source rather than two separate setups.
Start with the room and the story
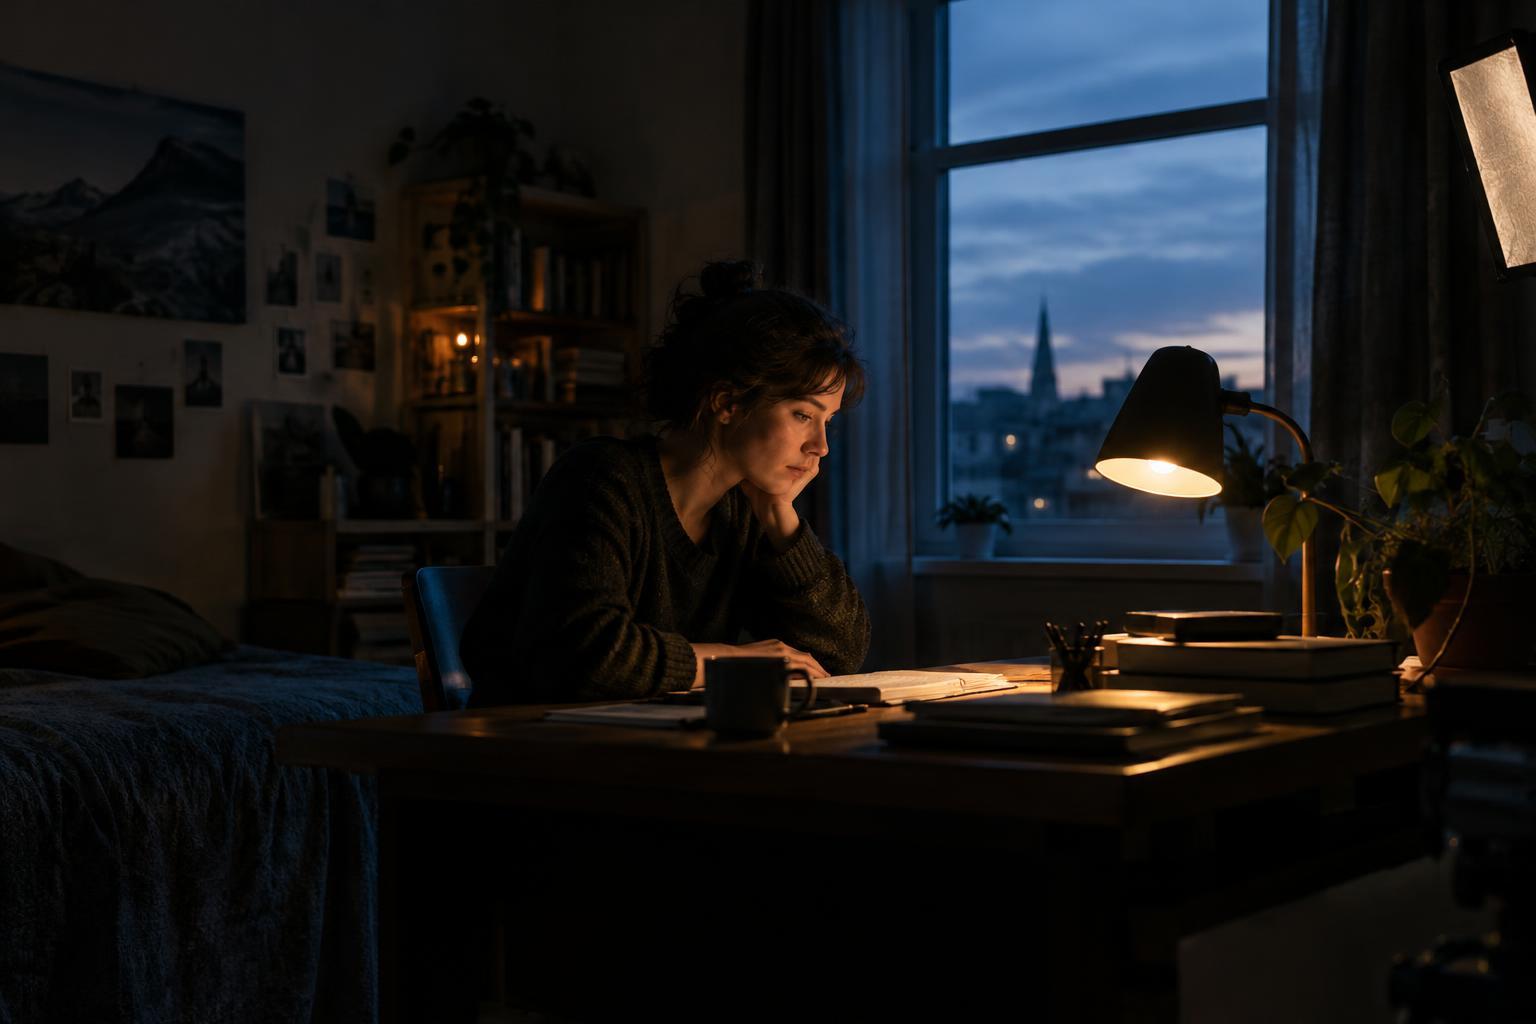
Before placing a light, look at the location as a character would. Where are the windows? Which lamps would someone actually turn on? Does a doorway lead to a brighter space? Choose the source that makes sense for the scene, then decide what it should reveal or conceal. A window can make a conversation feel open and ordinary; a narrow pool from a bedside lamp can leave much of the room uncertain.
The source should also suit the action. If a character walks across a room, a single small lamp may not plausibly light every step in the same way. You might let them move through brighter and darker areas, or establish another source where they are going. Mapping those changes before the camera rolls helps the lighting support the blocking rather than fight it.
Motivation is not the same as realism. A scene can exaggerate contrast, soften shadows or favor a face over a background and still feel grounded. The useful question is whether the lighting choices appear to belong to the world of the scene.
Extend a source without losing its character
Once you have chosen a source, study what kind of light it would produce. A large window tends to suggest a broad direction of light, while a bare bulb suggests a smaller, more concentrated one. Placing an additional light along that same general path helps preserve the illusion. Its exact position can change to flatter an actor or clear the camera, but an unexplained shadow pointing toward the window may break the effect.
Brightness matters as much as direction. If a table lamp is the apparent source, the wall and face nearest it would usually have some relationship to its glow. They do not need to match perfectly, but the lamp should not look powerless beside an evenly lit room. Adjusting the lamp, the added light and the camera’s exposure together often works better than trying to solve each one in isolation.
Color can reinforce the connection. A warm practical may justify a warmer tone on nearby skin, while a cool-looking exterior may suggest a different tone at the window. Avoid assuming that every source needs an extreme color. Subtle differences are often enough to tell viewers where light comes from without calling attention to the technique.
Use darkness and spill with intention
A believable source does not have to illuminate the whole set. Controlling where light stops is part of making it feel specific. Curtains, doorframes and ordinary objects can shape a beam within the scene. Off camera, flags or other light-blocking tools can keep an added fixture from brightening areas the supposed source should not reach.
Check the background as well as the actor. If a window is doing the apparent work, a bright wall on the opposite side of the room may need a reason. Conversely, a little background separation can help viewers understand the space, even when its source is not prominent. Motivated lighting is most convincing when every bright patch and deep shadow feels considered, not necessarily explained in detail.
Test the illusion across the whole scene
A lighting setup may look convincing in a still frame but change meaning once the camera or actors move. Watch a rehearsal from each planned angle. Does the apparent source remain on the same side of the character? Does a practical suddenly become visible without seeming connected to the light on their face? Small adjustments to blocking, framing or fixture position can resolve those distractions before filming.
For scenes shot in pieces, note the position and brightness of practicals and the direction of the main shadows. Those details make it easier to maintain continuity between wide shots and close-ups. The goal is not to reproduce every shadow exactly; it is to preserve the scene’s lighting logic.
Finally, judge the image at the intended viewing size, not only beside the equipment. If viewers can follow the action and sense where the light belongs, the motivation is doing its job. The strongest setups often feel effortless precisely because the work behind them stays out of sight.