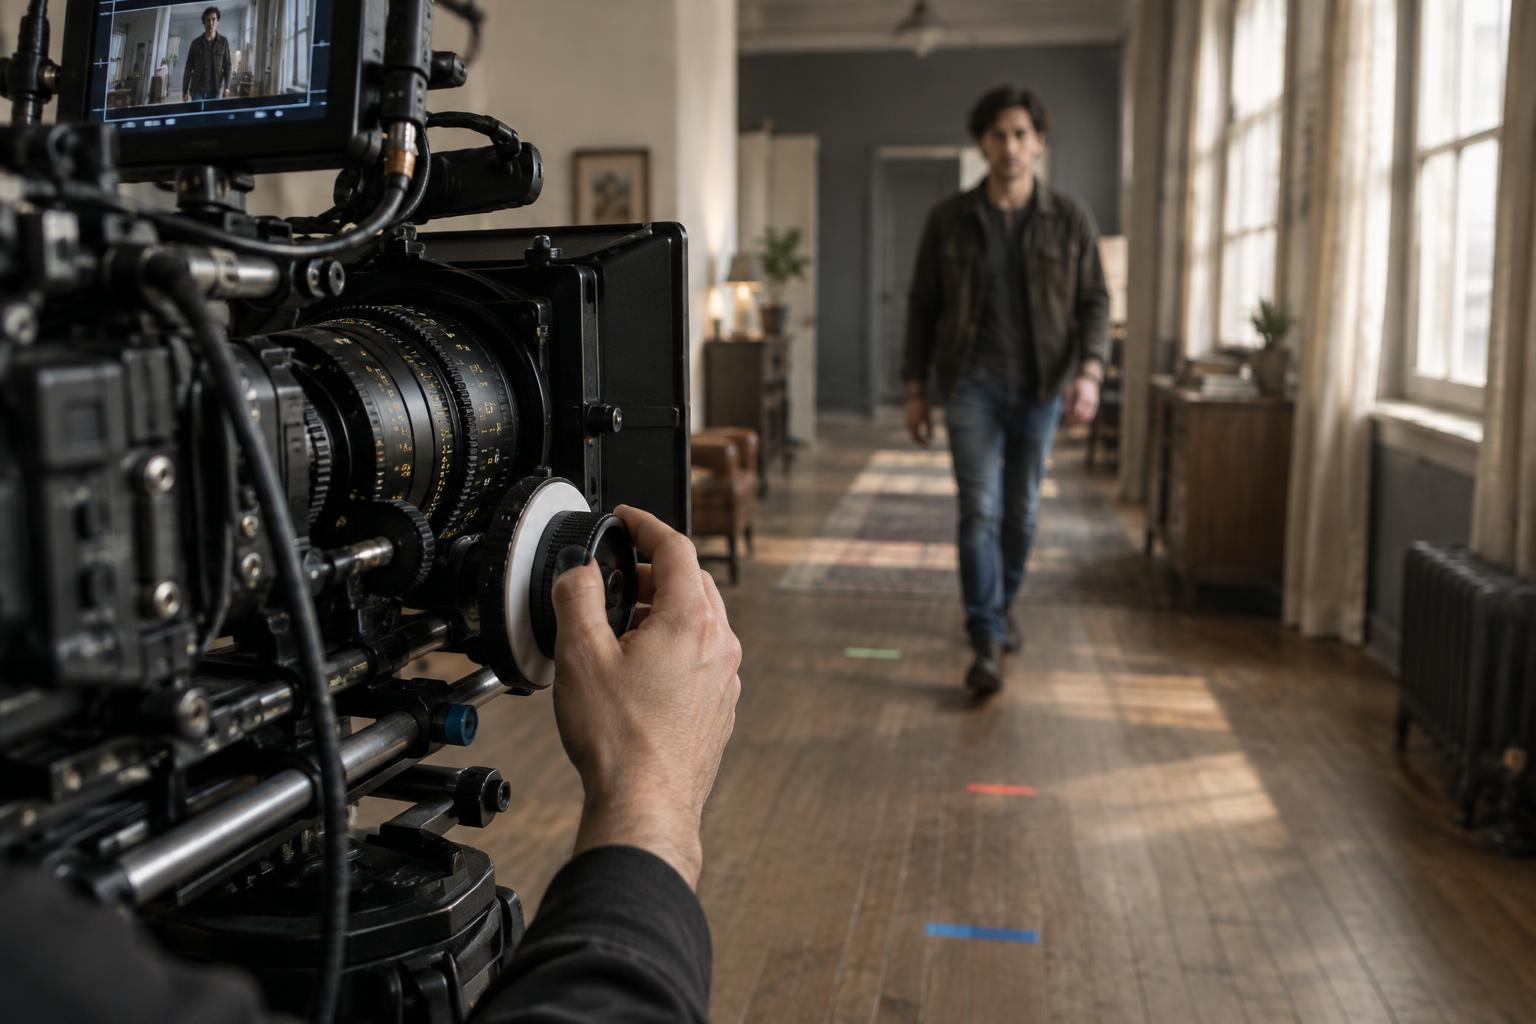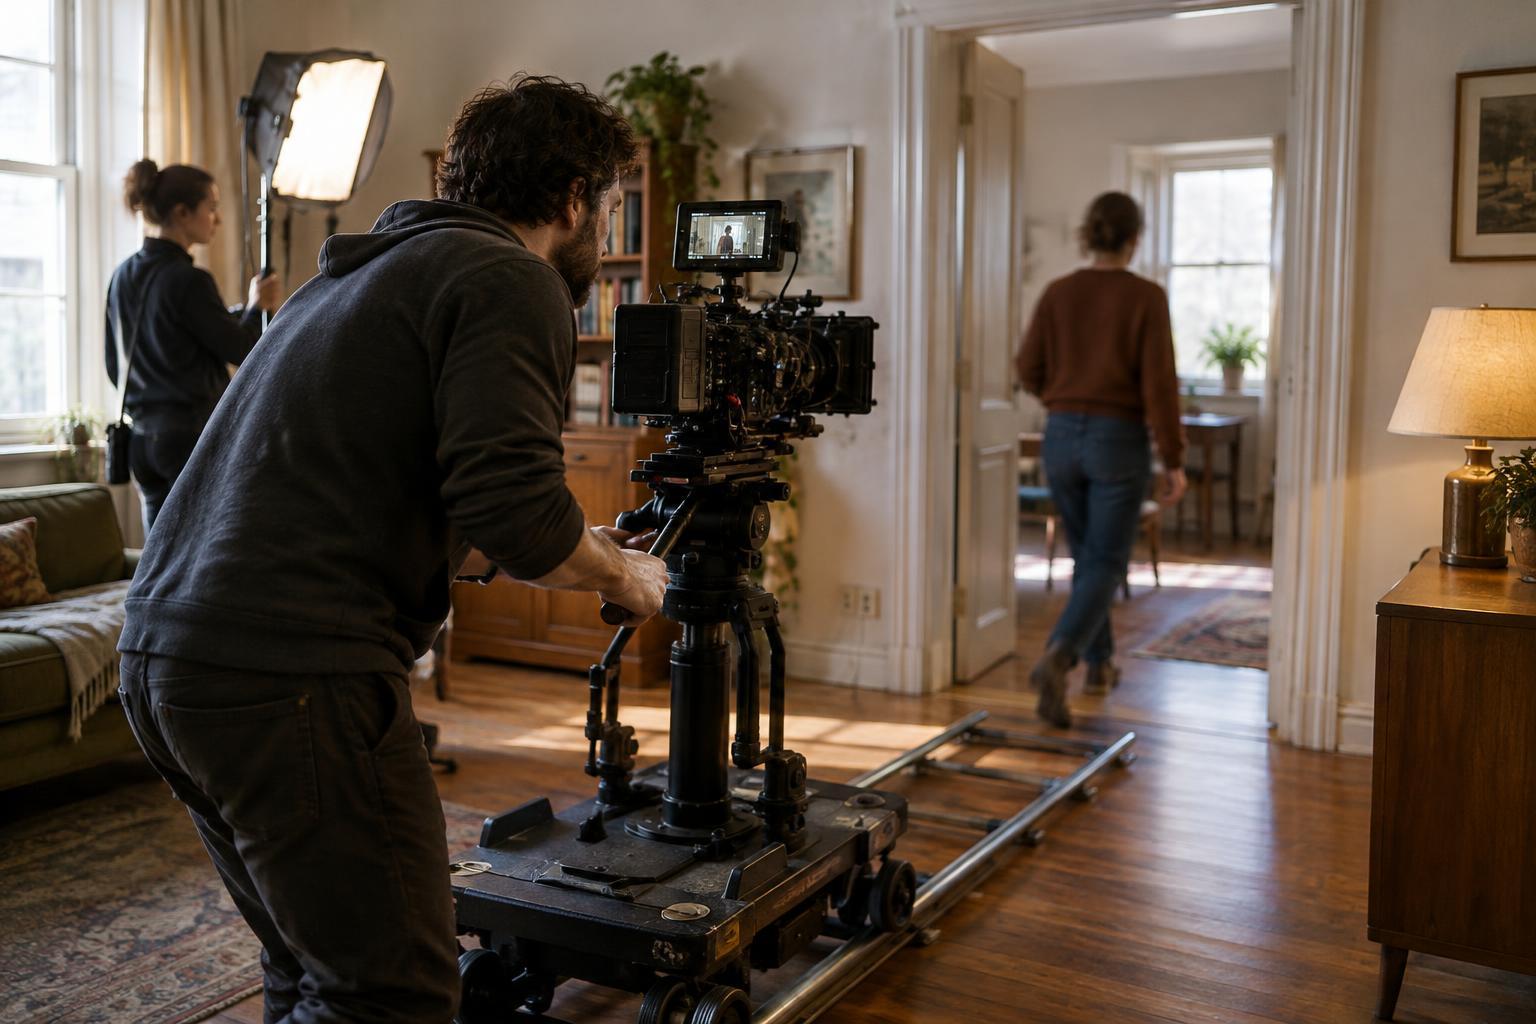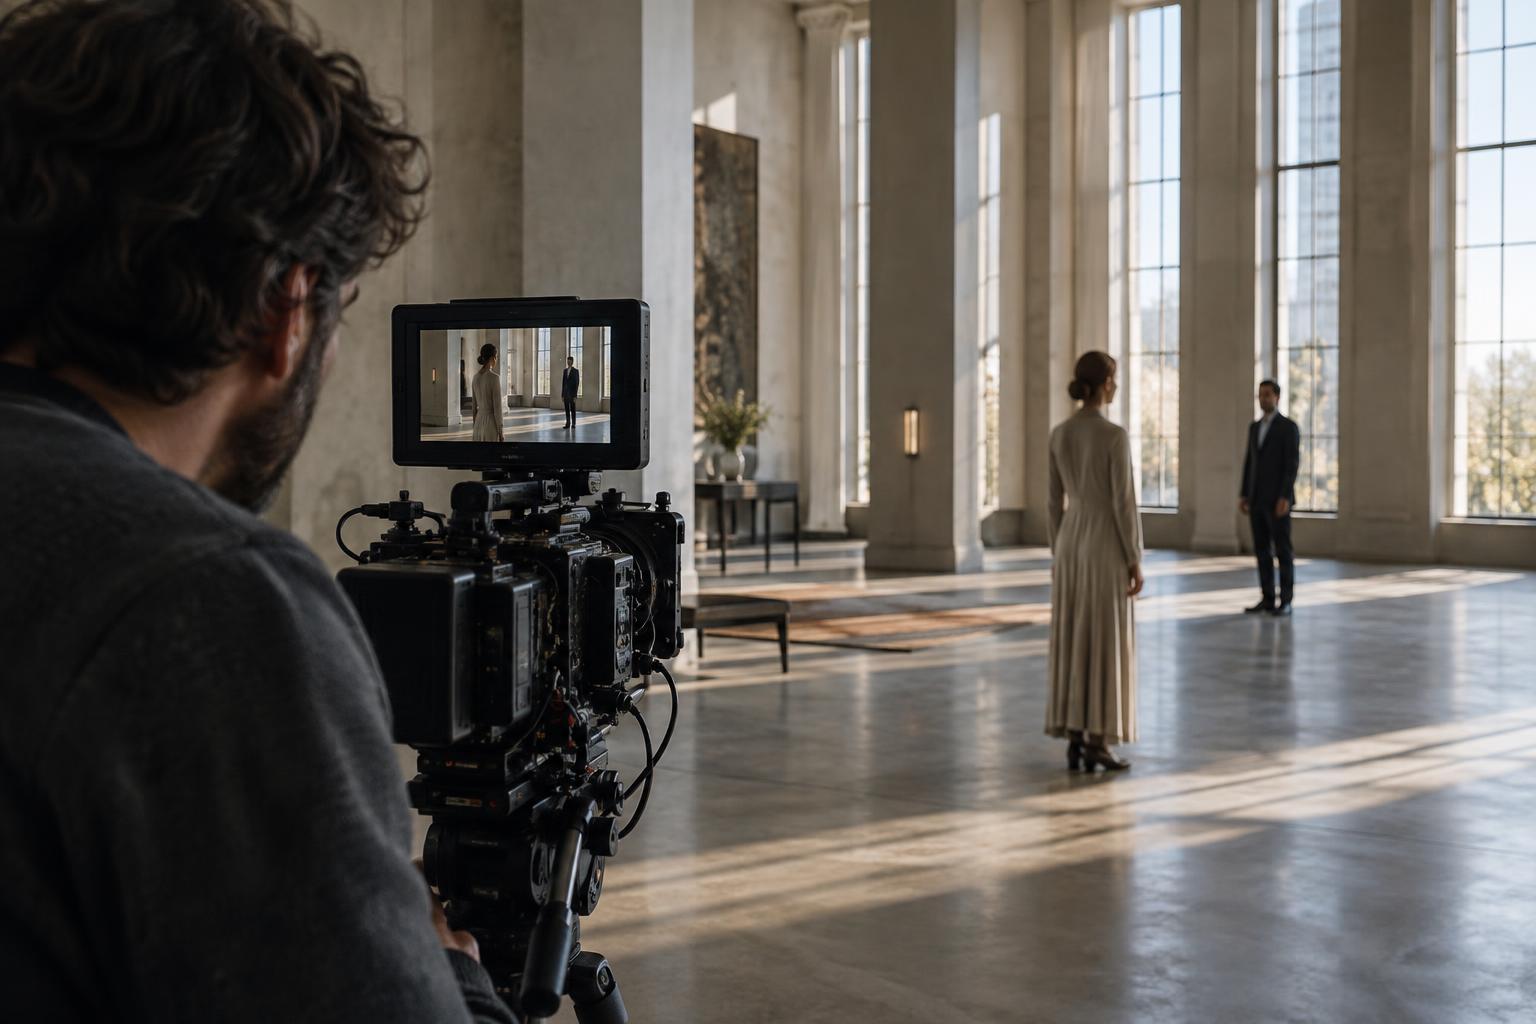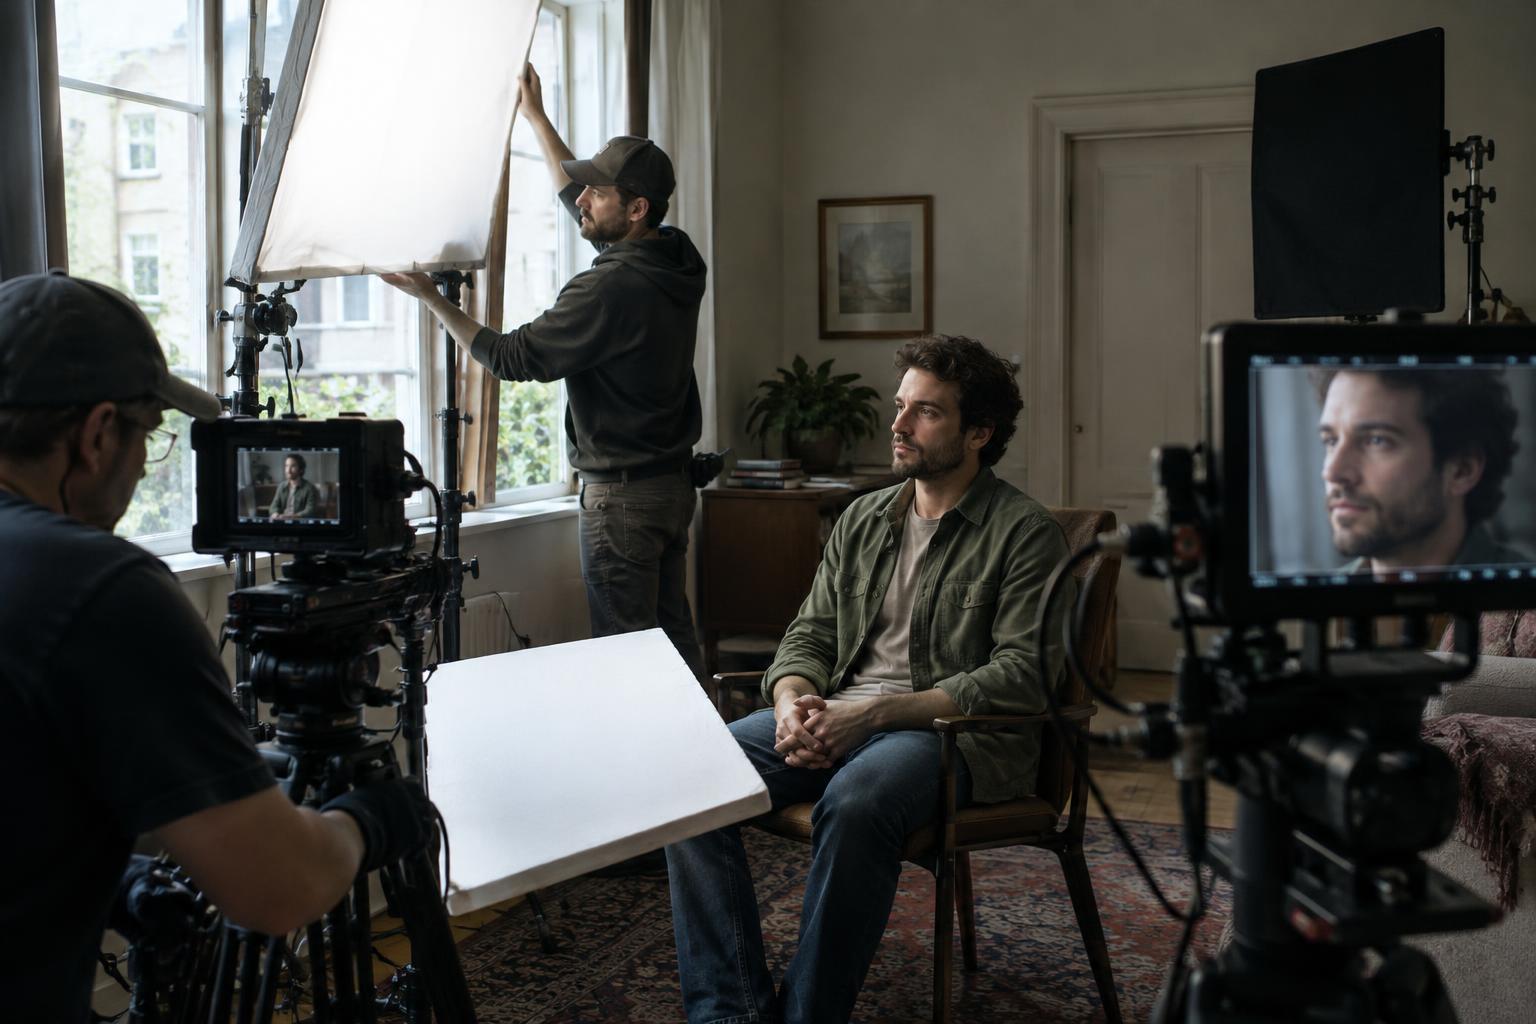
Start with the light the scene appears to have
Lighting continuity is not the requirement that every lamp stay in exactly the same position. It is the impression that shots cut together under the same conditions. In a conversation by a window, viewers may accept a softer key light in a close-up than in the wide shot. They are less likely to accept that the window suddenly seems to be on the opposite side of the room.
Before moving into coverage, identify the apparent sources in the scene: a window, a table lamp, a ceiling fixture or a streetlight beyond the frame. Decide which one shapes each character’s face and where its light should fall. Establishing that logic in the wide shot gives the crew a reference when equipment must move closer, farther away or out of a new frame.
Record what the wide shot establishes
A quick lighting record is more useful than relying on memory after the camera moves. Photograph the setup from behind the camera and from an angle that shows the fixtures. Sketch the positions of the camera, actors, practical lamps, flags and major lights. Note the camera settings and any choices that strongly affect the image, such as white balance, diffusion or a dimmed practical. Keep those notes close enough to consult during a reverse angle or pickup.
Pay particular attention to features a viewer can compare across cuts: which cheek is brighter, where a shadow falls on the wall, how bright the window appears, and whether a practical is visible. The goal is not to preserve every detail. It is to identify the few visual cues that tell the audience the scene is taking place in one continuous moment.
Match direction and shape before chasing exact brightness
When lighting a new angle, first ask whether the key still appears to come from the established source. A fixture used for a close-up may need to move so it stays out of frame, but it can usually preserve the same general direction and softness. If a window lit the actor from camera left in the wide shot, check the actor’s position in the room before placing the key for the reverse. Screen left may change when the camera crosses to the other side; the window does not.
Then compare the balance between light and shadow. A close-up may benefit from a little more fill to keep an expression readable, yet lifting the shadow side too far can change the mood between cuts. Also watch the background: a newly illuminated wall or a missing shadow may be more conspicuous than a small difference in facial exposure. Use a reference still or playback as a comparison, while judging the shots on the same display whenever possible.
Control color and changes in available light
Mixed sources can make continuity fragile. A warm practical may appear stronger in one angle because it sits behind the actor, while a daylight source dominates another. Decide whether that contrast is part of the scene’s look, then maintain it deliberately. If you alter a lamp’s output, add diffusion or change a fixture’s color, record the change so it can be repeated later.
Available light presents a different problem: it can shift while coverage is underway. If daylight is essential to the scene, consider controlling it with curtains, diffusion or flags where the location allows. Check the background as well as the face after a delay or a move to a new setup. If the light has changed substantially, a small adjustment may not be enough; it may be better to revise the setup so both shots still suggest the same time and weather.
Make deliberate cheats, then check the cut
Some changes are worth making. A close-up can place a soft light nearer the actor, tidy a distracting reflection or add a subtle eye light, even if none of those choices could have been made in the wide shot. The useful test is whether the adjustment improves the image without contradicting the scene’s established light. Protect the direction, color relationship and important shadows; allow less noticeable details to serve the shot.
Continuity is easiest to judge across an edit, not from two setups viewed hours apart. When time permits, compare a few seconds of the adjoining shots, especially around a head turn, a gesture or a cut from wide to close. Look for jumps in face brightness, background level, shadow direction and practical-light intensity. A short check on set can reveal a mismatch while there is still time to move a flag, reset a lamp or capture another take.