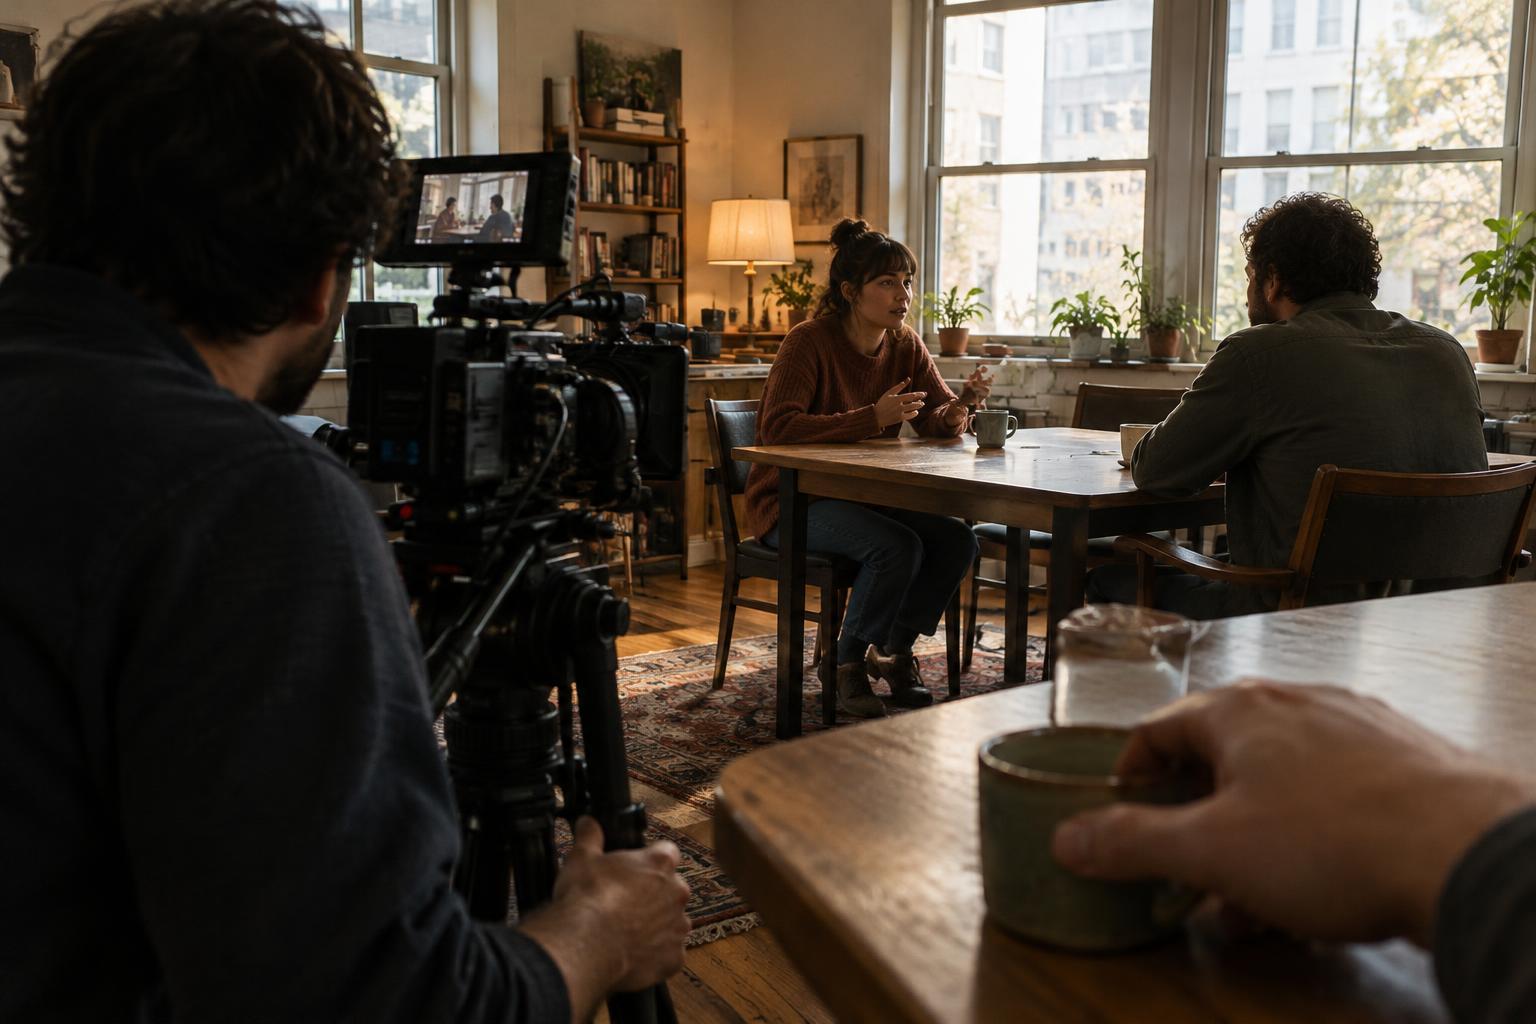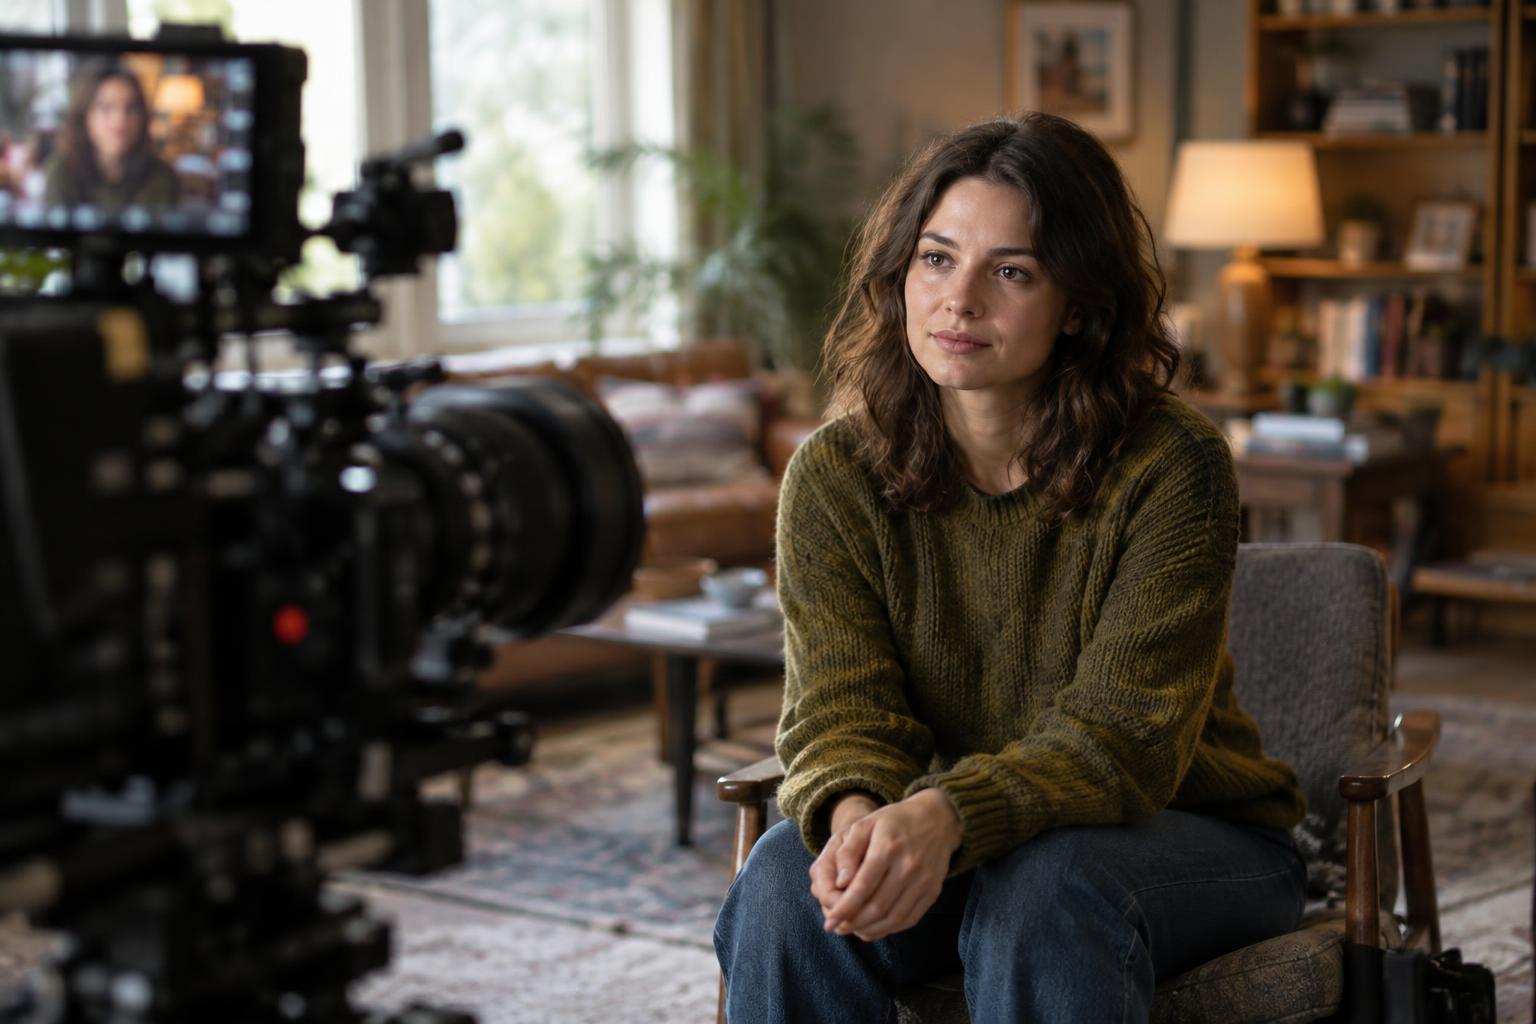
What a lighting ratio describes
A face can be lit evenly, split between light and shade, or allowed to fall almost entirely into darkness. A lighting ratio puts a number to part of that choice: the difference in illumination between the brighter side of a subject and the darker side. It is useful shorthand, but the image matters more than the number. Two setups with the same ratio can feel different because of light direction, source size, background brightness, exposure, and color.
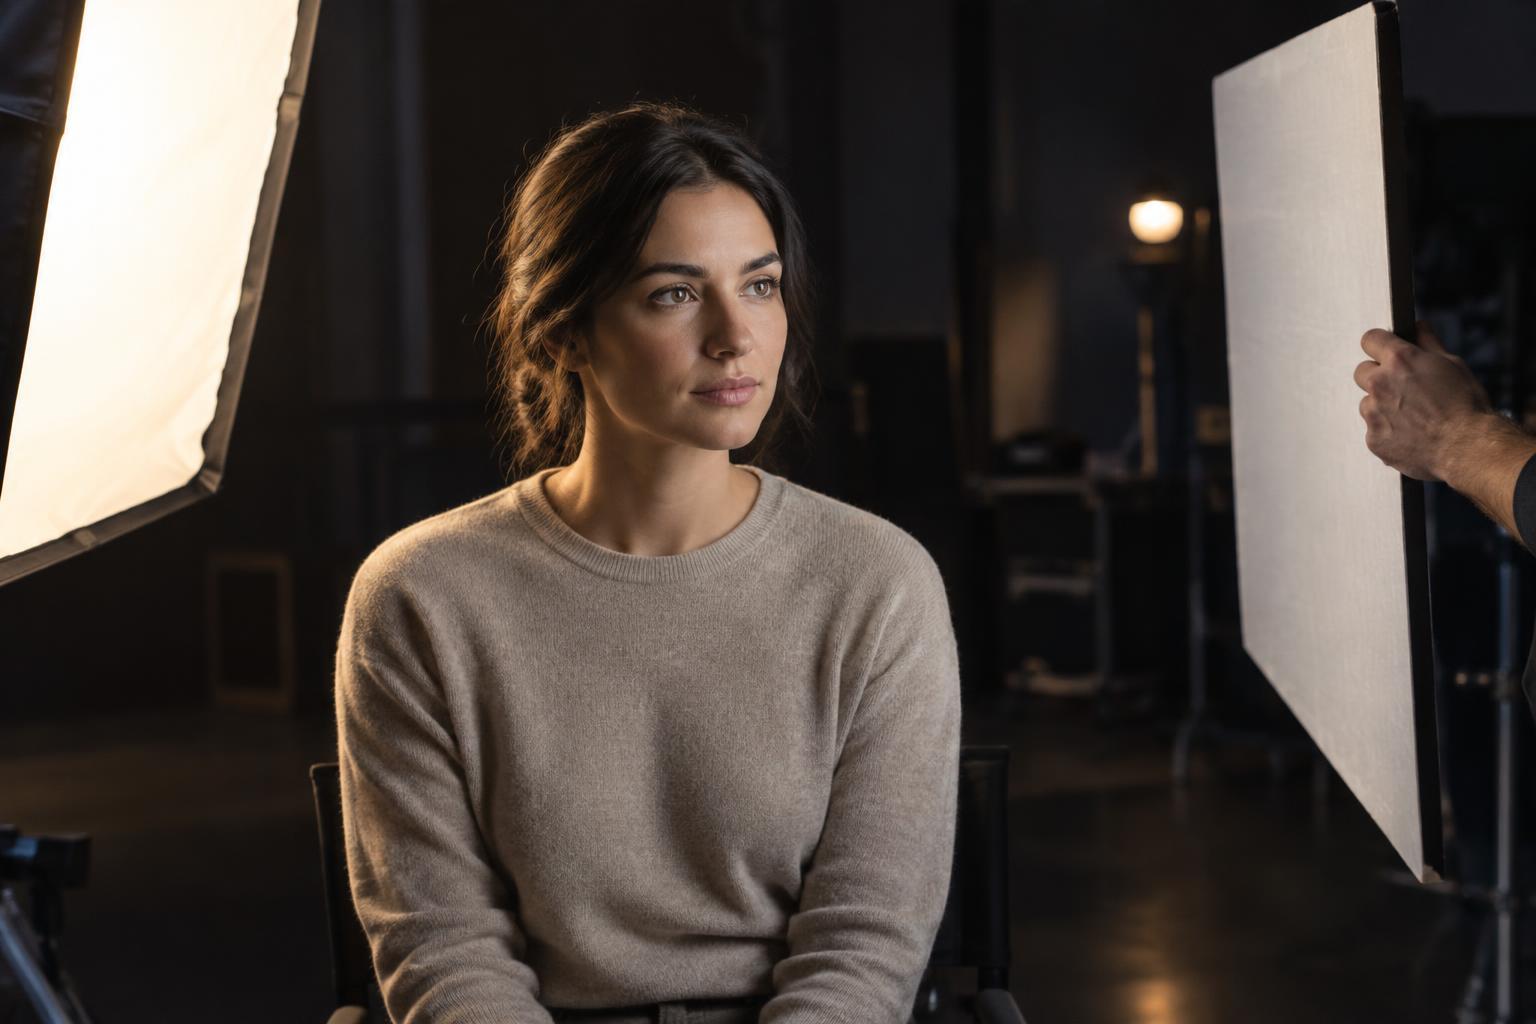
The key is the main light shaping the subject. Fill adds light to areas the key leaves darker; it need not be a second lamp. It might come from a reflector, a wall, or ambient light in the room. Increasing fill generally makes the shadows brighter and lowers contrast. Reducing it deepens the shadows and raises contrast, provided other light is not already filling them in.
Reading the numbers without getting lost
In one common convention, a lighting ratio compares the illumination on the bright side of a face with that on the shadow side. A 2:1 ratio means the bright side receives twice as much light as the shadow side, a difference of one stop. At 4:1, the difference is two stops. The numbers describe relative illumination, not a required camera setting or a promise about how dark the final image will appear.
Be careful with the phrase “key-to-fill ratio.” Some crews use it to compare the output of the key with the output of the fill, rather than comparing the bright and shadow sides. Those are not necessarily the same calculation. If a key adds the same amount of light as a fill that reaches both sides, the bright side receives key plus fill while the shadow side receives fill alone: the side-to-side ratio is 2:1. Before matching someone else’s setup, ask which readings their ratio refers to.
Measuring and adjusting contrast on set
To compare the two sides, take light readings at the subject’s position with a meter, orienting it consistently for the measurement you intend to make. You can also use a camera image and exposure tools to judge the result, though reflected readings are affected by the subject’s skin, clothing, and surroundings. Keep the subject and camera settings fixed while changing the lights. That makes it easier to see which adjustment changed the contrast.
For less contrast, add or strengthen fill, bring a reflector closer, or let more existing light reach the shadow side. For more contrast, dim or move the fill, reposition the key so it spills less into the shadows, or use a black flag or dark surface to absorb bounce. Watch for unintended fill from pale walls and ceilings: moving a lamp may change the ratio even when its output stays the same.
Adjust in small steps and check the whole frame after each one. A shadow may look pleasing on a face but disappear against a dark background; a bright costume may draw attention away from the expression. Check that important features remain readable and that the lighting stays workable as an actor turns or moves.
Choose a ratio for the scene, not a genre label
A lower-contrast setup can make expressions easy to read and accommodate movement, while a higher-contrast setup can direct attention and give shadows more presence. Neither approach belongs exclusively to a particular genre or mood. A tense scene can be evenly lit, and a quiet conversation can use deep shadow. Decide what the viewer needs to see before deciding how much of the frame to conceal.
A practical starting point is to set the key for the direction and shape you want, then add only enough fill to retain the shadow detail the scene needs. Review the result at the intended exposure, on a display you trust as much as your setup allows. If a ratio helps you repeat that look across angles, record both the number and how you measured it. The ratio is a communication tool; the finished frame is the test.