Start with the window, not the camera
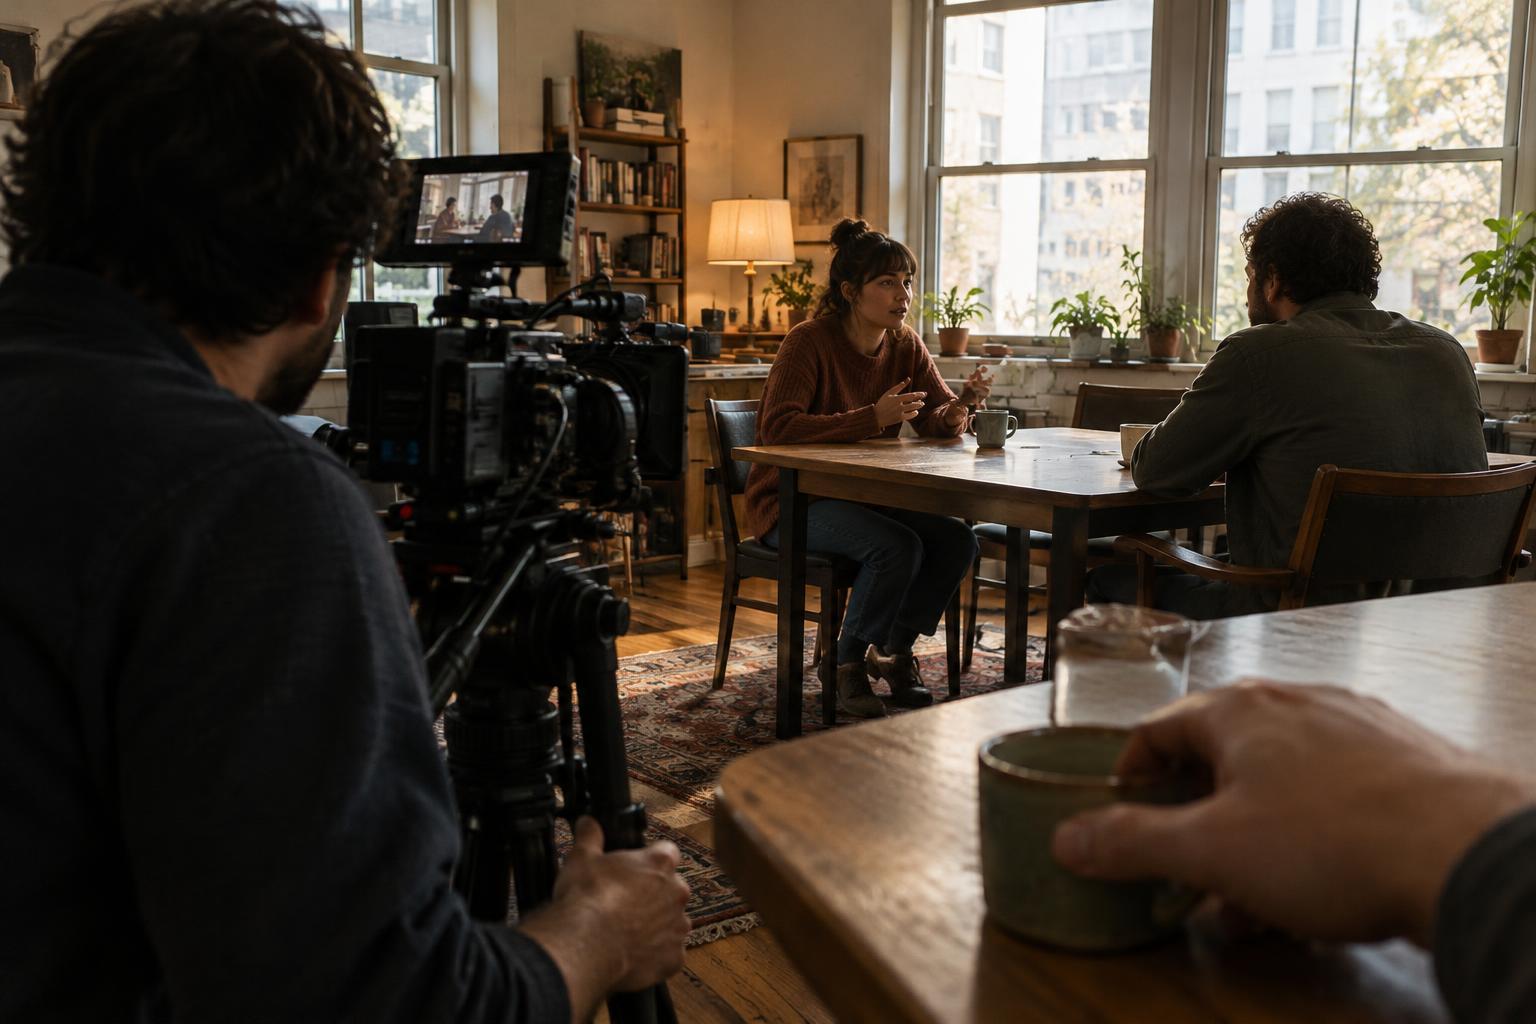
A window is a light source with a built-in direction. Before placing a camera or an actor, spend a few minutes watching what its light does in the room. Look at the floor, walls and faces from several positions. Note whether direct sun enters the window, whether the sky provides a softer glow, and which nearby surfaces reflect light back into the scene.
Decide what the daylight should communicate. Soft light across a face can suit a quiet conversation; a brighter edge and deeper shadow may give the same room more tension. Block the actors with that choice in mind. A small move toward or away from the window can change the contrast more effectively than adding equipment. If the scene has multiple shots, choose positions that leave room for close-ups while preserving a believable direction of light.
Choose the angle before adjusting exposure
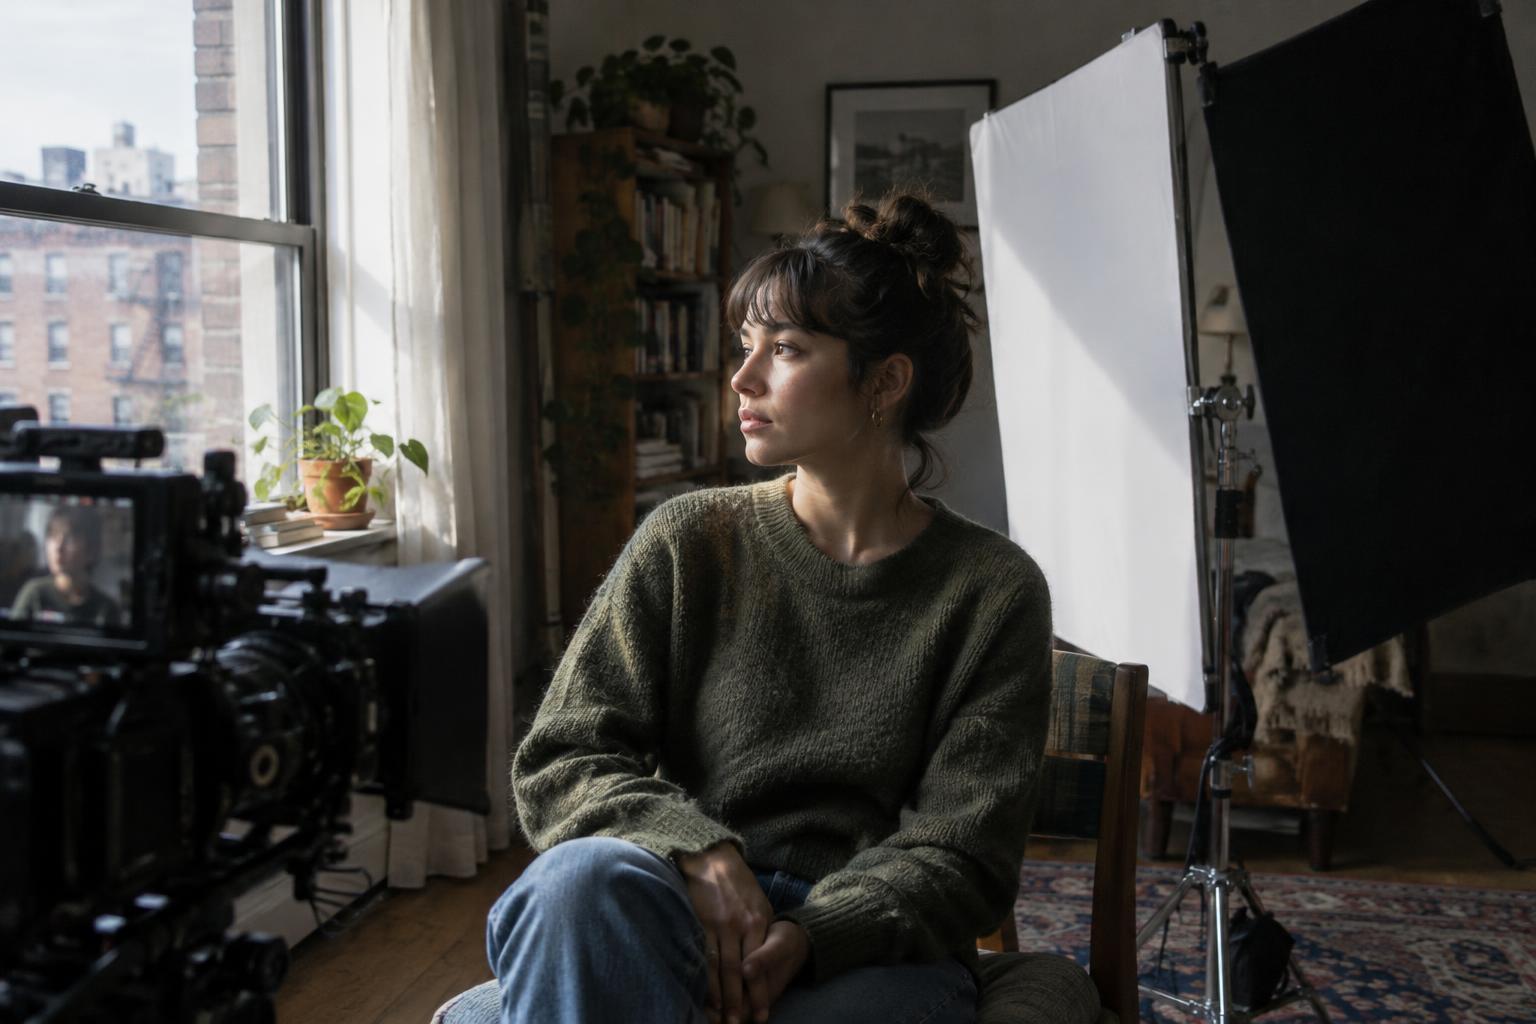
Place a subject beside the window and turn them gradually. Facing the window usually lights both sides of the face evenly. Turning roughly sideways creates a brighter side and a shadow side, which can reveal shape. Putting the window behind the subject can create a silhouette or a bright outline, but the face may then need reflected light. There is no single correct angle: judge it against the mood of the scene and what the audience needs to see.
Check the background at the same time. A face may look good near the glass while the window itself appears much brighter than the rest of the frame. If detail outside matters, you may need to reduce the difference between the exterior and interior brightness. If it does not, a bright window can be an intentional part of the image. Set exposure for the important part of the shot, then check that highlights and shadows fall where you want them. A camera monitor, waveform or histogram can help, but your creative decision comes first.
Soften, bounce or subtract light
Direct sunlight often produces hard shadows that shift noticeably as the sun moves. A sheer curtain or diffusion material over the window can turn it into a larger, softer source. Keep material secure and clear of anything hot. If you need a simpler approach, wait until direct sun no longer enters the room, or frame the action where the sun does not hit it. The goal is not always softness; it is a quality of light you can use across the whole scene.
To brighten the shadow side of a face, place a white board or other pale surface opposite the window. Move it closer for a stronger fill, farther away for less. To deepen shadows instead, place a dark fabric or board on that side. This is negative fill: it blocks some of the light bouncing around the room. Test one change at a time and watch both the actor and the background. A bright wall may already be providing more fill than you realize.
Keep color and continuity under control
Daylight changes as clouds pass and as the sun moves, so plan your shot order around the light when possible. Record a wide shot and a close-up under similar conditions, especially if they will cut directly together. If the light shifts, you can sometimes restore the look by moving a bounce card or adjusting a curtain. Take a reference image and note the position of any boards, curtains and actors so the setup is easier to repeat.
Interior lamps can add warmth and make the room feel lived in, but they may look noticeably different from daylight. Decide whether that contrast belongs in the scene. Set white balance deliberately rather than letting it drift between shots, and review a short test clip with any practical lamps switched on. If a lamp appears in frame, it need not provide all the light it seems to provide; the window can still do the main work.
Build a simple, repeatable setup
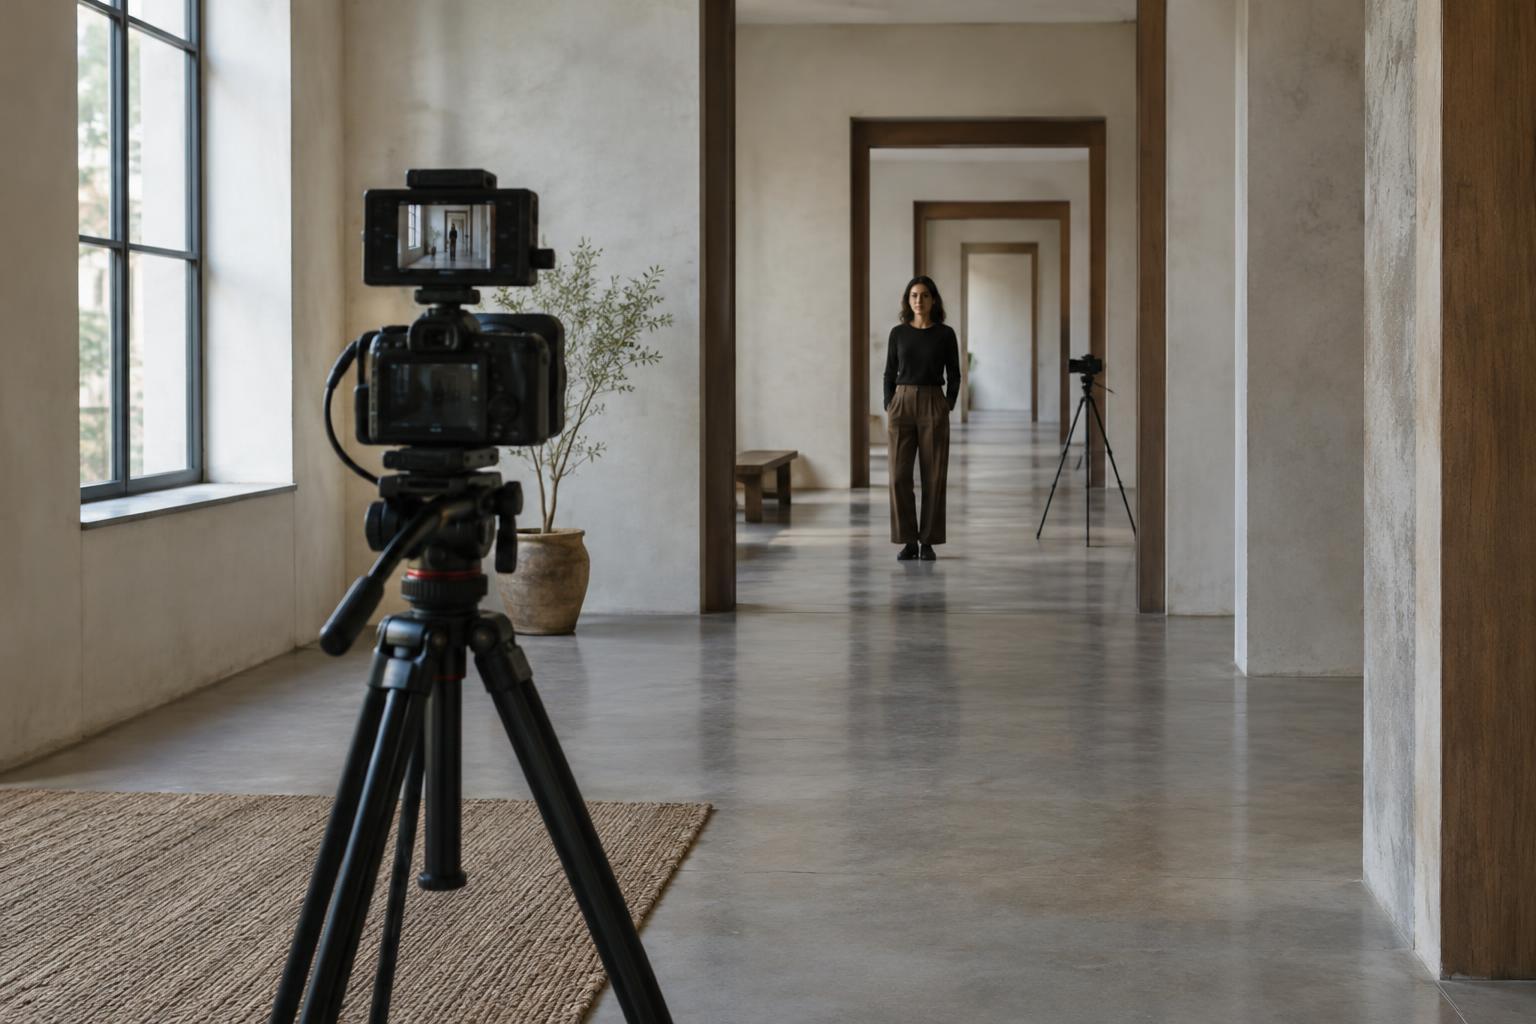
For a first attempt, seat an actor a short distance from a window, turn them until one side of the face catches the light, and put the camera on the room side rather than directly against the glass. Make one exposure test. Then try a white card on the shadow side and compare it with a dark card in the same place. Those three versions will show how much control you already have without changing the window.
Once you find the look, mark positions and film enough footage to check how it cuts together. Watch for shadows that jump between shots, changing brightness on the background and reflections of crew or equipment in the glass. Window daylight is useful because it gives you a clear starting point, not because it stays fixed. Shape what is available, and keep the setup simple enough to maintain while the scene unfolds.