What an eyeline match does
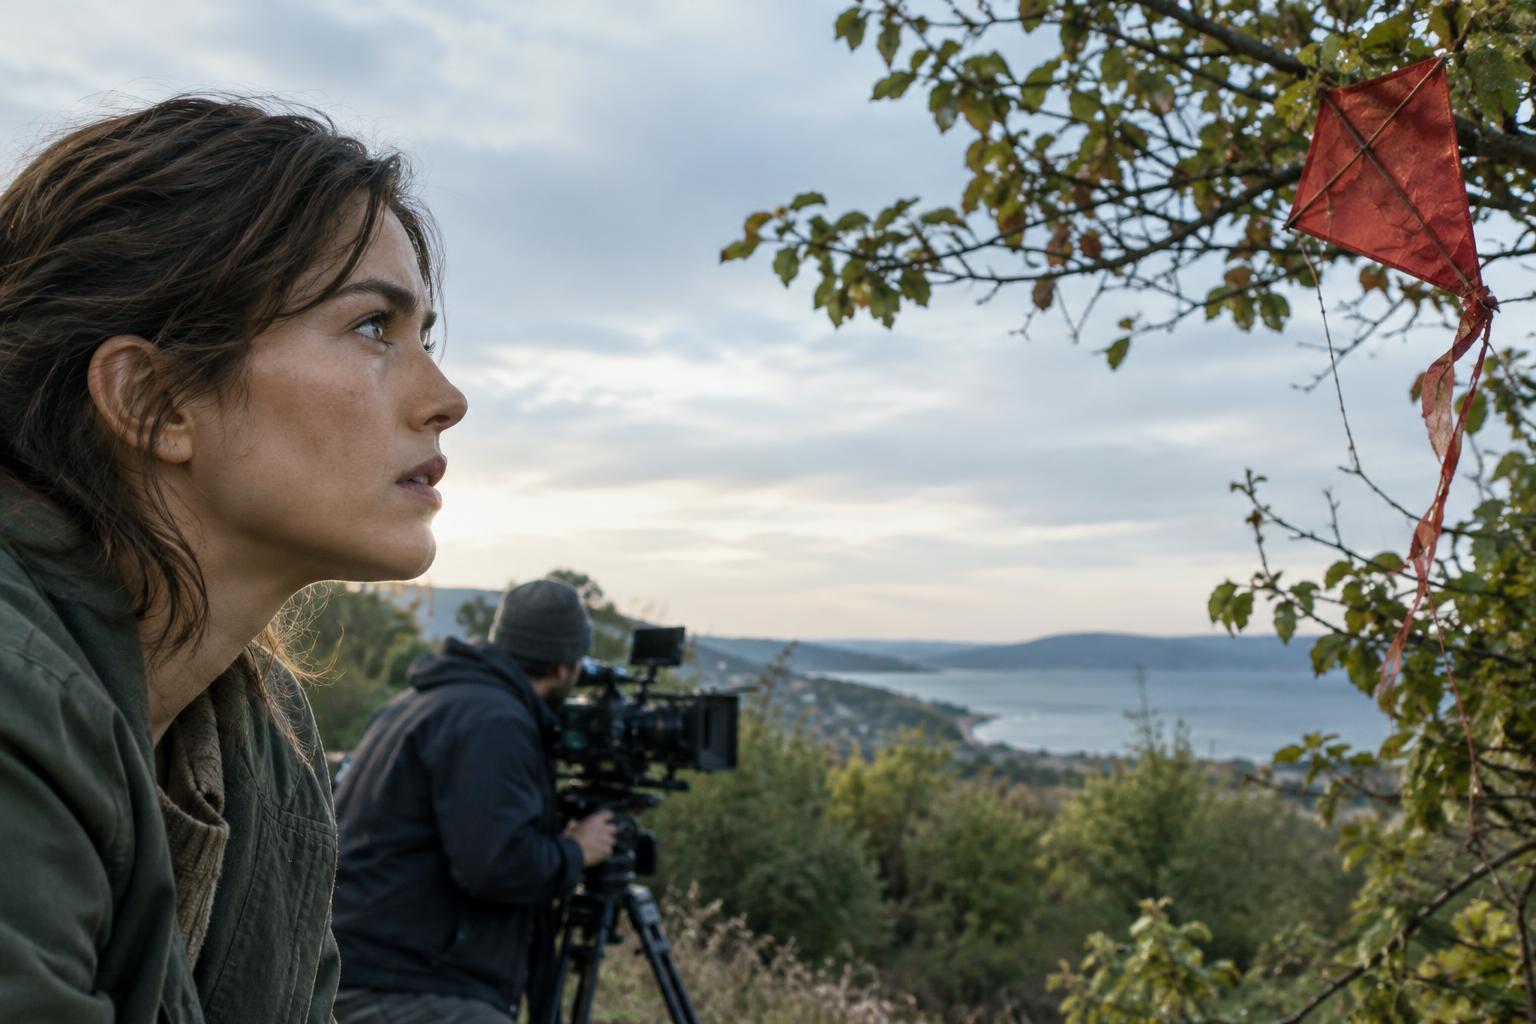
A character pauses, looks offscreen, and the film cuts to a door standing open. The viewer connects the two shots: the character has noticed the door. This is an eyeline match, a simple editing relationship that turns a glance into information. The second shot does not need to be a literal view through the character’s eyes. It needs to feel like a plausible answer to the question raised by the first: what are they looking at?
That connection can carry more than geography. A look toward an empty chair might establish an absence; a cut to a half-hidden figure might create alarm. By choosing what to show and how long to wait before showing it, an editor guides both the viewer’s attention and their understanding of the character’s reaction.
Give the viewer a clear direction to follow
The first shot should make the direction of the look readable. Head angle, eye position and a little space in the frame can all help. If a character looks toward the right edge of the image, placing the object of attention toward the left side of the following shot often makes the cut feel like a continuation across the space. The exact placement depends on the scene’s camera positions, but the viewer should be able to connect the two without having to rebuild the room from scratch.
Distance and height matter too. A character looking sharply upward prepares us for something above them; a cut to an object at floor level may feel wrong unless the scene supplies a reason for the change. If a glance seems aimed at a nearby person, an extremely wide shot of a distant building may weaken the link. These are not rigid rules. They are expectations an editor can satisfy, adjust or deliberately disrupt.
A simple spatial anchor can make later cuts easier. A wider shot showing the character, the object and their positions gives the audience a rough map. Once that relationship is established, closer shots can focus on a tiny eye movement or a revealing detail without making the location hard to follow.
Build the match while shooting
Eyeline editing begins on set. Before filming separate shots, decide where the object or other character sits in the scene. Give the performer a specific place to look, whether that is another actor, a prop or a temporary mark. A vague instruction to “look over there” can produce takes with noticeably different eye angles, limiting the options in the edit.
Record coverage that includes the moment before the glance, the glance itself and enough time afterward to hold the expression. Capture the object or person being seen from a position that fits the intended relationship. A view close to the character’s position may feel intimate, while a more detached angle can still work if the geography is clear. If the character’s eye level is important—looking down into a bag, for example—keep that in mind when choosing the camera height for the follow-up shot.
It also helps to note which side of the scene the camera occupies. Crossing to the opposite side between shots can reverse apparent positions and make a look feel misdirected. Crossing is possible, but a wider transition shot or a visible camera move may help the audience adjust.
Use timing to shape the reveal
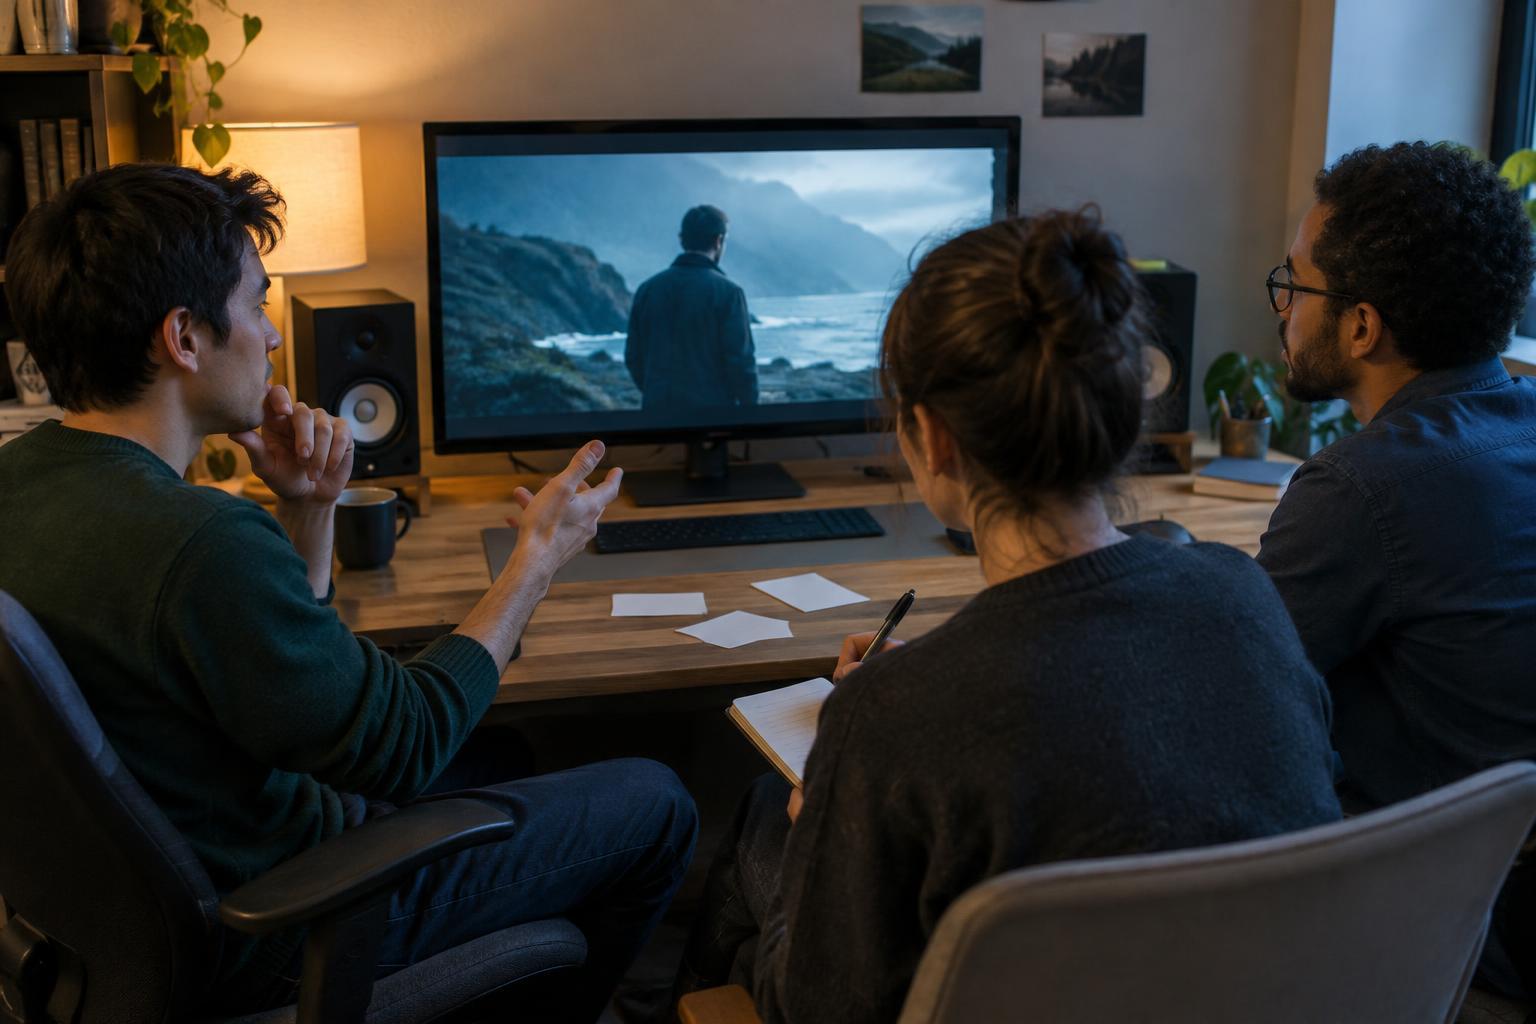
The cut does not always belong at the instant the eyes move. Cutting immediately can make the exchange brisk: glance, answer, reaction. Holding on the face for a beat can let curiosity or dread gather before revealing the object. Holding on it even longer may make the audience study the character rather than the unseen thing. Try several versions and ask what each one makes the viewer anticipate.
The follow-up shot also needs enough time to be understood. A familiar object in a clean composition may register quickly; a crowded frame may need longer, especially if the important detail is small. Sound can help direct attention without explaining everything. A creak, a dropped object or a voice from offscreen may motivate the glance before the cut. Keep the sound’s apparent location consistent with the space unless confusion is the intended effect.
Check the connection in the edit
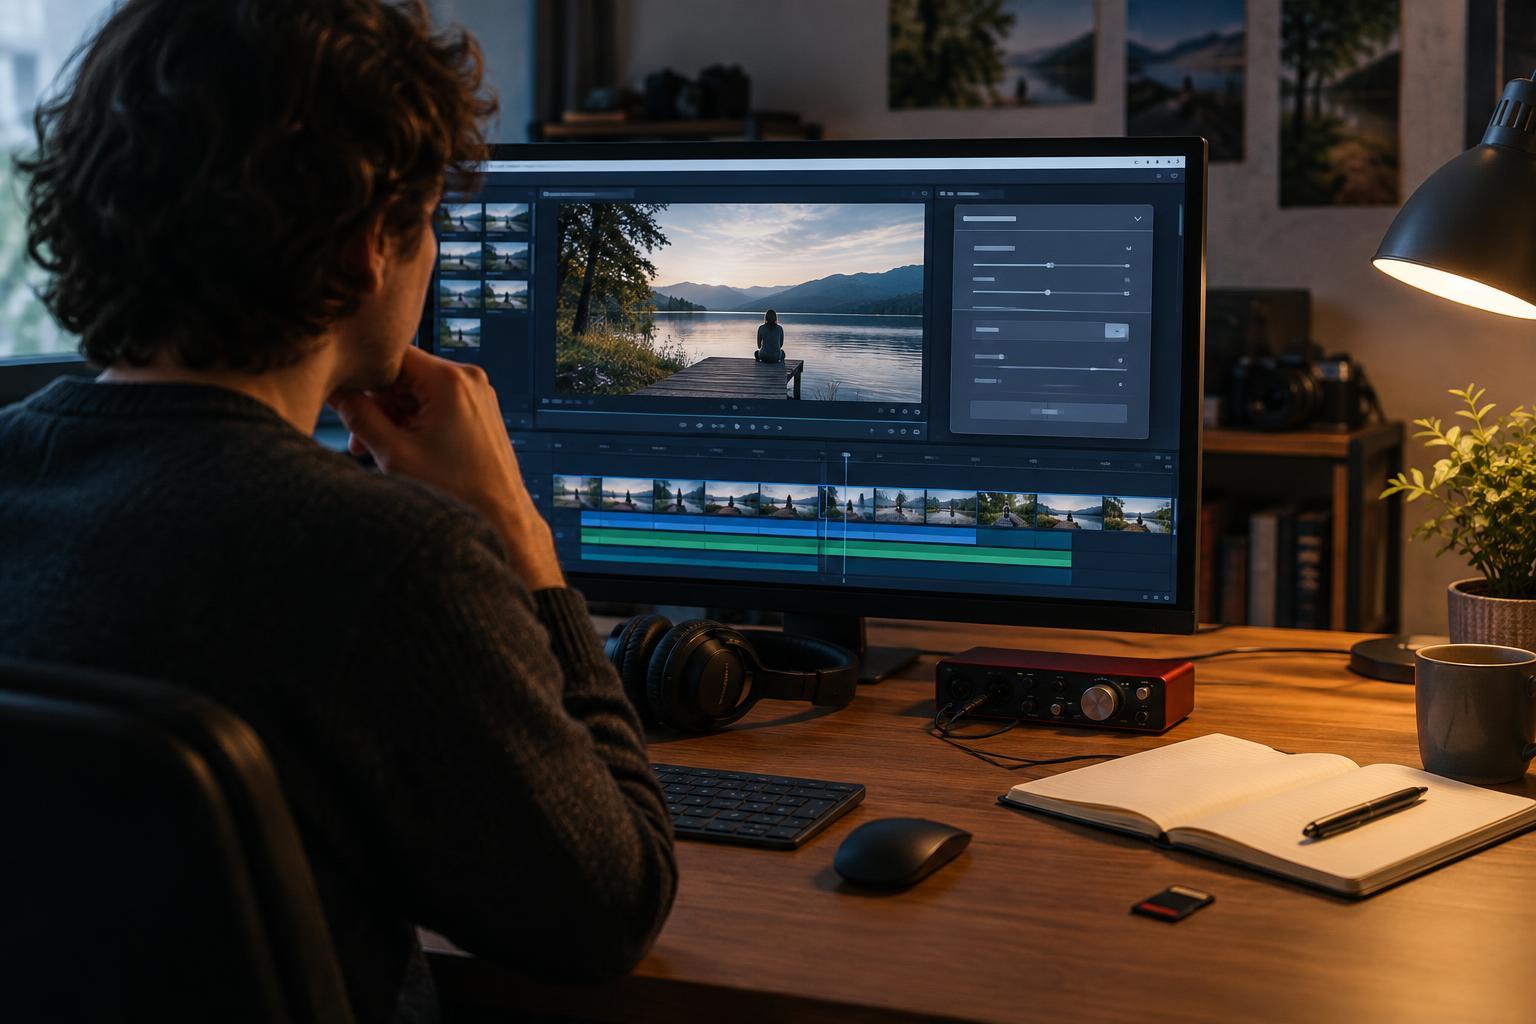
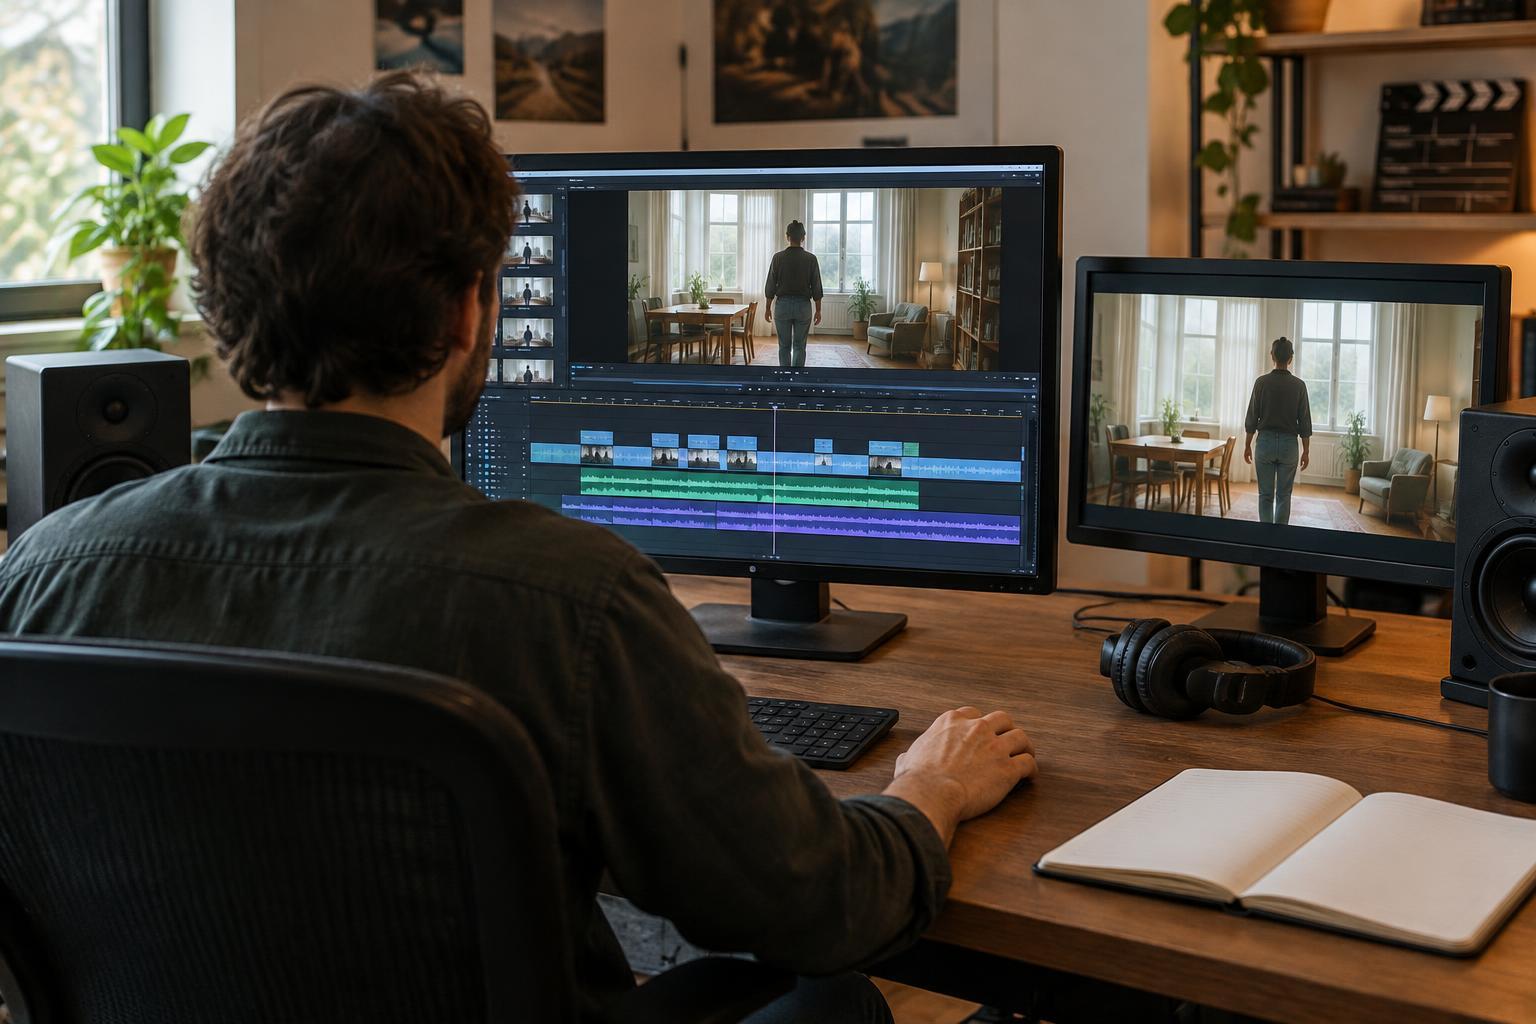
If an eyeline match feels uncertain, first check where the viewer thinks the character is looking. Watch the two shots without sound and notice whether the object appears in the expected area and at a believable height. Then check whether the first shot gives the eyes enough time to settle and whether the second shot clearly identifies the target. Sometimes trimming a few frames fixes the exchange; sometimes a different take or a wider anchoring shot works better.
Not every look needs an immediate answer. You can stay with a character who sees something the audience cannot, then reveal it later. You can also cut to an unexpected detail to show that the character notices something others would miss. Such choices tend to work best when the viewer can recognize the withheld information as intentional. A strong eyeline match is not merely a tidy cut between two images. It is a controlled handoff of attention from a person to the part of the world that matters to them.