Start with the shadow you want
When lighting a scene, it is tempting to begin with the lamp: where should it go, and how bright should it be? A more useful first question is what the audience should see in the shadows. A defined shadow can reveal texture, suggest a strong light source, or make a face feel isolated. A gradual transition from light to dark can make the same space feel open and gentle. Direct and bounced light offer two simple routes toward those looks.
Direct light travels from the fixture to the subject. Bounce light travels from the fixture to a surface, such as a white wall or reflector, and then to the subject. Neither is inherently more cinematic. The right choice depends on the shape of the scene, the surfaces available, and how much control you need over where the light falls.
What direct light does well
A bare or focused fixture is often a good starting point when you want direction. It can suggest sunlight entering a window, a streetlamp reaching across a room, or a practical lamp just outside the frame. Its defined path also makes it easier to keep parts of the set dark. Moving the fixture to one side of a face creates more visible modeling; bringing it closer to the camera axis generally reduces the apparent depth of facial shadows.
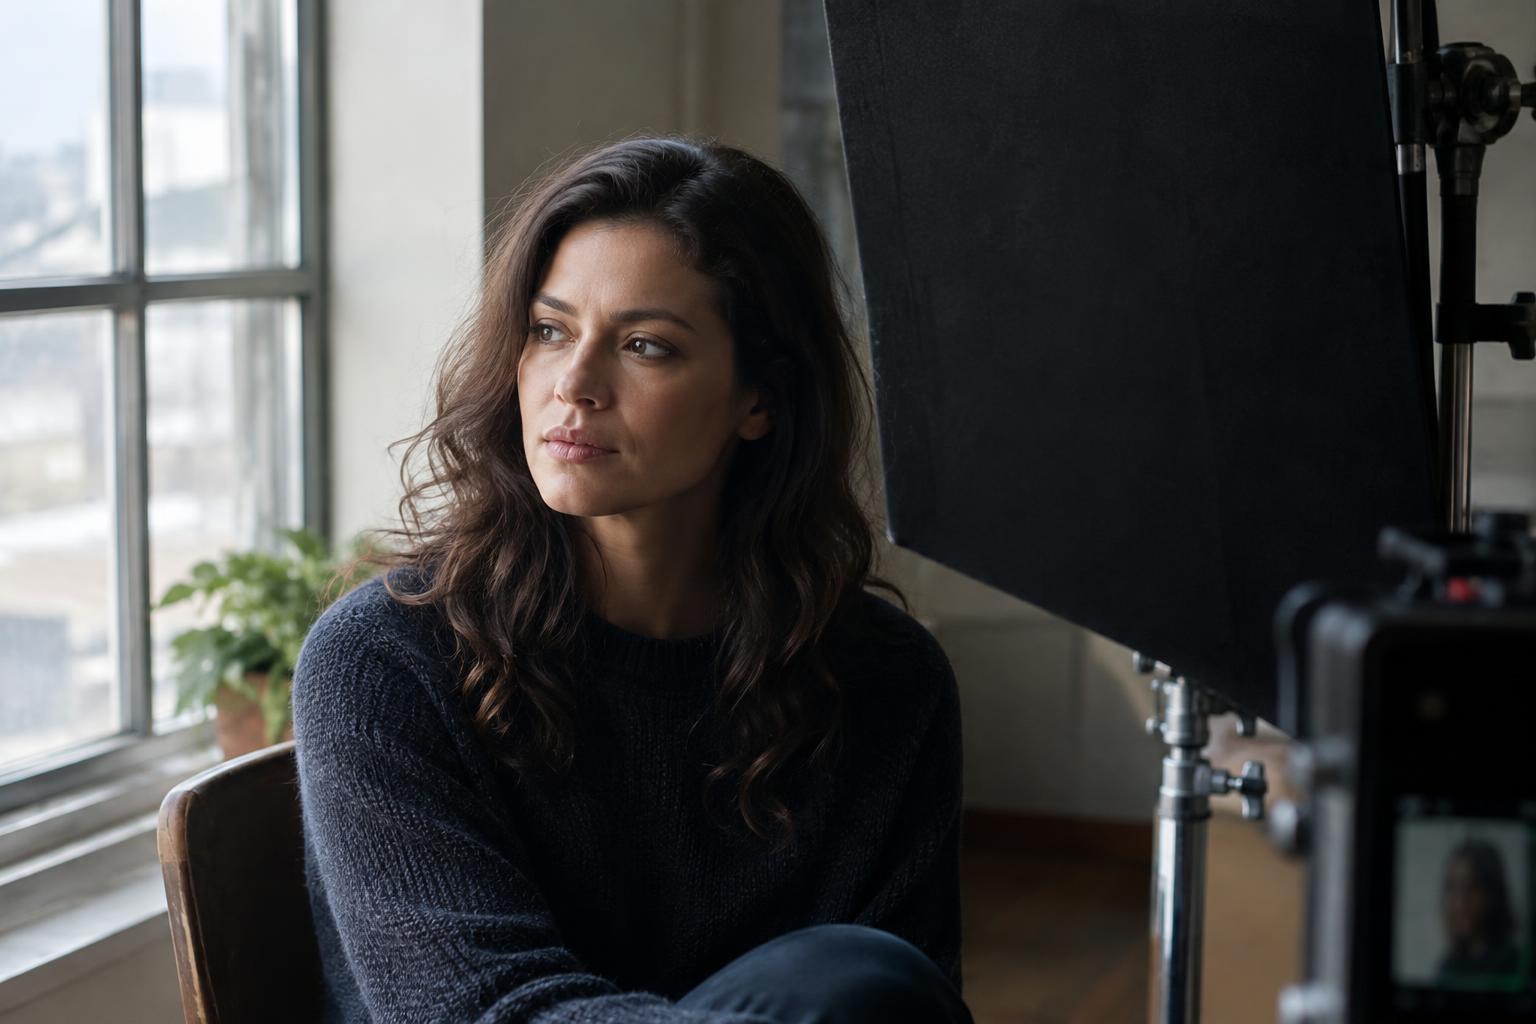
Direct light does not always mean hard light. Shadow quality depends largely on the apparent size of the source as seen from the subject. A small exposed bulb tends to create crisp shadows, while a fixture shining through a large diffusion panel can produce much softer ones. Direct light can also be too blunt if it reveals every nearby surface or casts an unwanted shadow onto a background. Before adding another lamp, try changing the angle, moving the subject away from the wall, or placing a flag where it will block a distracting spill.
What bounce light changes
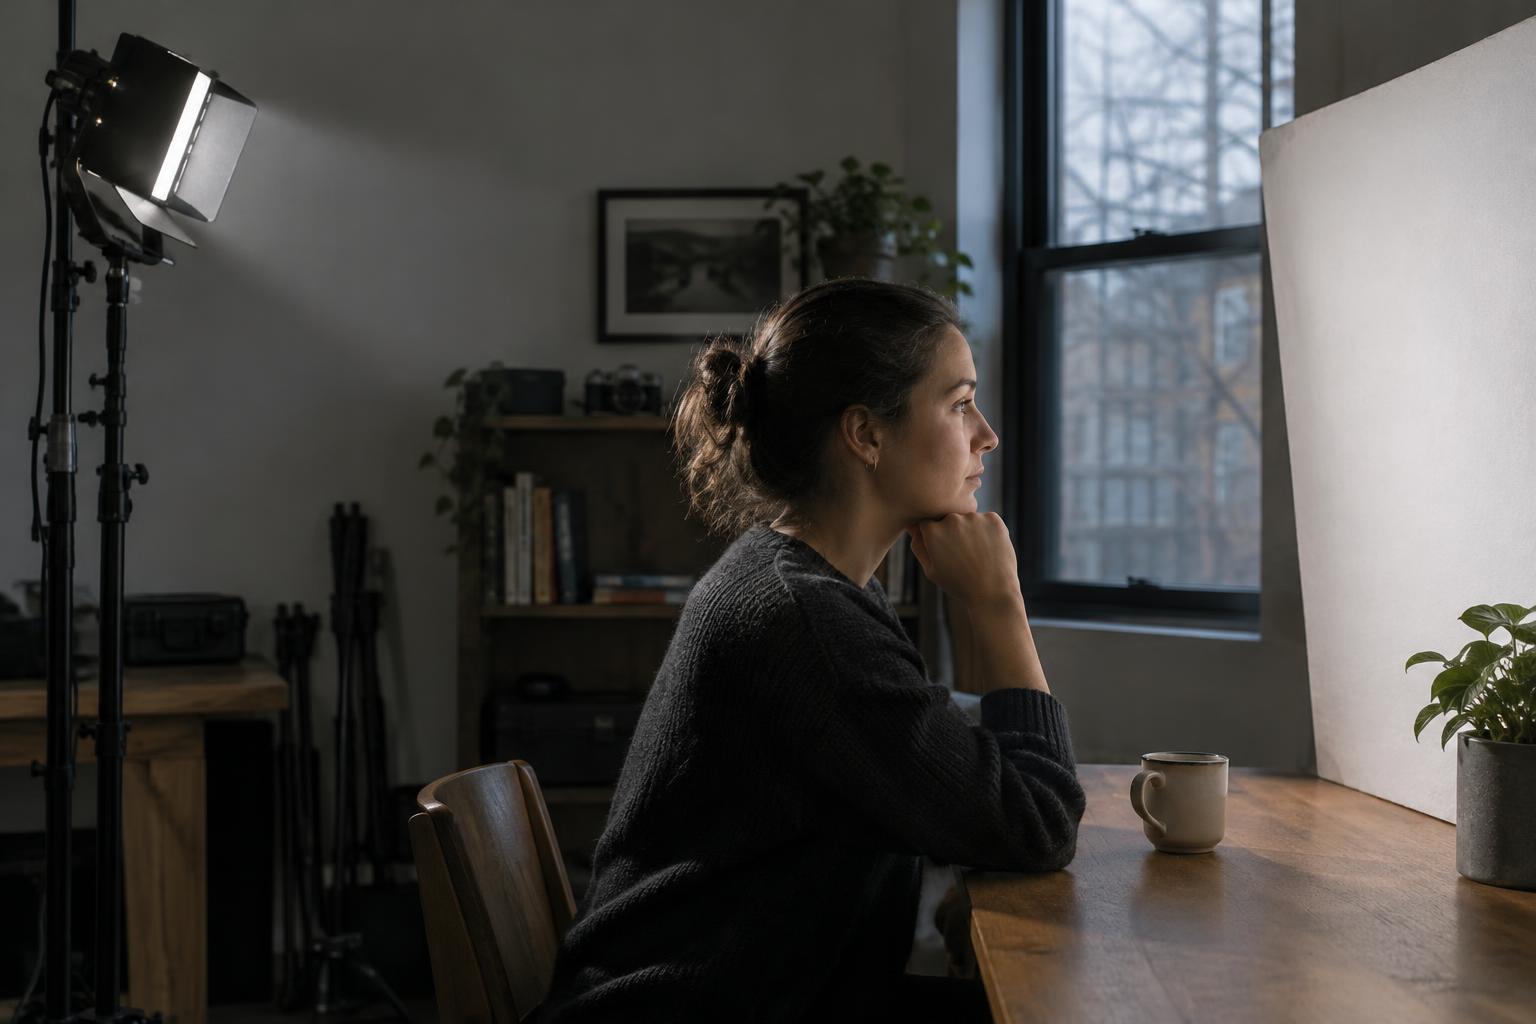
Bouncing a fixture into a broad, pale surface makes that surface the visible light source for the subject. A large bounce placed relatively close can produce soft shadow edges and wrap light around a face. This can be useful for conversation scenes, cramped locations, or setups where a bare fixture looks too sharp. A white wall, foam board, or fabric reflector may be enough to test the idea without building an elaborate rig.
Bounce also trades some control for softness. Light can scatter from the bounce into places you intended to leave dark, and the extra travel path may leave less light on the subject. The surface matters too: a colored wall can tint skin, while a glossy one may reflect a more concentrated patch than expected. If the image looks flat, do not assume it needs a brighter fixture. Turn the bounce away from the background, use a smaller bounce surface, or add a dark card on the shadow side to limit unwanted fill.
Choose by looking at the location
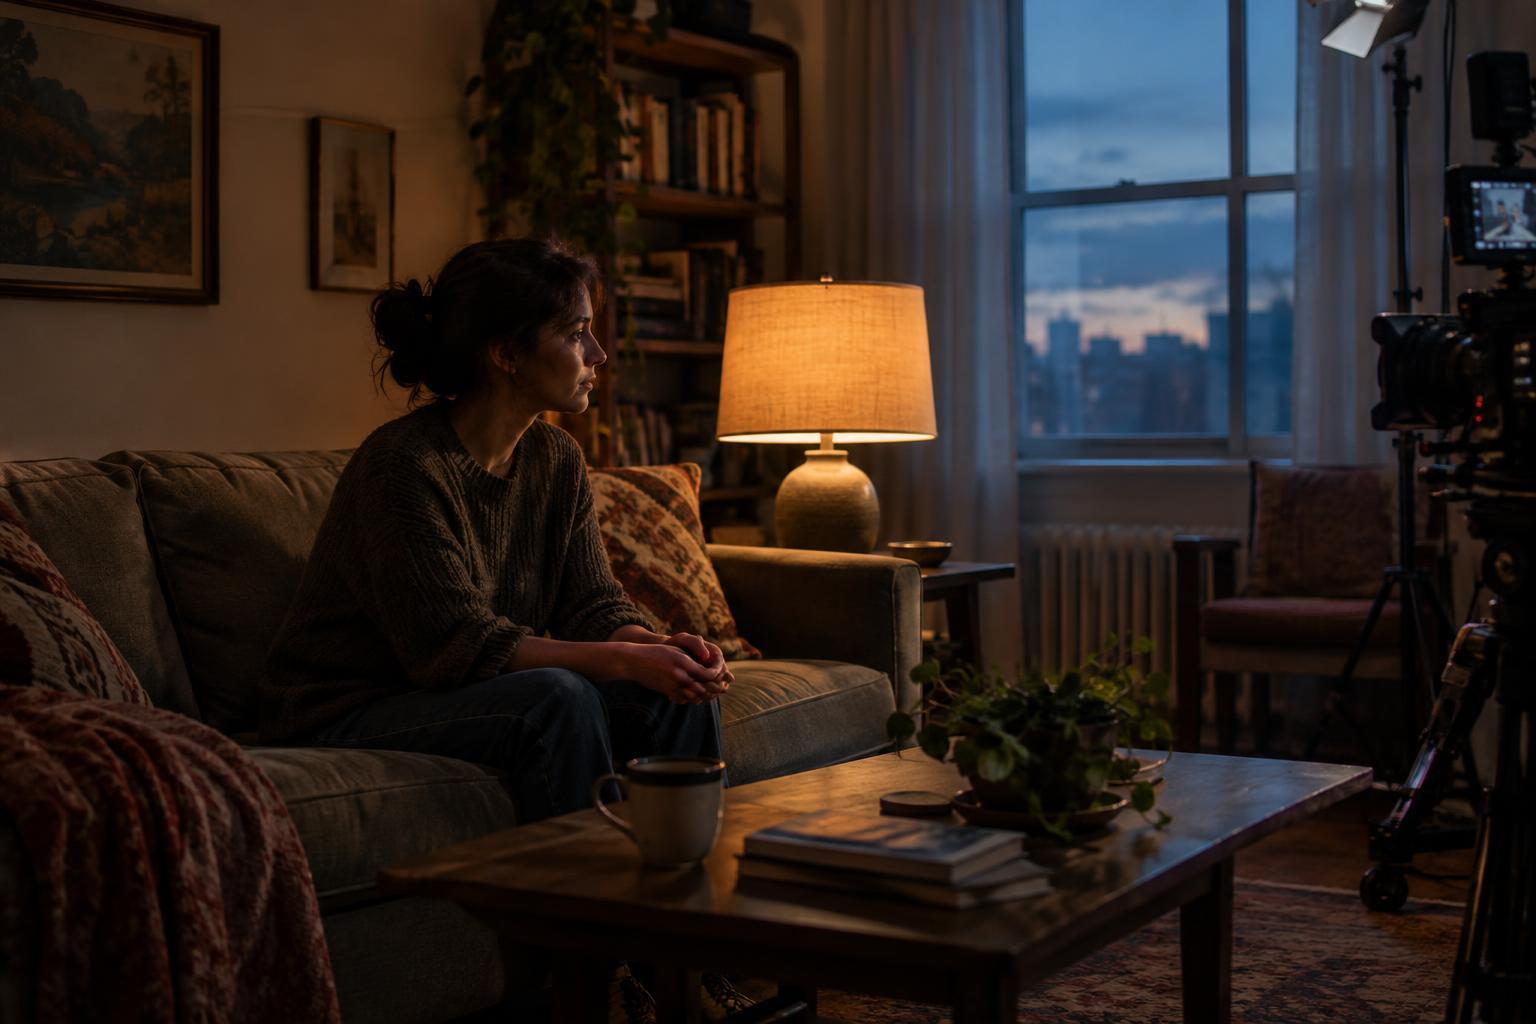
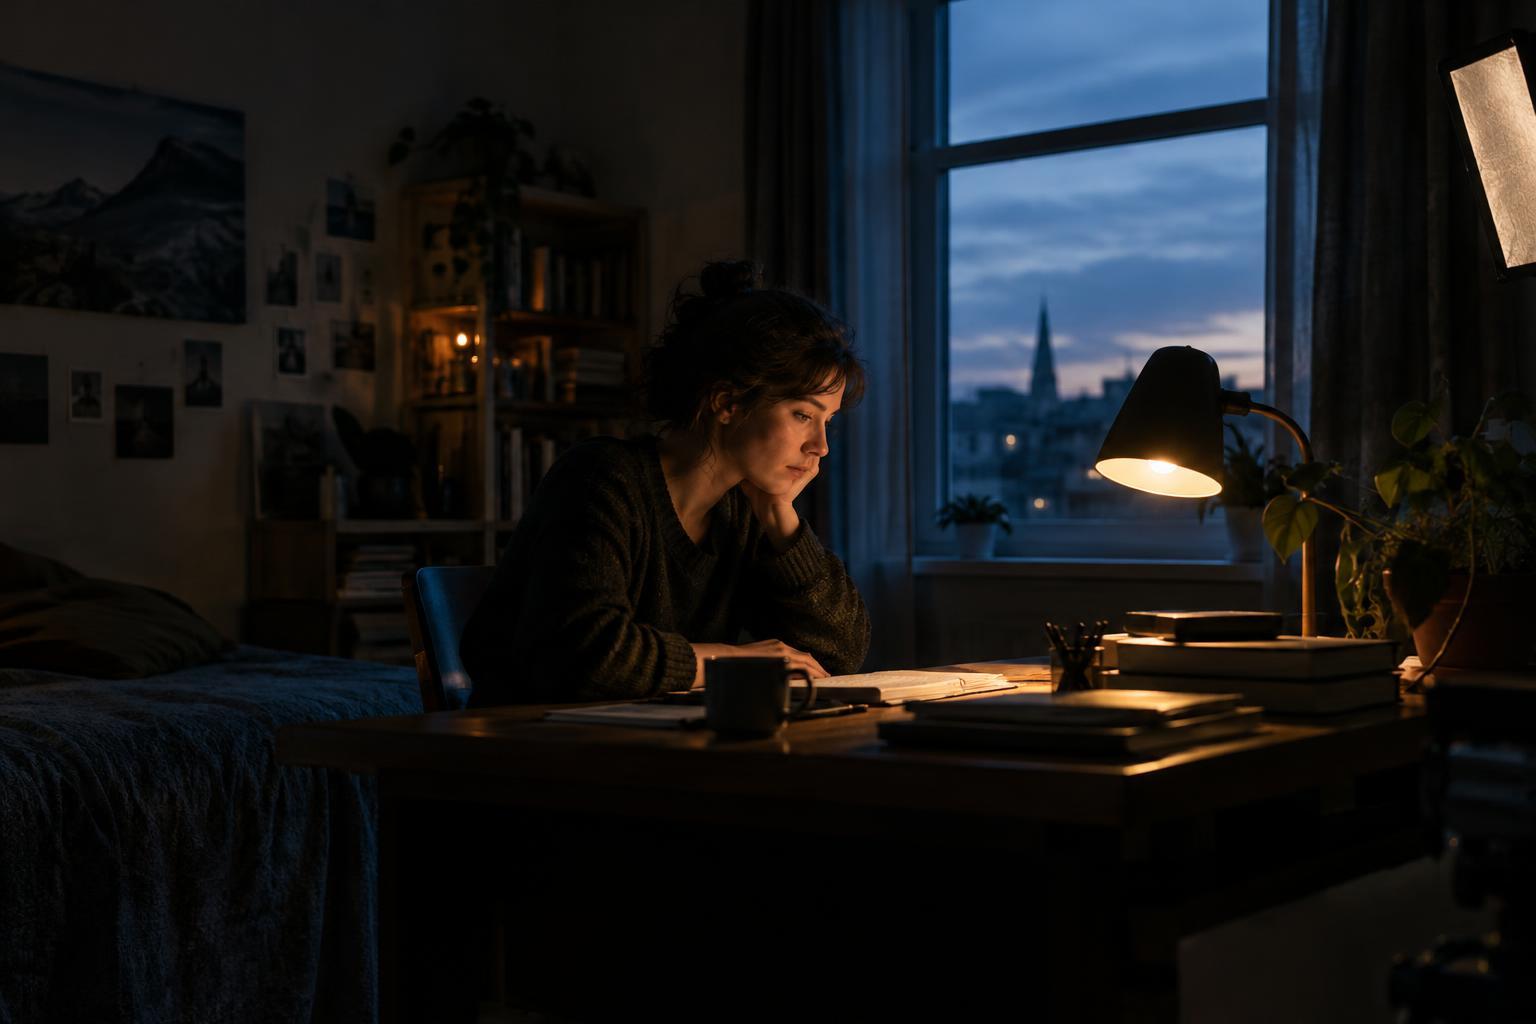
Begin with the light already present. If a window gives the scene a clear direction, a modest bounce on the opposite side may lift facial shadows without erasing that direction. If the room is evenly bright but visually dull, adding more bounced light may make little difference; a carefully placed direct source could provide the shape that is missing. For a night interior, a direct light motivated by a visible lamp may be more convincing than a broad wash with no apparent origin.
Available space can settle the question quickly. A bounce needs room for both the fixture and the reflecting surface, and neither can intrude into the shot. In a tight corner, a direct fixture softened with diffusion might be easier to place. Conversely, when a white ceiling is well positioned and does not create unflattering top light, it may provide a useful bounce without putting a reflector beside the actors. Check the result from the camera position rather than judging the setup from beside the lamp.
Make a small comparison before committing
With the camera settings held steady, record a few seconds using one direct source. Look at the eyes, the shadow side of the face, the background, and any reflections. Then aim the same fixture into a neutral bounce surface and record the shot again. If the bounced version looks darker, adjust the light or exposure deliberately before comparing the feel of the two images. A simple side-by-side test is often more helpful than trying to remember how each setup looked.
You can combine the approaches rather than treating them as opposing styles. A direct key light can provide shape while a small bounce supplies just enough fill to retain detail. A bounced key can light a face while a controlled direct light separates the subject from the background. Keep changes purposeful and watch for shifting color between sources. The simplest successful setup is not the one with the fewest pieces of equipment; it is the one in which every light has a clear job.